-20250819-084018.svg)
Within Miro, frames are a way to group and present content on your boards. This includes the ability to title frames, thus giving a name to a group of content. To learn more about frames see the Miro documentation here.
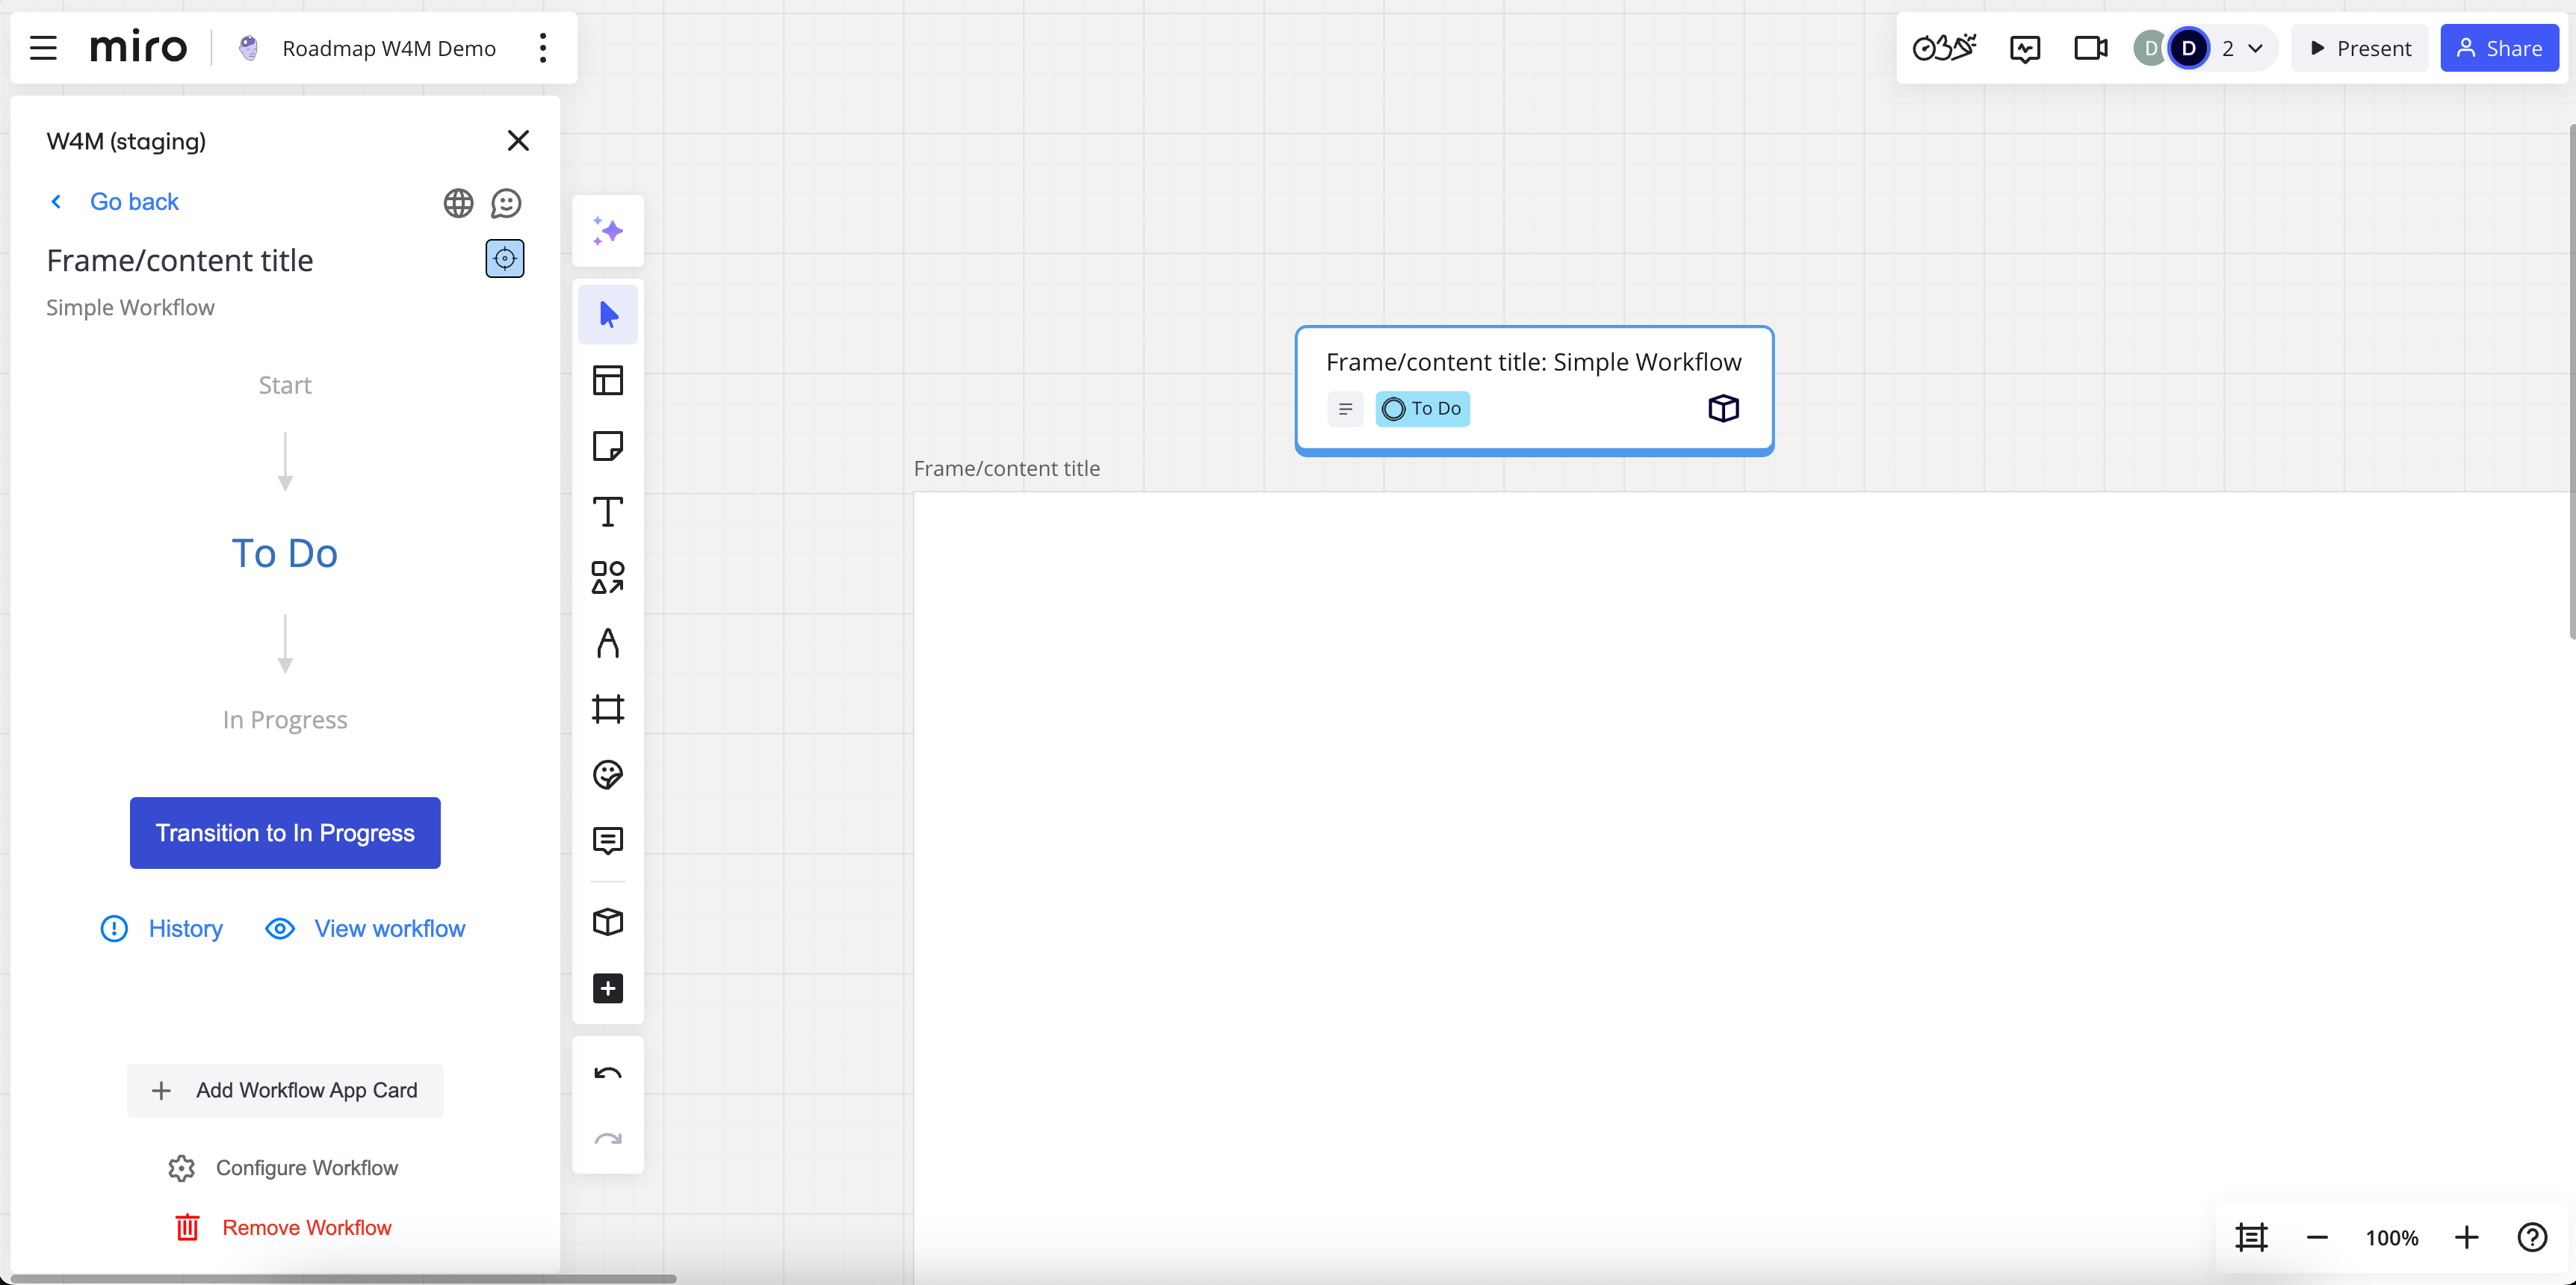
With Workflows for Miro, frames are now also a way to apply a workflow to specific content on your board.
-
Open Miro and navigate to the board you wish to apply a workflow to.
-
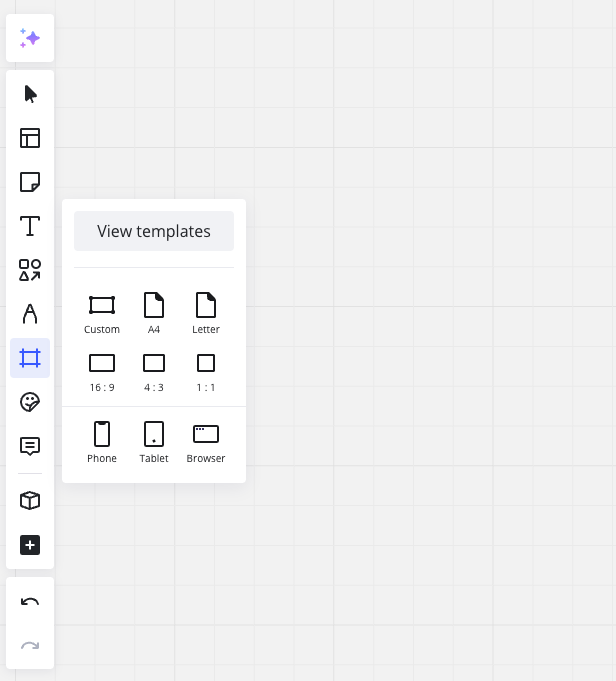
If you don’t already have a frame, use the Miro toolbar to add one and place the desired content within it. Optionally add a title to the frame which will be used to help identify the content and workflow.

-
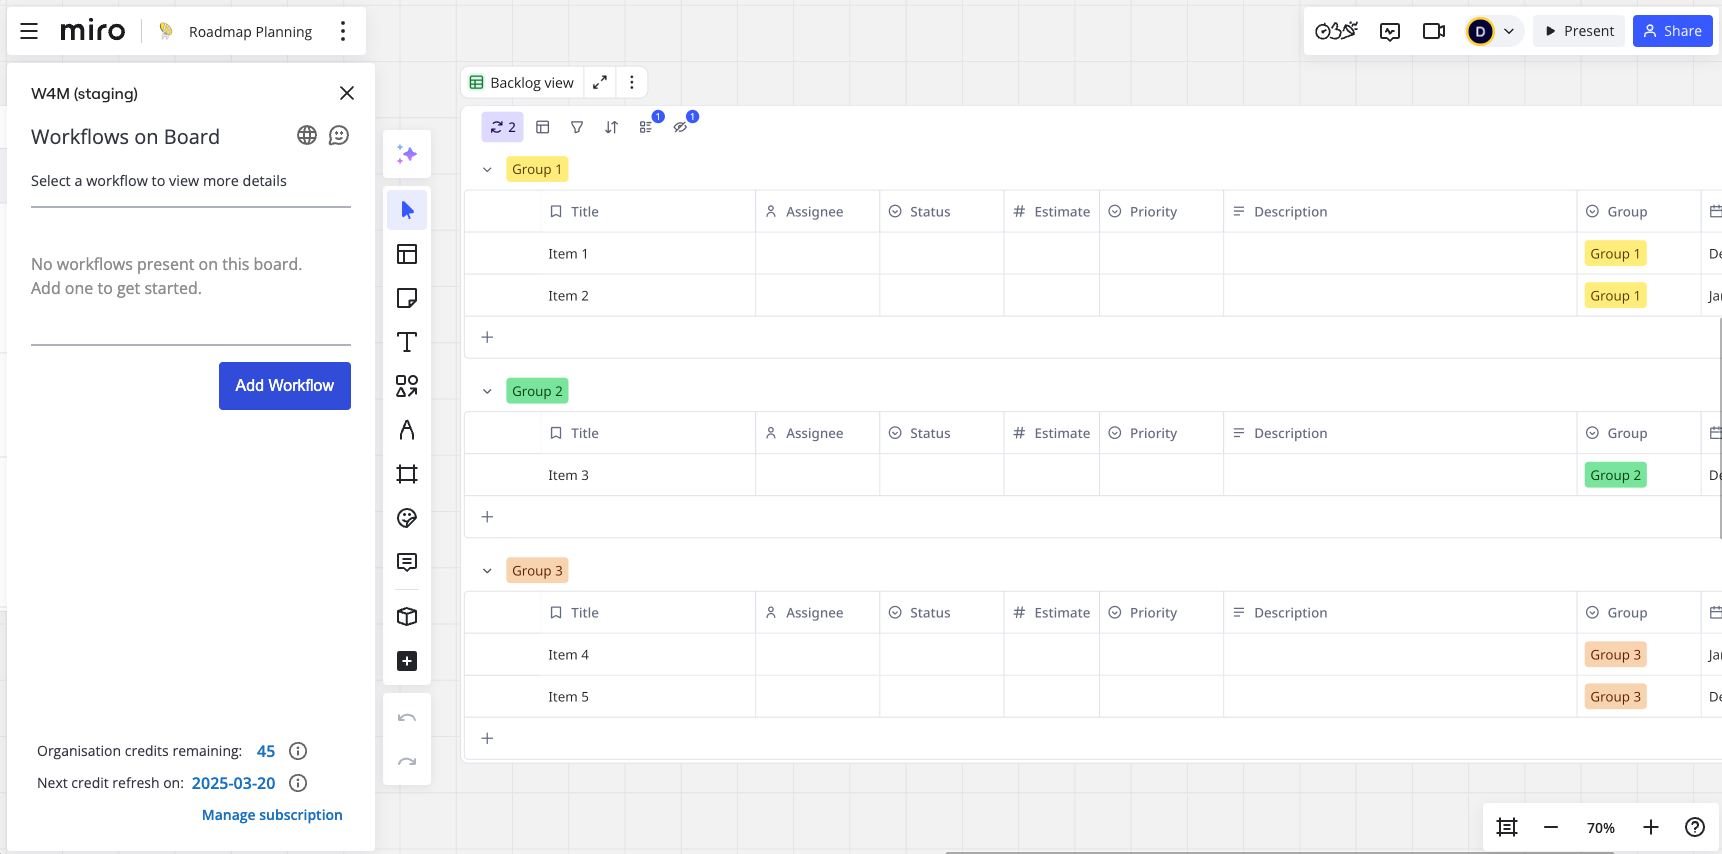
Using the toolbar on the left, open the Workflows for Miro app. This requires you to have the app installed in the relevant team.
-
Click the ‘Add Workflow’ button to begin the process.
-
If you don’t have enough credits on your plan, contact your administrator or see how subscriptions work here.
-
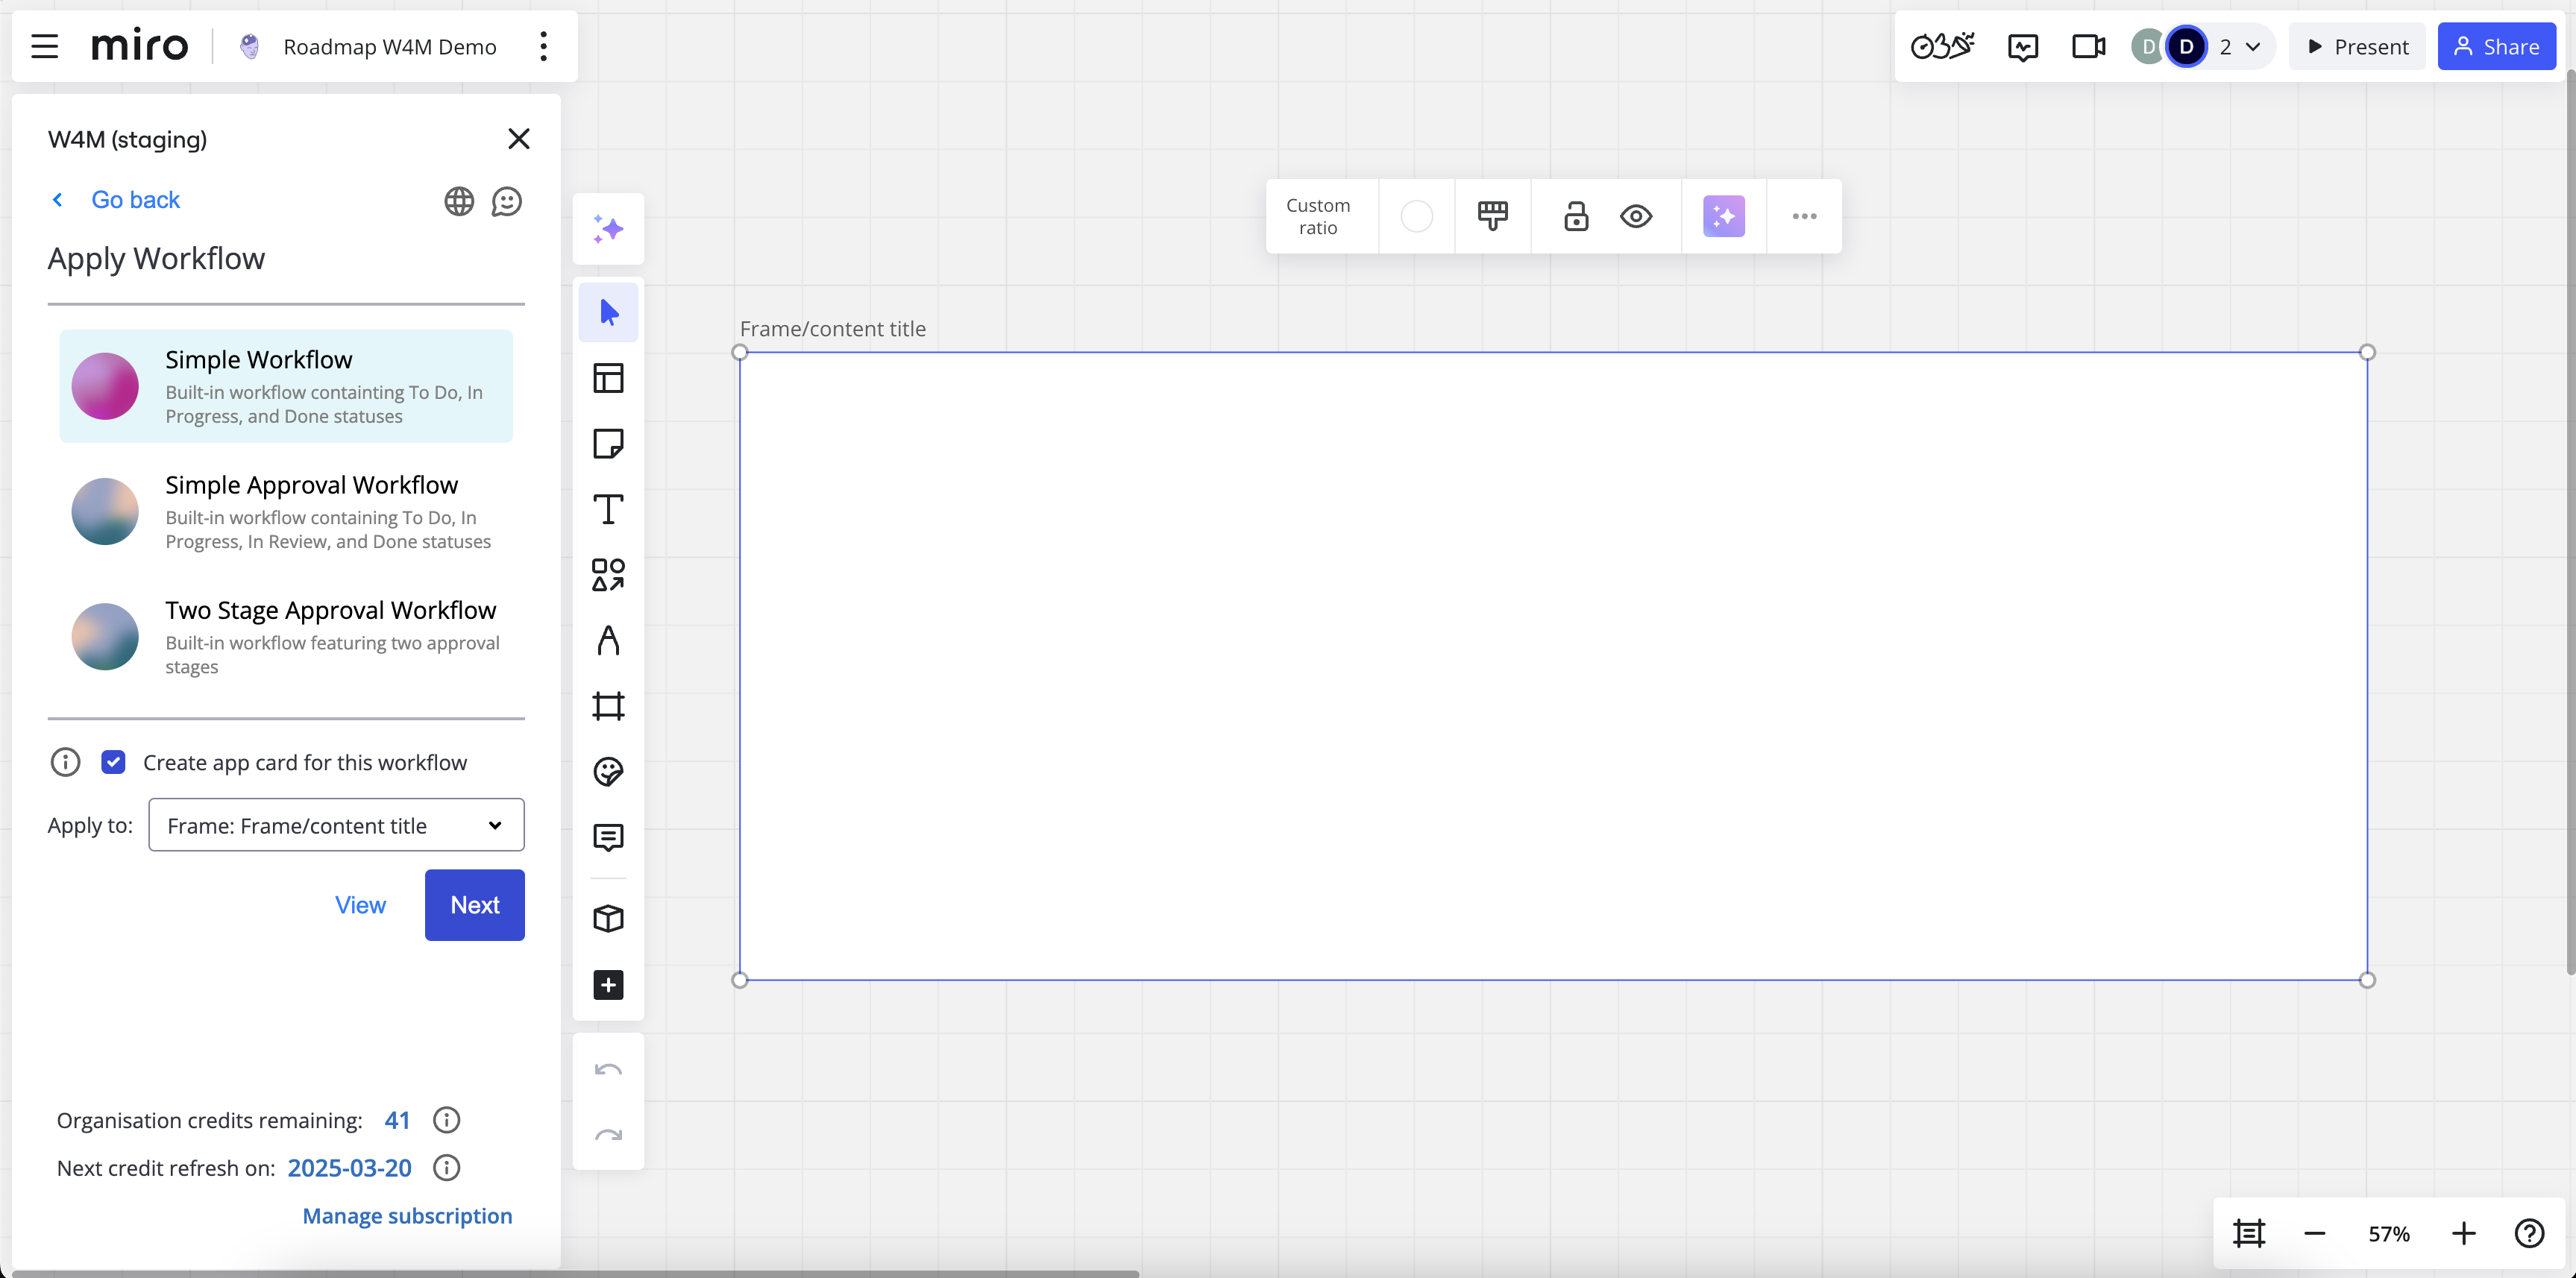
Otherwise you will see a list of workflows to choose from.
-
Select a workflow from the list.
-
Select the frame on the board or use the dropdown list to choose it by its title then click next.
-
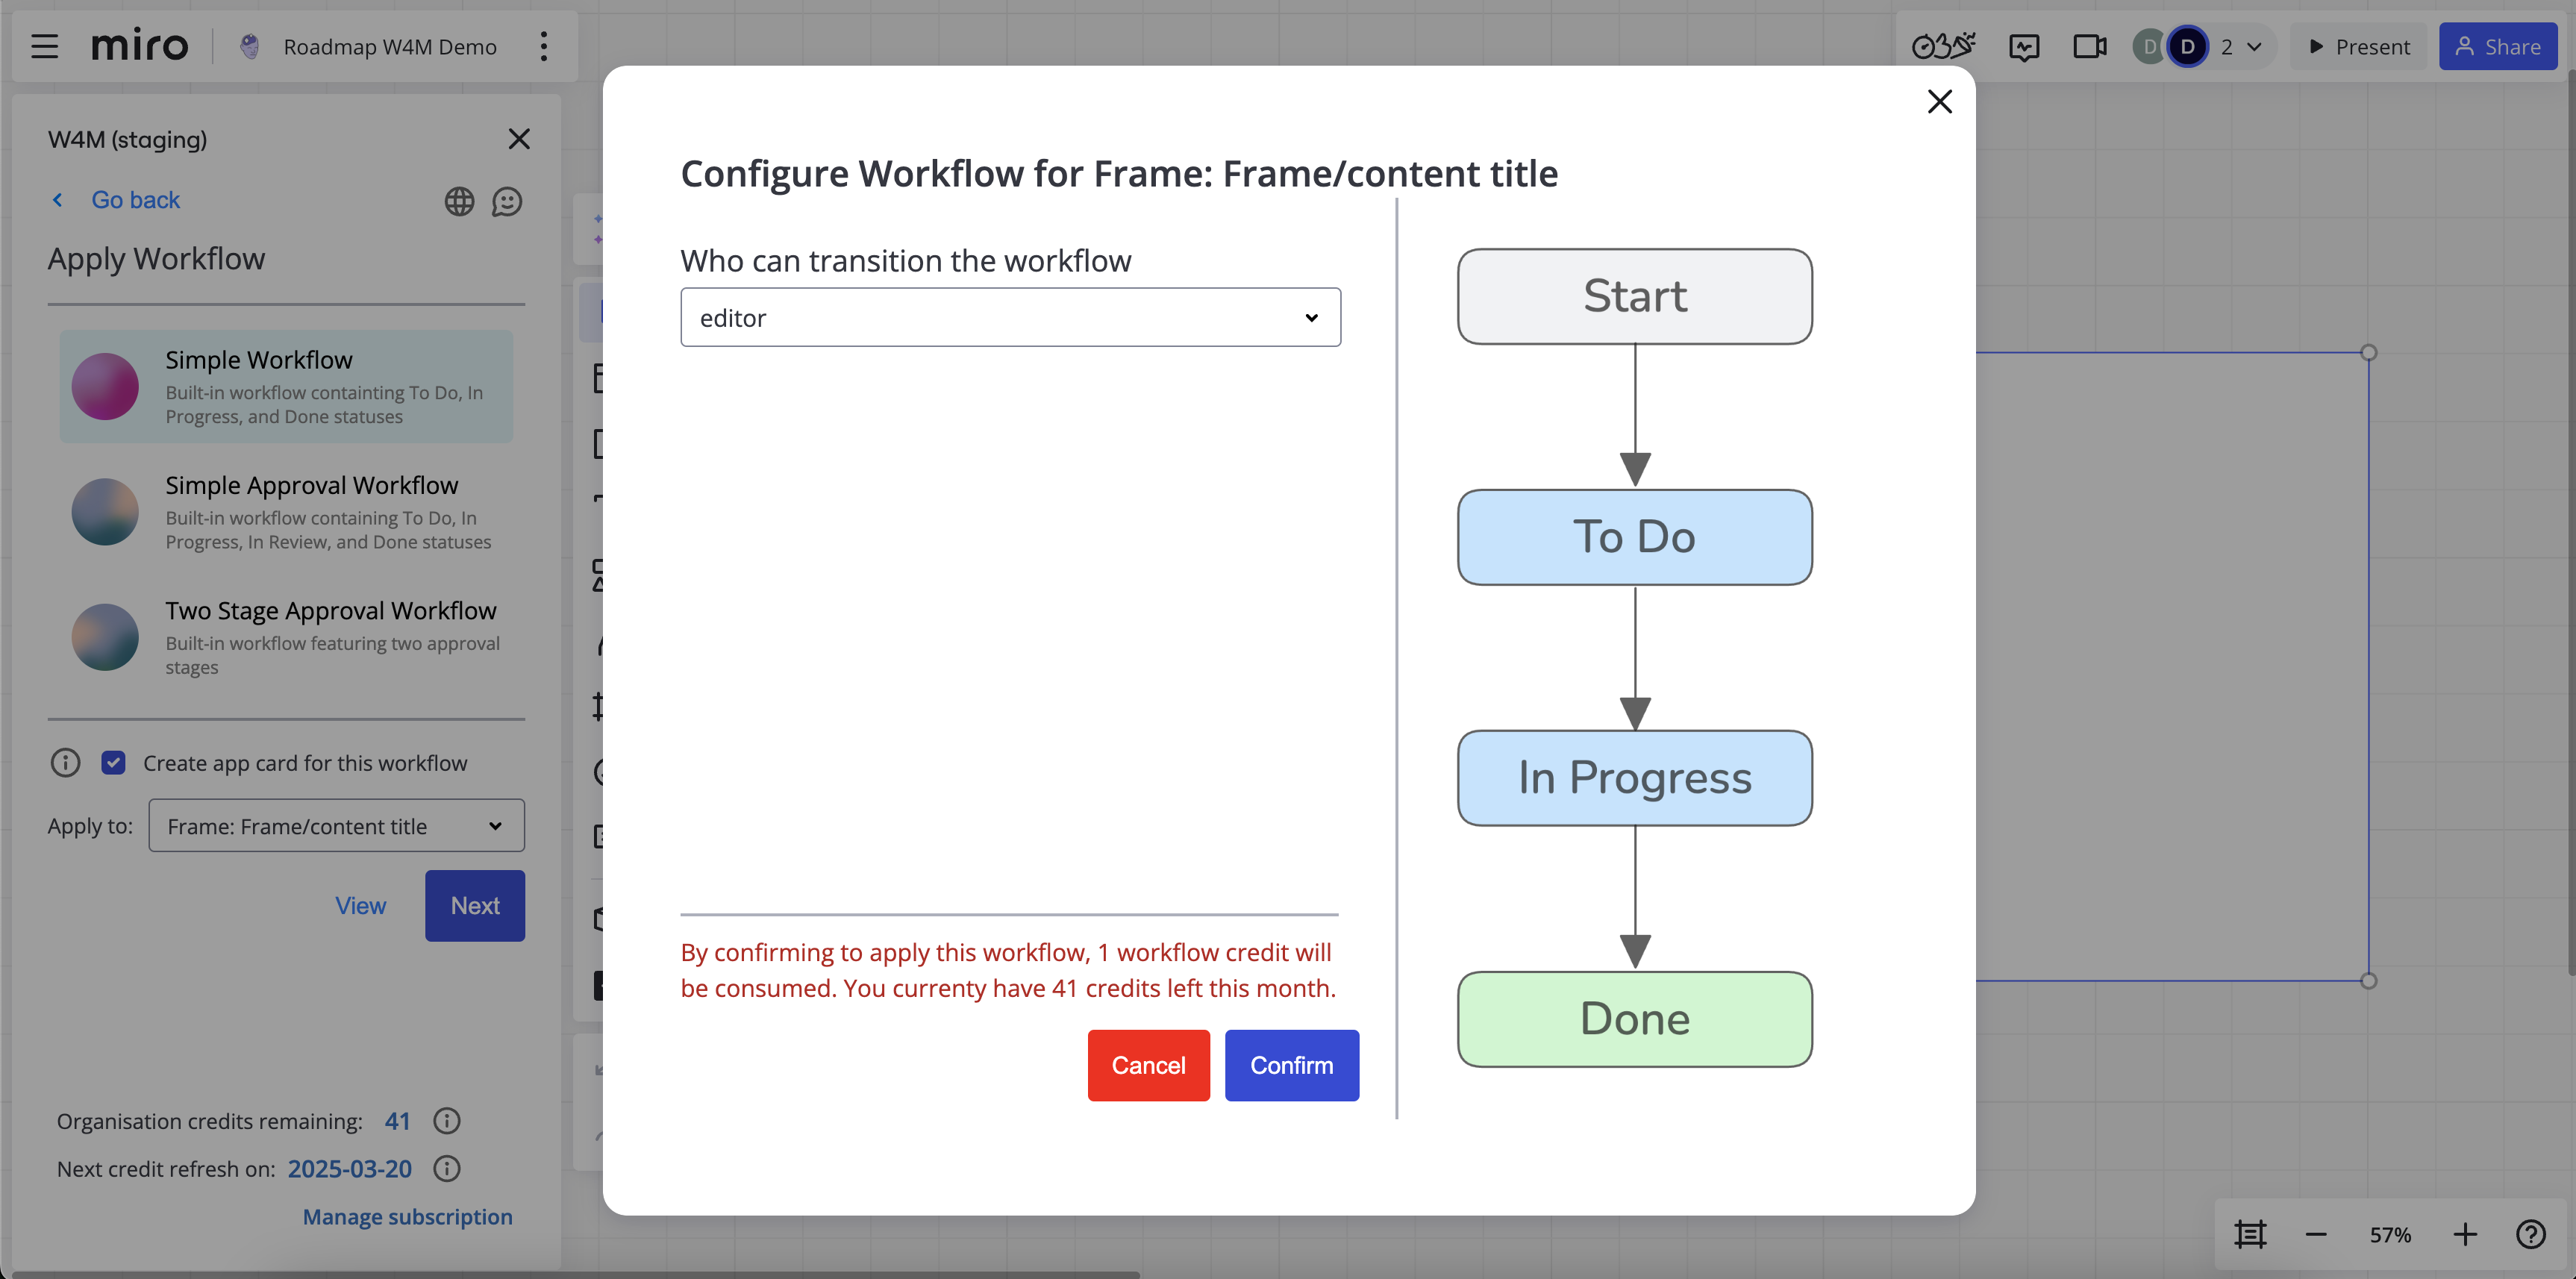
This will open a modal allowing you to configure the workflow and confirm to apply it. You will always be asked to choose which board roles can transition the workflow. For approval workflows, this is where you will configure the approvals.
-
Confirming at this point will consume one credit (unless you are on the unlimited plan) and apply the workflow to the board.
-
Done, the workflow is applied! Unless you unchecked the option, an app card will also be added to your board. It is suggested to place this near the relevant frame.
Need support? We’re here to help 🧡
If you have any questions or would like to speak with us about Workflows for Miro, please contact our Customer Support team.