-20250819-084018.svg)
Welcome to Optimizer for Jira 👋
Whether this is your first time using Optimizer or you just want a quick refresher, this guide will cover everything you need to know.
Please follow the guide below step by step, or jump to the sections that are most relevant to you.
Introduction to Optimizer for Jira
Optimizer for Jira is an all-in-one tool designed to help admins audit, configure and optimize their Jira instances with game-changing efficiency. It comes packed with a range of features that help you identify potential problems and highlight areas for improvement whilst enabling you to make changes effortlessly, at scale, in a matter of seconds with inline editing and bulk actions.
Installing Optimizer
The first step is to ensure Optimizer for Jira is installed. We’ve created this useful guide that will walk you through the installation process from start to finish.
Explore the key features in Optimizer
Optimizer for Jira is a powerful tool that has been designed to help you view information in a single place, make more informed decisions, and then make changes and improvements with ease.
As a result, Optimizer is packed with a range of features and you can learn more about these in our Features section.
View your Jira instance at a glance
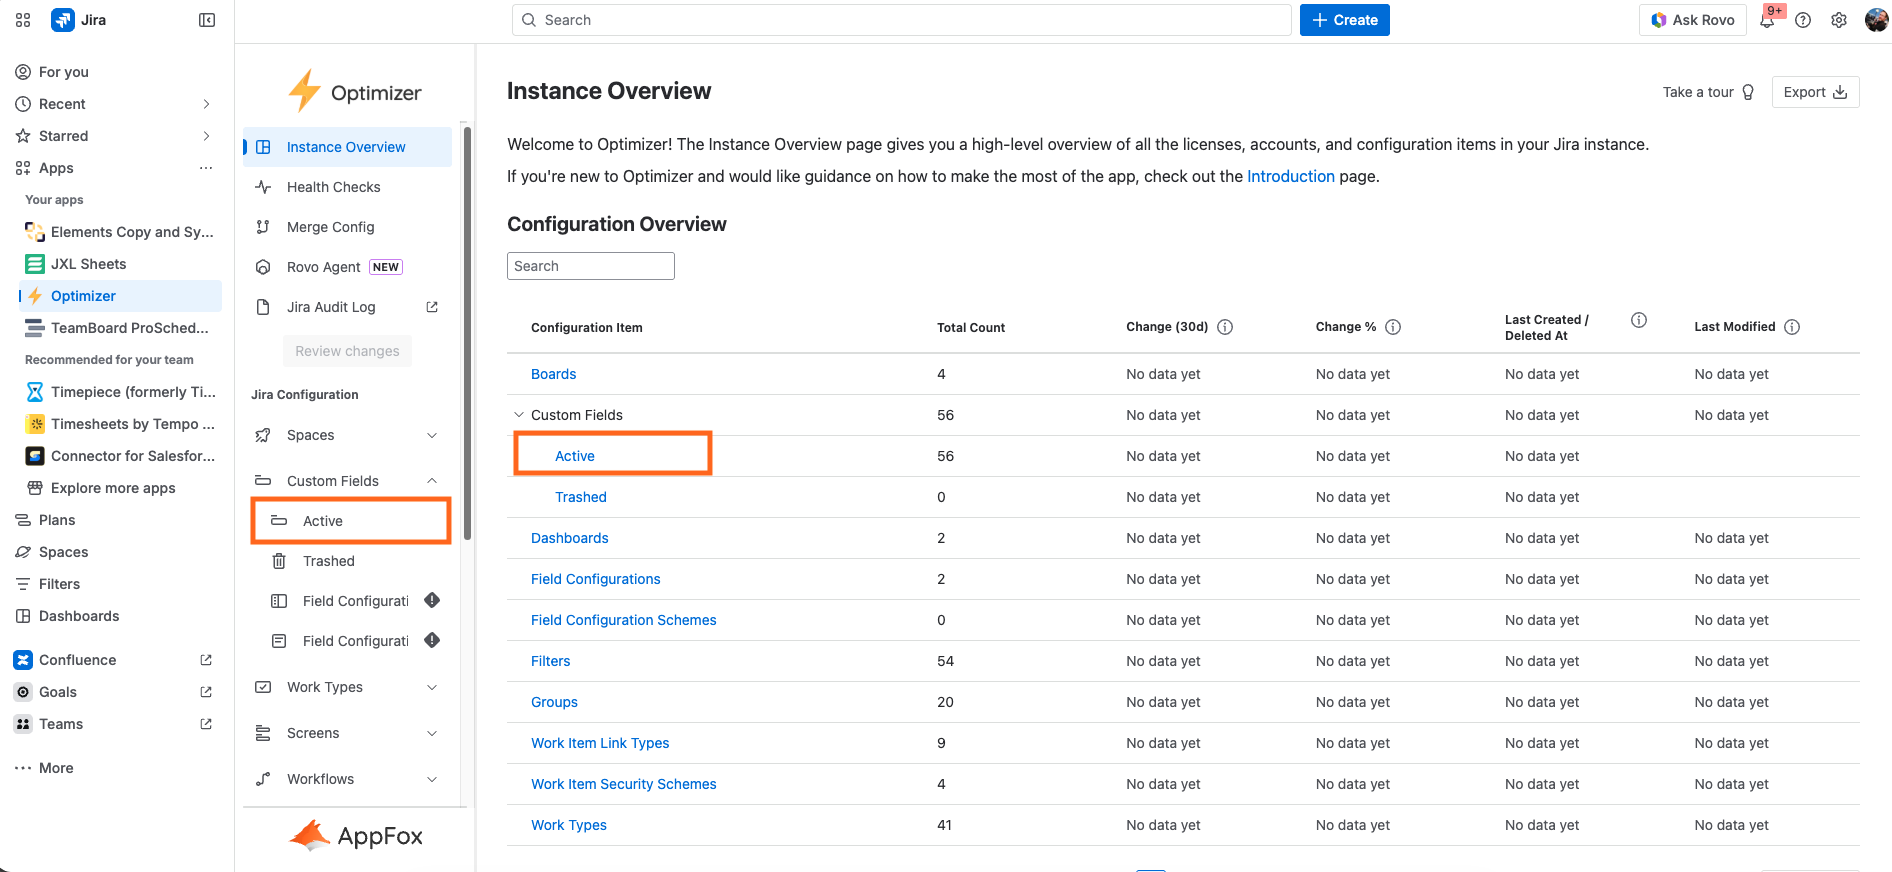
The first thing you will want to do in Optimizer is get a feel for the state of your Jira instance. The Instance Overview section of Optimizer is a popular feature and gives you a helicopter view of how many projects and configurations are in your instance.
By viewing your instance at a glance, you may notice some areas that look artificially high or require more investigation, and this is a great place to start.
Identify projects or configurations for optimization
Once you have identified some projects or configurations you want to investigate in more detail, you can use the Smart Tables to view all the relevant information associated with these.
Let’s say, for example, that you want to dive a little deeper into your Custom Fields. Simply click the Custom Fields > Active row on the Instance Overview table, or access it using the left-hand navigation menu, as shown below.
This will open the Custom Fields smart table where you can view all of your Custom Fields in more detail and make informed decisions about the best next steps.
Make changes with inline editing or bulk actions
Optimizer makes this quick and easy if you want to make any changes to your projects or configurations in Jira.
Within each smart table, you can use both the inline editing and bulk actions features to make lightning-fast changes across multiple objects simultaneously.
For more information about inline editing and bulk actions, please refer to the specific guides listed below:
Need support? We’re here to help 🧡
If you have any questions or would like to speak with us about Optimizer, please don’t hesitate to contact our Support team.