%20v2.png)
Using an External API for Data Detection
We recognize that many organizations have their own existing Data Loss Prevention (DLP) solutions. As a Confluence administrator, you can now integrate these solutions with Compliance for Confluence.
In this guide, we’ll show you how to integrate the Sensitive Data Detection feature in Compliance for Confluence with your DLP system so you can better identify and manage sensitive data in Confluence.
Introduction
Once this feature is enabled, Compliance will send Confluence page data to the External REST API you configure.
Your DLP system can scan this data for sensitive content and communicate its findings back to Compliance.
Based on these findings, you can then locate instances of sensitive data in your Confluence instance and take any necessary actions or set up automation rules to perform actions automatically.
How to setup the External API
Before linking your External API with Compliance for Confluence, please ensure you have set your Scan Scope and configured your Scan Options.
To configure your External API:
Click ⚙️ > Compliance Configuration.
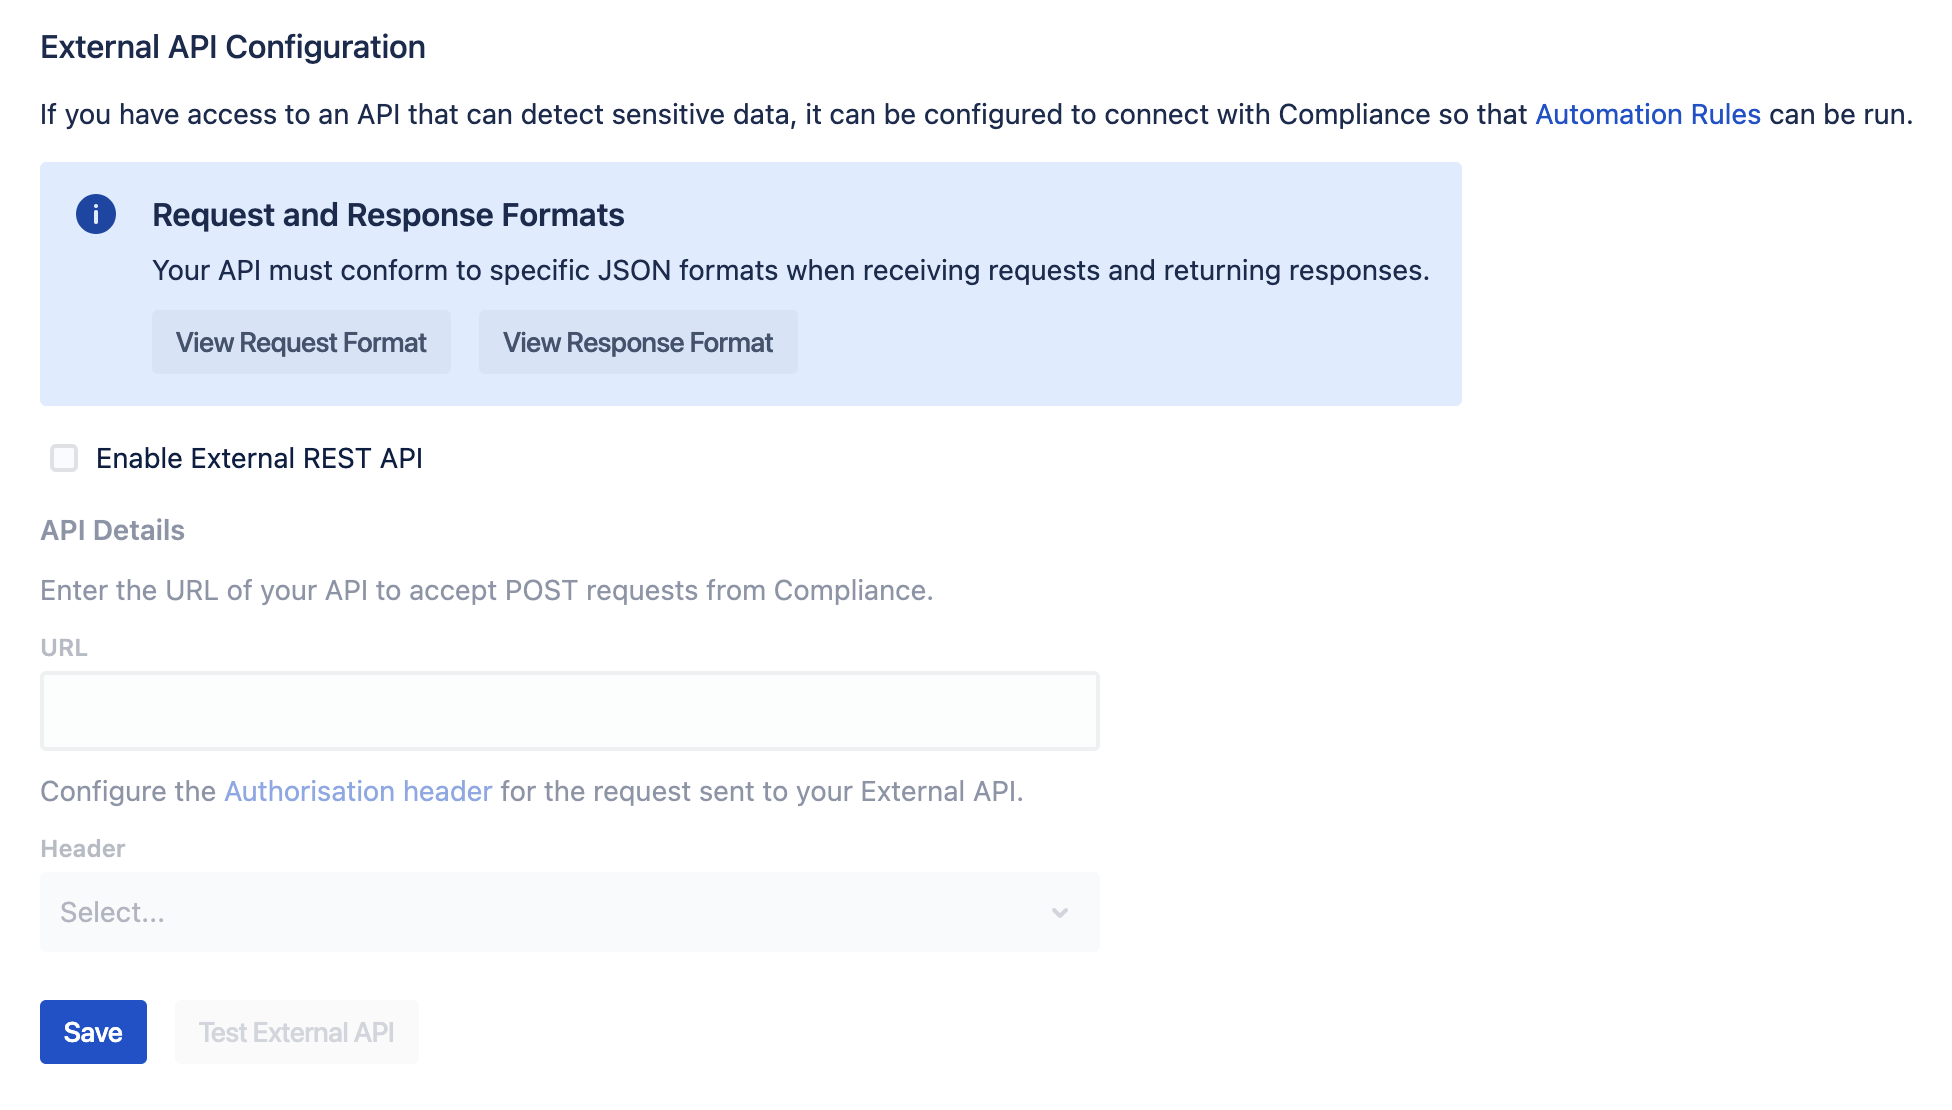
Navigate to the Detection page using the toolbar on the left and click the External API tab.
Request and Response Formats
Upon performing a sensitive data scan, Compliance will send POST requests in a JSON format, and expects responses to be returned in a specific JSON format.
Request format: Click View Request Format to see what data Compliance for Confluence sends to your API.
Response format: Click View Response Format to see what Compliance for Confluence expects in response from your API.
Note: We send one request per page to your API, and expect one response per page.
Further details on what each field of your response should represent, alongside example requests and responses, are shown below.
Response Format Details
Each field of your response should represent:
status: Indicates whether any errors occurred. Return “SUCCESS” if no errors occurred - even if no sensitive data was detected - or “FAIL” if there were issueserrorMessage: An optional response field which should be returned when an error has occurred that you want to be displayed in the scan logsisDetected: Indicates whether any sensitive data was detected. Should returntrueif any sensitive data was found, andfalseotherwisedetectedText: A list of detected sensitive data strings. If no sensitive data was detected, an empty list should be returned ([])detectionDate: The Unix timestamp in milliseconds when the detection was made
Example
An example request sent to your API by Compliance may look like:
{
  "pageId": "123456",
  "pageName": "Test 1",
  "pageUrl": "{base URL}/display/TEST/Test+1",
  "content": "Here is my secret key: my-secret-key",
  "creator": {
    "id": "8aa763a7bc8fd3c017bc8fdba7100000",
    "username": "bob",
  },
  "modifier": {
    "id": "8aa763a7bc8fd3c017bc8fdba7100000",
    "username": "bob",
  },
  "pageVersion": 1,
  "isPageLatestVersion": true,
  "lastModificationDate": 1673888033200
}
During sensitive data scans, the content field will contain the body of each page scanned. Your DLP solution should parse the content field of each request to search for sensitive data.
In the above case, if the string "my-secret-key" is sensitive data your API successfully detects, you should respond with:
{
  status: "SUCCESS",
  isDetected: true,
  detectedText: ["my-secret-key"],
  detectionDate: 1673888033222
}
If instead no sensitive data was detected, your API should respond with:
{
  status: "SUCCESS",
  isDetected: false,
  detectedText: [],
  detectionDate: 1673888033322
}
If your API encounters an error while attempting to perform detections, it should respond with a FAIL status, and optionally include an errorMessage field:
{
  status: "FAIL",
  errorMessage: "Failed to load sensitive data list",
  isDetected: false,
  detectedText: [],
  detectionDate: 1673888033322
}
Linking your API
At the bottom of the External API page, toggle the Enable External REST API checkbox.
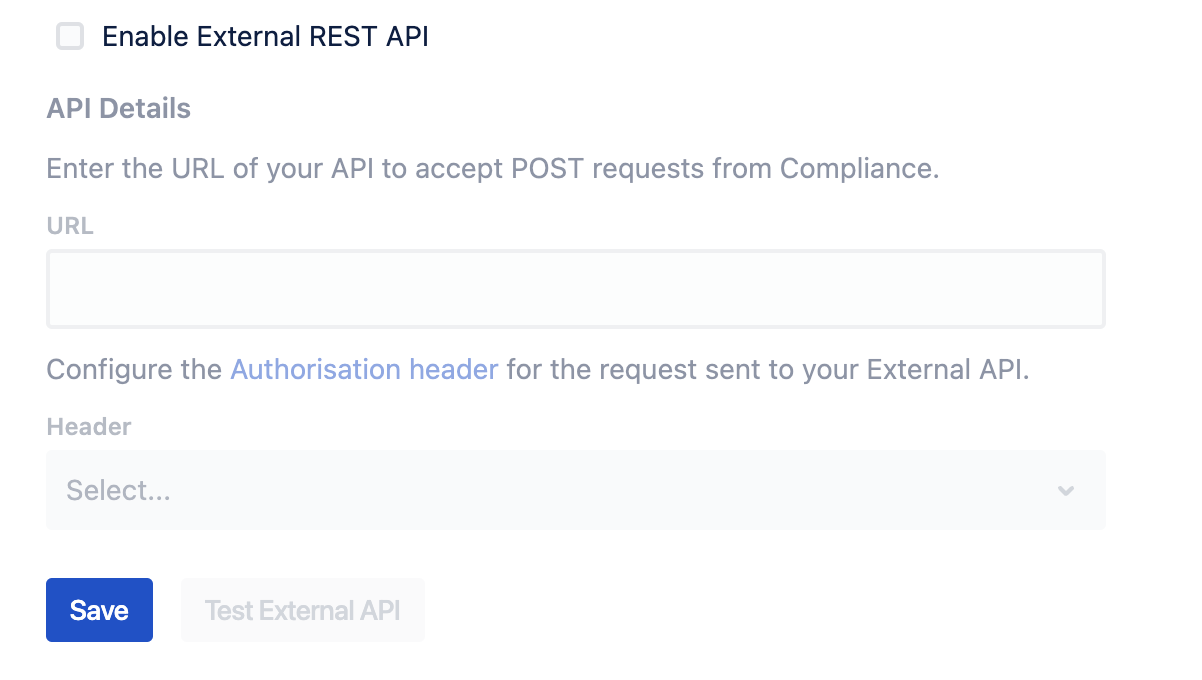
Enter your API's URL, choose Basic authentication, and input the authorisation details.
Note: Currently, we only support basic authentication. Token-based authentication will be added in the future.
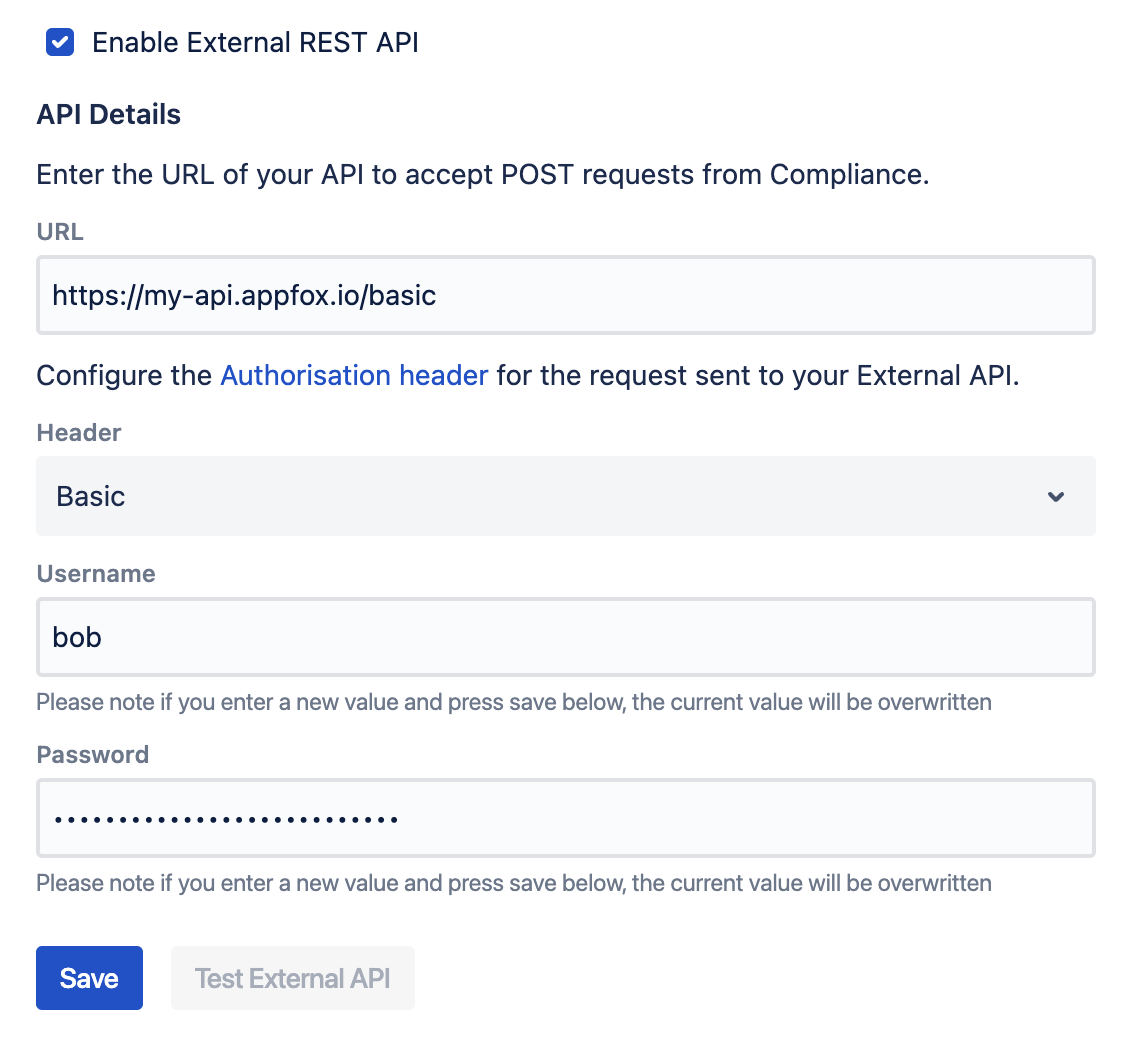
Click Save. This action overwrites any previously entered details and the authentication details won't remain visible for security reasons.
Running a Scan
Before running a scan, we highly recommend you send a test payload to ensure your API is responding in the correct format. Please view the Sending a Test Payload guide for more information.
After configuring your External API, information on each page scanned will be sent to it the next time a sensitive data scan is run. This is the case for real time scans, scheduled scans or manual scans. If you have not yet set up a sensitive data scan, please refer to the Configure Scan Options page of our documentation.
You will also be able to view any data detected by your API from within Compliance. Take a look at the Finding Sensitive Data page for information on this. Any data detected by your API will be labelled as an External Detection in the Sensitive Data Browser.
You can action on this detected data, or preemptively set up an Automation Rule to automatically perform actions when sensitive data is detected.
Need support? We’re here to help 🧡
If you have any questions or would like to speak with us about Compliance, please don’t hesitate to reach out to our Customer Support team.