%20v2.png)
Configure Scan Options
There are a variety of scans available for sensitive data, the following guide will explain each scan type and how you can set these up for your Confluence.
To reach the Scan Options page please do the following:
:Cog: Settings > Compliance Configuration > Detection > Scan Options
This page allows you to do three important actions: view scan status, change scan options and perform manual scans.
Overview of In-Scope Pages
The “Overview” section shows how many of your in-scope pages have been scanned.
The coverage value is a percentage representing how many in-scope pages have been scanned. If the value is not 100%, there are pages which have not yet been fully scanned. This may be due to pages being edited, or new pages being created. The overview bar shows how many pages have been scanned or not yet scanned. A page can either be scanned at its latest version (green), scanned previously but with a new version which is not yet scanned (orange), or never scanned (grey).
If you previously ran a sensitive data scan, but many of those pages have been edited since, you should expect the overview bar to display these pages as “Latest version unscanned”. Similarly, if many new pages have been created since a scan was last run, you should expect these new pages to be displayed in the overview as “Unscanned”. If you have never run a sensitive data scan before, you should expect the coverage to be 0% and the overview bar to fully consist of “Unscanned” pages.
If the coverage percentage is low and there are few pages fully scanned, it is recommended to start a new sensitive data scan. This can be done by setting the scan to run on a schedule, or initiating a manual scan immediately. This is further explained below.
The overview section should also alert you if a sensitive data scan is currently in progress. If this is the case, the values displayed in the overview bar should change as more pages are scanned.
Change Scan Options
This allows you to choose whether the scan takes place in real time (as the pages are created/updated) or on a scheduled basis.
When a scheduled scan is selected, you're required to choose an acting user. Scanning requires pages to be retrieved which may have different permissions, hence Atlassian requires it to be run as a particular user. This means the pages that are scanned will be ones that this user has permission to access.
You can select one (or both) of these options, and please ensure to click "Save" afterwards. Selecting both adds an extra layer of security in that any pages that might have been missed by the real time scan will be picked up by the scheduled scan.
If you choose to run scans on a schedule, or run them manually, you can also decide to only scan pages created or edited since the last scan, as shown below.
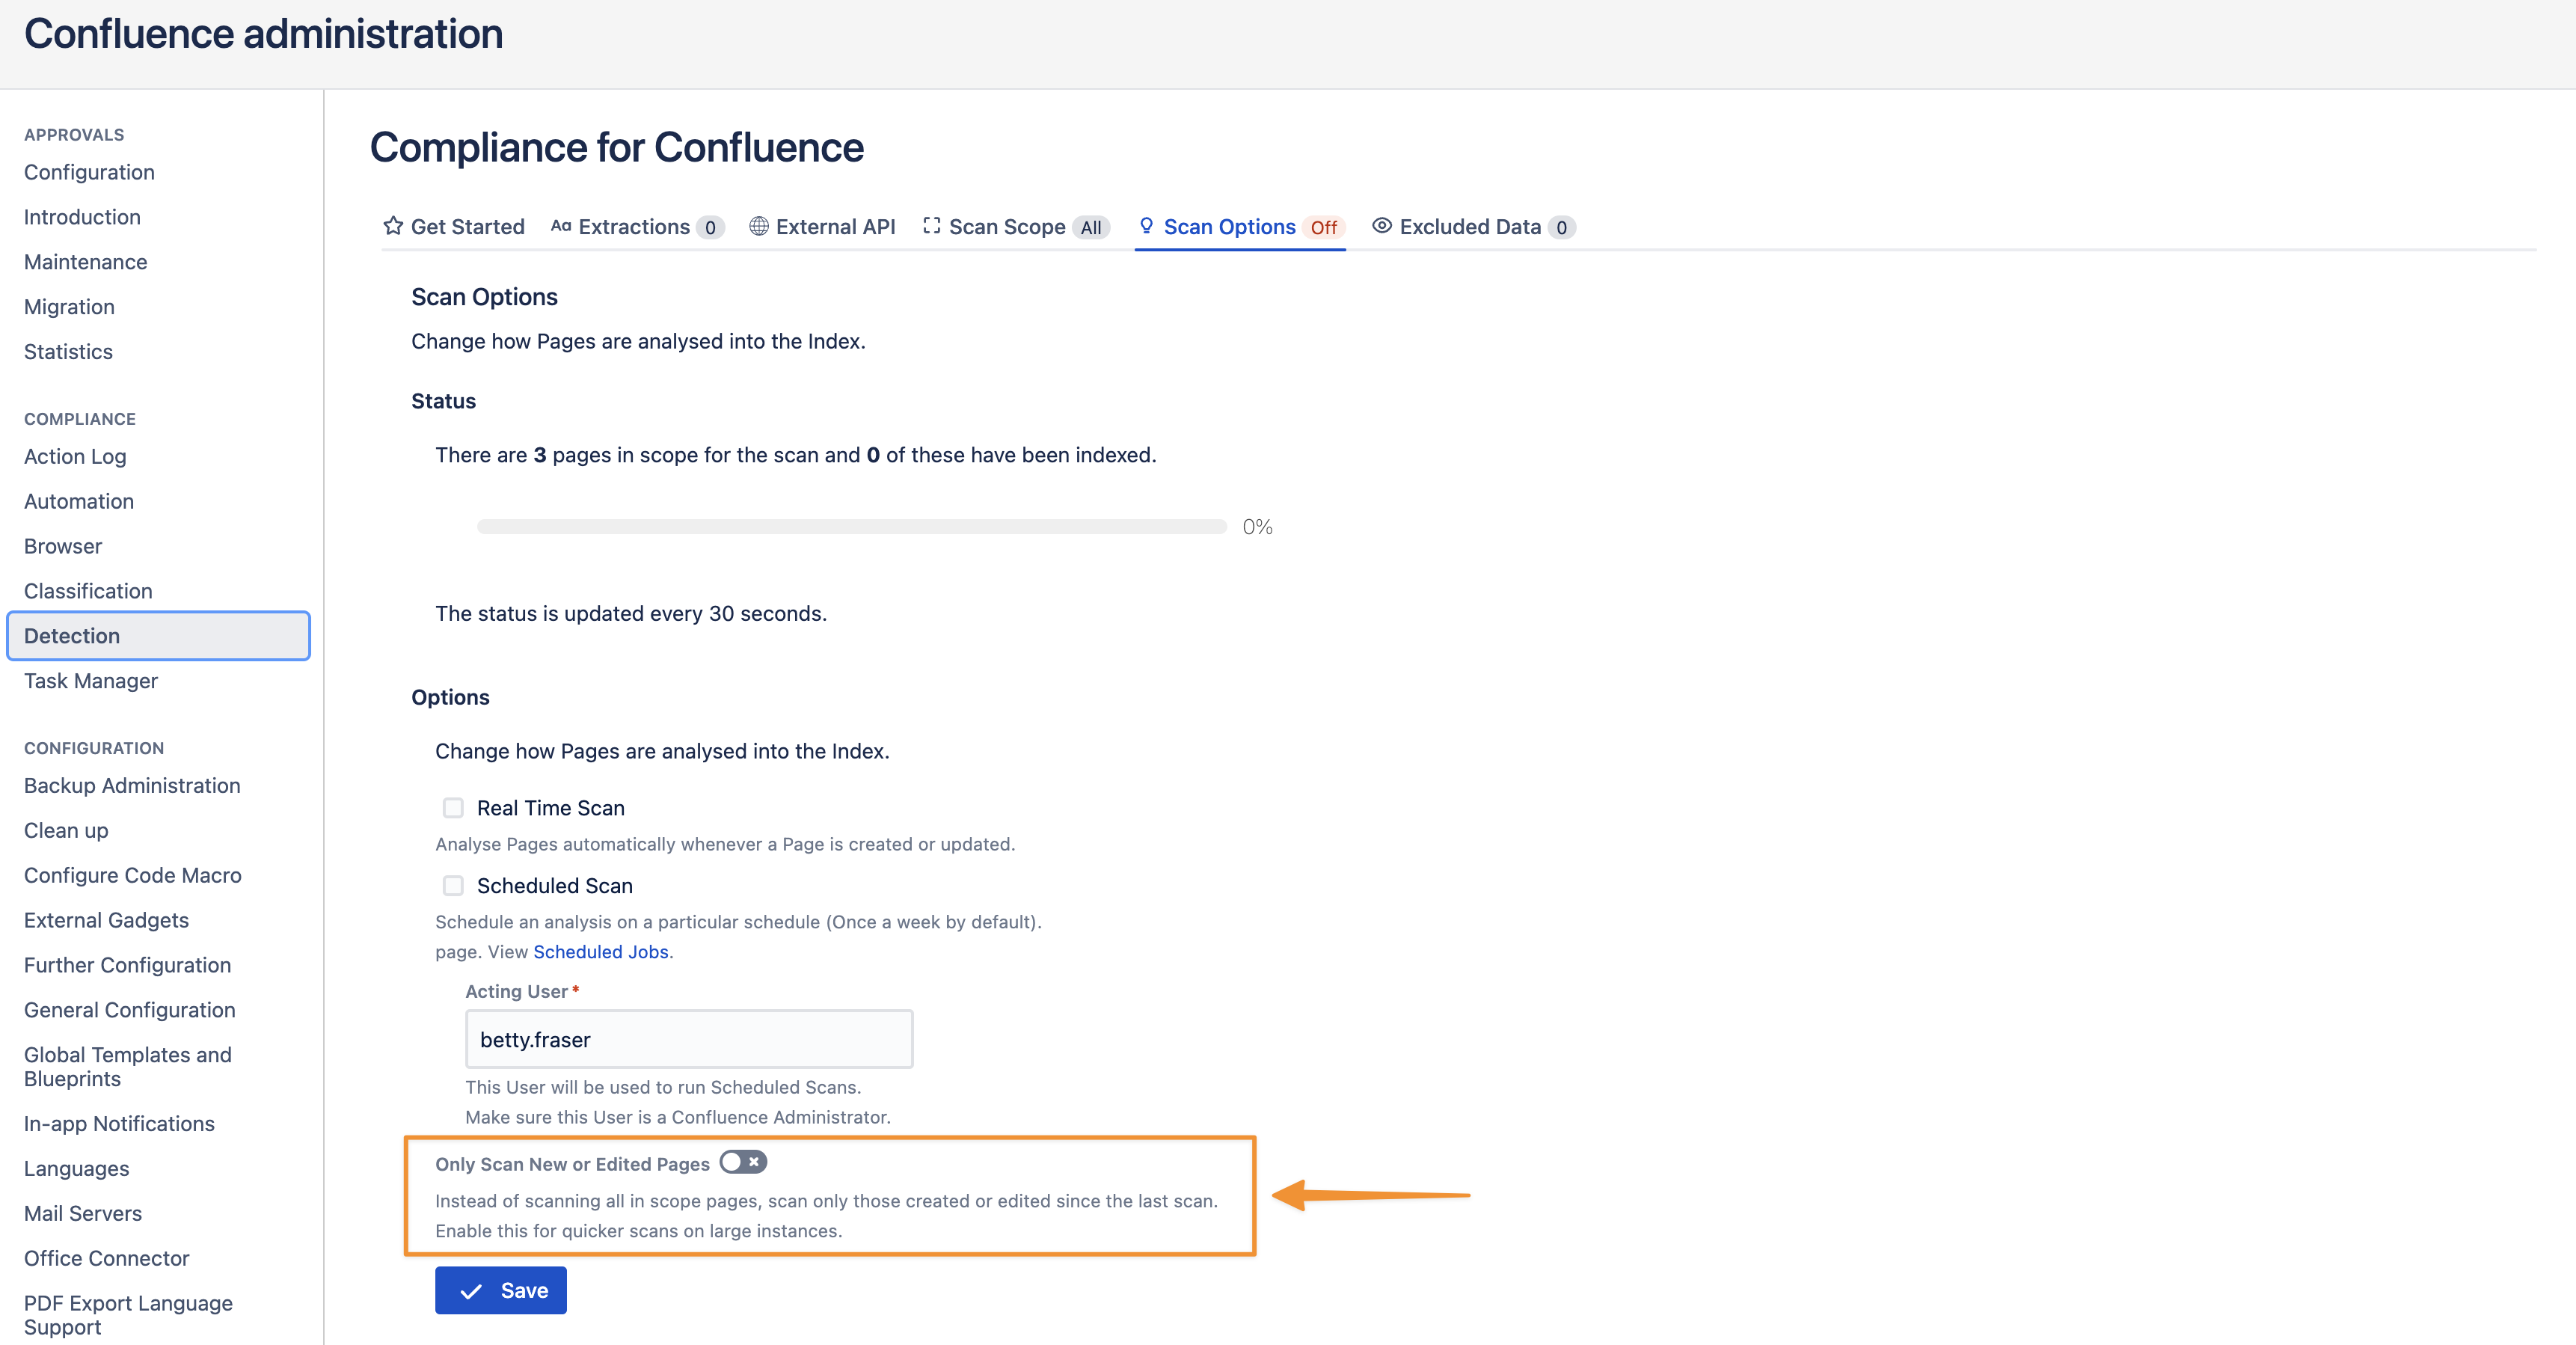
By default, Compliance for Confluence will scan all pages in scope each time a scan is run. Choosing to only scan new or edited pages causes unchanged pages to be skipped, resulting in quicker scans. This is useful if you are running Compliance for Confluence on a larger instance, capturing many pages with each scan.
On the other hand, you may wish to define new extractions and search previously scanned pages for data you now deem to be sensitive. In this case, you should disable the option which only scans new or edited pages. Then, even unchanged pages will be scanned and any new extractions you have defined will be searched for on each page.
Perform Manual Scans
You can use the On-Demand Scan option to run a scan manually, as shown below.

These should be primarily used when you have just set up Compliance for Confluence or when you've just updated to the version that has the Sensitive Data Analysis feature. If you believe that there are Confluence pages in scope that have not been scanned can use this feature to get up-to-date.