%20v2.png)
Initial Setup
So you’ve just installed Compliance for Confluence for the first time; now what?! As a Confluence admin, the power is in your hands, and in this guide, we’ll walk you through the steps to get started.
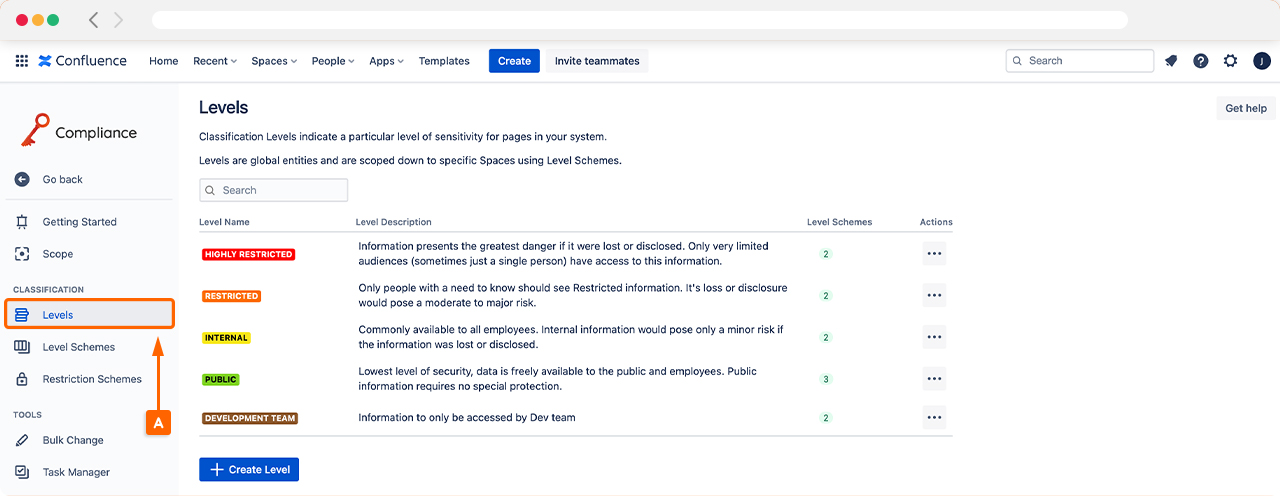
Step 1: Create Classification Levels
Compliance for Confluence comes with 4 default classification levels out of the box; Highly Restricted, Restricted, Internal, and Public. You will likely want to create your own, and you can easily do this by following the guides in the Levels (A) section.
Step 2: Create Level Schemes
Classification levels are applied throughout Confluence using Level Schemes (B). Before creating a Level Scheme, you must decide whether your organization wants one set of classification levels for your entire Confluence instance or if you want to have different classification levels available across your spaces.
Depending on your choice, you will need to create one default Level Scheme or multiple Level Schemes by following the Level Schemes guide.

Step 3: Create Restriction Schemes
Restriction schemes align access restrictions to Confluence pages with the designated classification level. This is a useful way to protect information stored in Confluence and ensure it is accessible to the right users or groups.
Before creating a Restriction Scheme, you must decide whether you want one set of restrictions to be used throughout Confluence or if you want page restrictions to be customized within each space.
Similar to the level schemes above, depending on your choice, you will need to create either one default Restriction Scheme or multiple Restriction Schemes. You can do this by following the Restriction Schemes (C) guide.

Step 4: Apply Levels and Restriction Schemes
After setting up your Level Schemes and Restriction Schemes, the next step is to apply these to your Confluence instance by using the Scope settings.
Scope allows you to choose how levels and restrictions are applied across your Confluence instance, and this is where you can choose to apply them globally or at an individual space level.
The diagram below shows how Schemes can be managed at an individual space level for the Marketing and HR team.
.png?inst-v=7ce298e6-03fd-40e1-a395-7e0b3836d062)
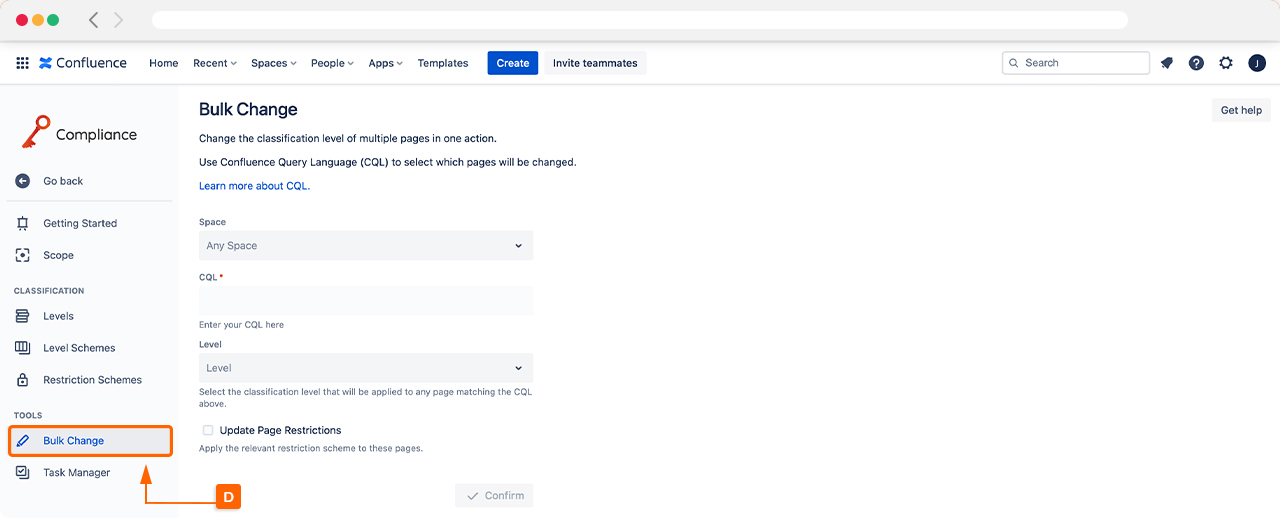
Step 5: Apply Levels to Existing Pages
If you have been using your Confluence instance for a while, then you may have existing pages that need to be classified. Instead of doing this within each individual page which would be time-consuming and tedious, you can use the Bulk Change (D) feature to apply classification levels to pages in bulk.
To use this feature, we recommend looking at the bulk change guide for more information.
And after completing step 5, you’re done! 🎉
While those are the main steps needed to set up Compliance for Confluence, it does come with other features, so be sure to check out the rest of our documentation and how-to videos. We’re here to help if you have any questions or want to chat with our team, so please let us know, and we’ll be in touch!
Need support? We’re here to help 🧡
If you have any questions or would like to speak with us, please don’t hesitate to reach out to our Customer Support team.