-20250819-084018.svg)
Over time, there will be members of your organization who change roles or decide to move on to pastures new.
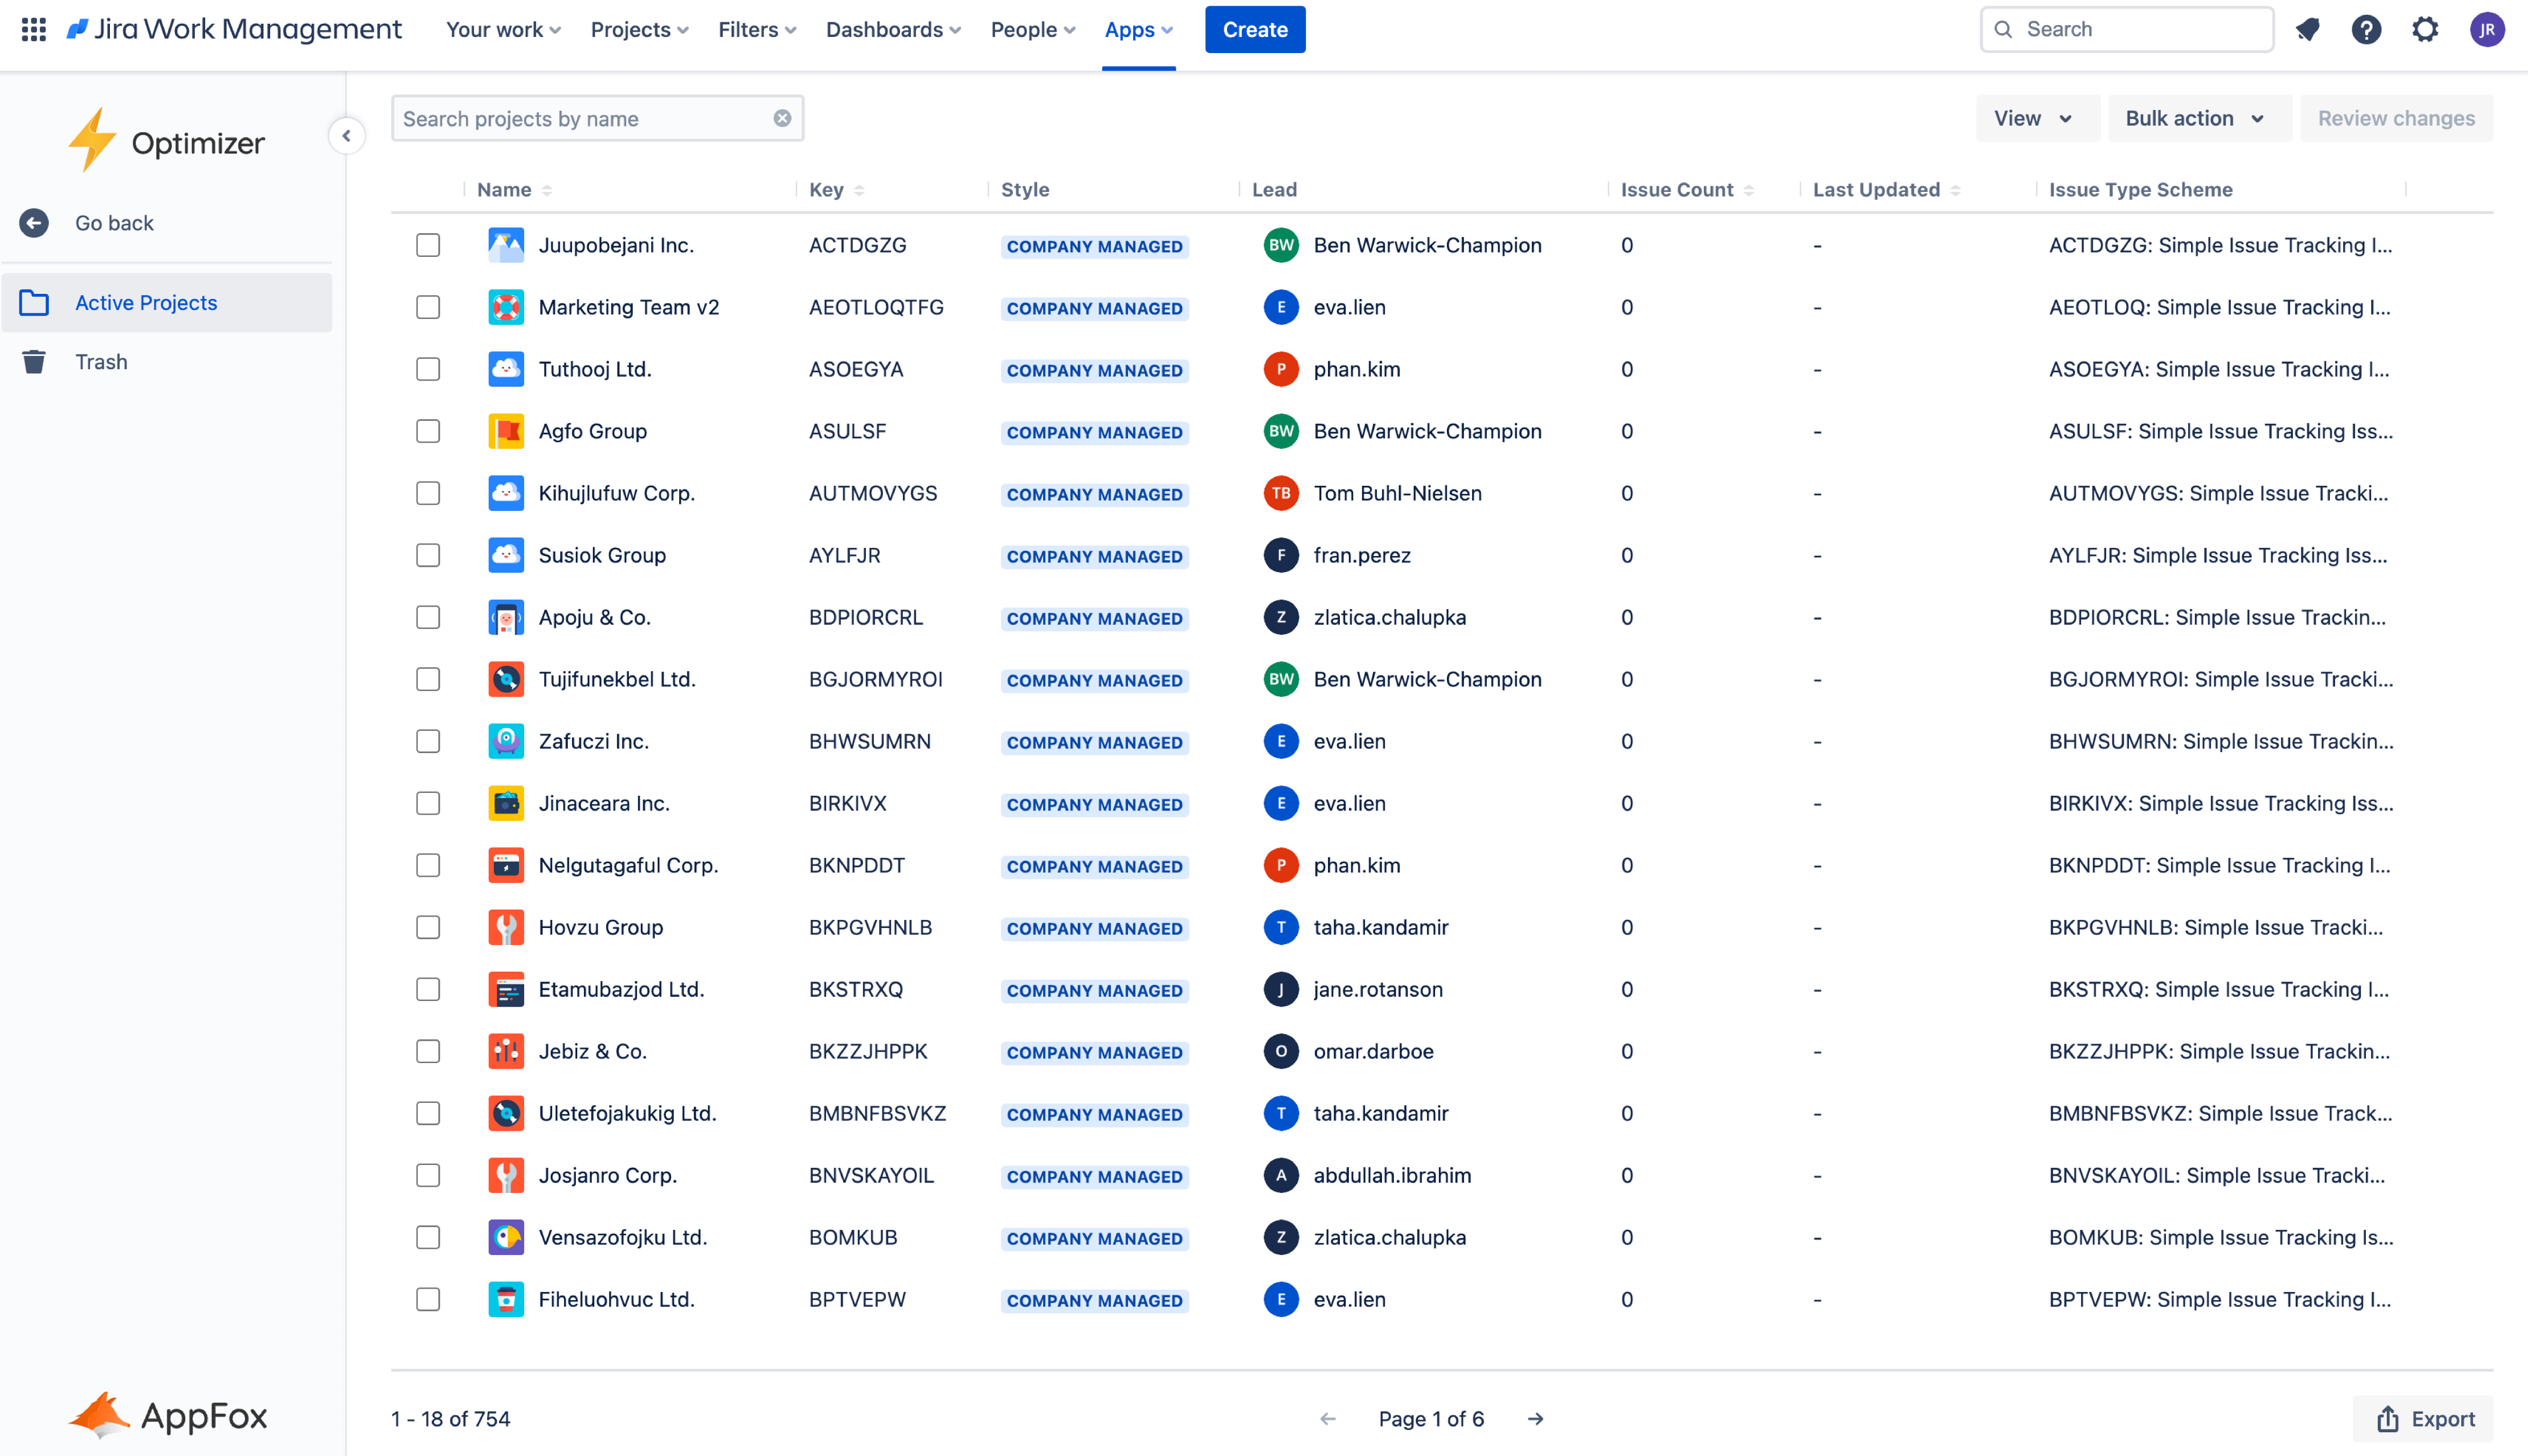
As a Jira admin, you have the important responsibility of keeping Jira access up to date but also ensuring the right members of the team have access or ownership of a Project.
Changing the Project Lead in Jira can be time-consuming as you need to navigate to each individual Project to make the change and then save it. However, with Optimizer for Jira you can make these changes across multiple Projects in seconds (not minutes) using the powerful Inline Editing feature in the Active Projects Smart Table.
Changing a Project Lead
If you want to change a Project Lead in Jira, you need to navigate to each individual Project and change the lead manually. With Optimizer, you can save a lot of time by updating Project Leads from one central location: the Active Projects table.
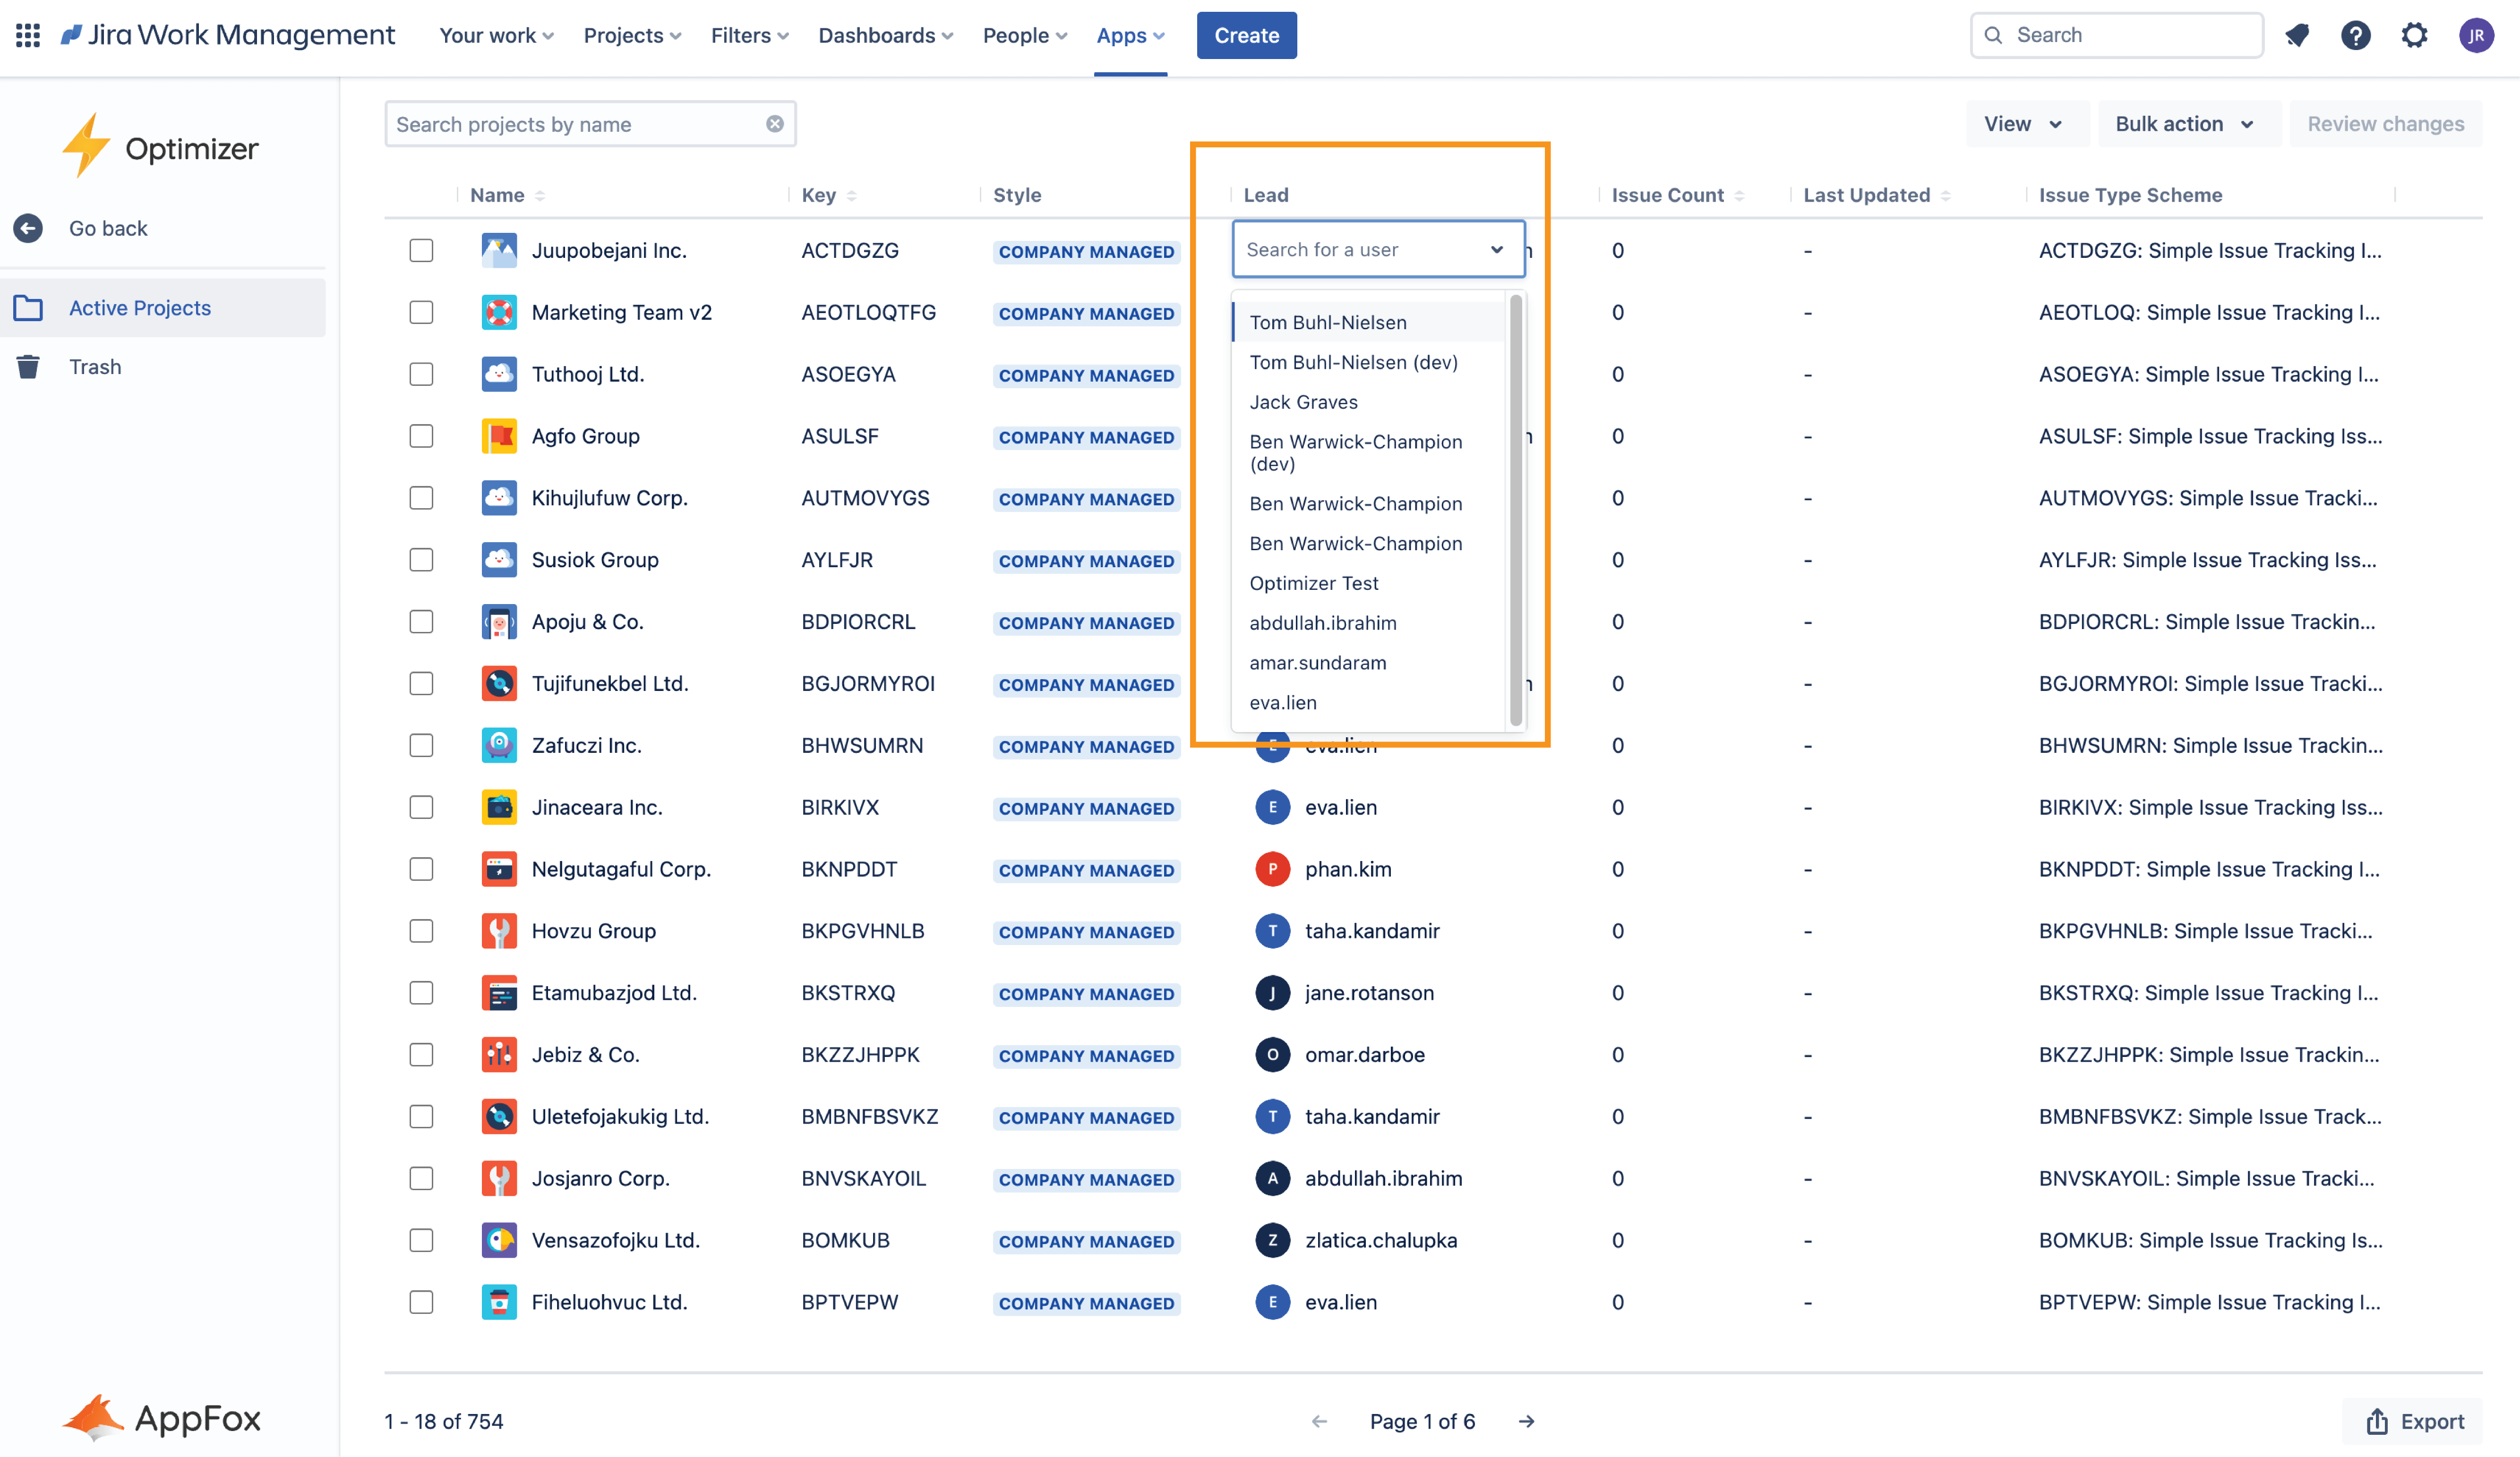
To change a Project Lead in Optimizer, access the Active Projects Smart Table and find the Project(s) you want to change the Lead for. Next, double-click the Lead field for those Projects, and a drop-down menu will appear that allows you to select a new Project Lead, as shown in the image below.
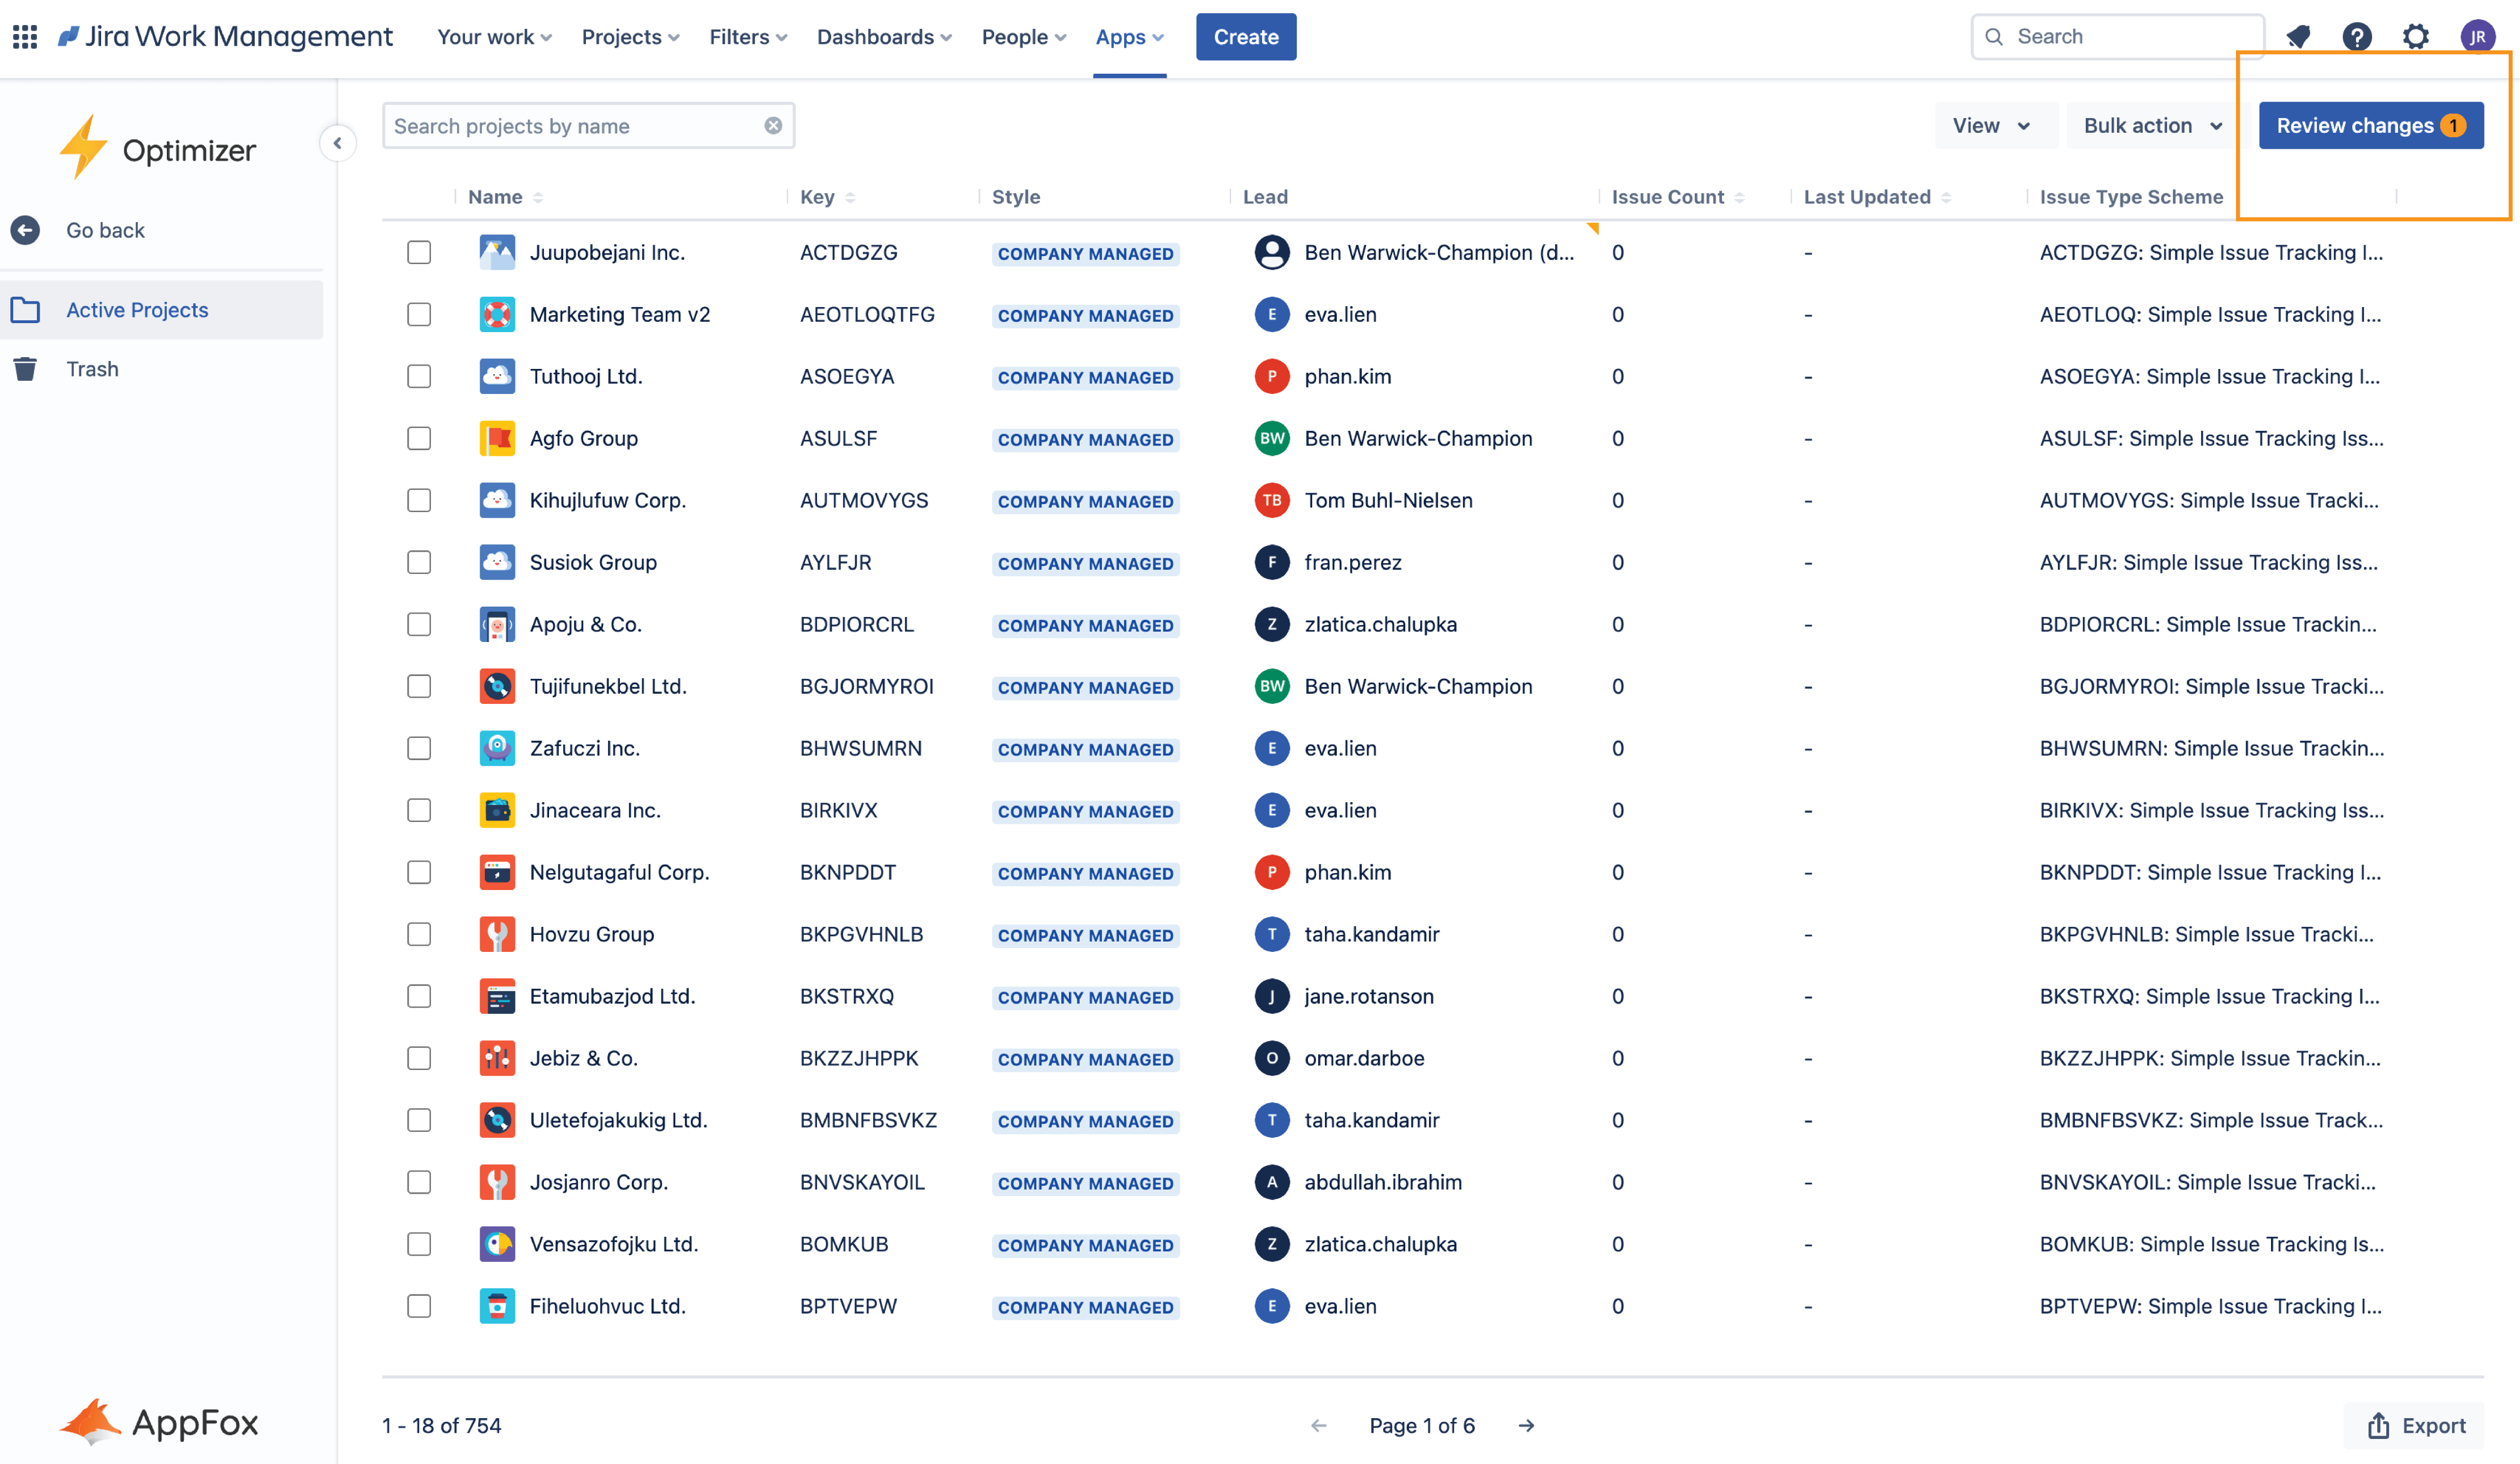
Once you have selected a new Project Lead, a small orange marker will appear in the top-right of the table cell to indicate that the change is pending; all changes made in Optimizer are added to a queue so that they can be reviewed before being finalized. Click the Review changes button and then Save selected changes when you are ready.
Once completed, the changes will be live in Jira and the Project Lead(s) would have been updated.
Need support? We’re here to help 🧡
If you have any questions or would like to speak with us, please don’t hesitate to reach out to our Customer Support team.