%20v2.png)
Installation
Important: Approvals for Trello will be retired and no longer available from Aug 1st 2025 | Read more here
Let’s get you up and running with Approvals for Trello. There are two ways to install the Approvals for Trello Power-Up and in this section we will cover both:
Install from Trello
Install from Optro (paid version)
Important: you will need to add our Power-Up to allowed 3rd-party cookies for it to operate correctly. This can be easily done within your web browser.
Installing from Trello
You can install the Power-Up from within your Trello Board or the Trello Power-Up directory. Follow these steps to add it from your Trello Board:
Open the Board where you want to the Power-Up to be enabled.
If the right-hand-side sidebar is not already open, click on ‘Open menu…’ in the top-right.
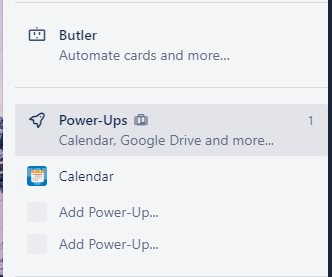
Click on the ‘Power-Ups’ item (see below) in the board menu - this will open the Power-Ups directory.
Search for “Approvals for Trello”
Once you have found the Power-Up, click into it and press 'Enable'
This will activate the Power-Up on your Trello Board and enable you to start using it.
You can also upgrade to the Pro version of Optro from within Trello.
Installing from Optro
The Pro version of Approvals for Trello comes with more powerful features such as Approval Teams, Card Automation, and the Approval Dashboard view. To install this version of the Power-Up, visit the Optro marketplace and follow the steps below:
Access the Approvals for Trello Power-Up
Click “Subscribe”
Set up your Optro account and payment details within Stripe
Select the Trello Boards you want to enable Approvals for Trello on
Confirm your subscription