%20v2.png)
Register for Optro Vendor
Important: Optro will cease to exist as of Aug 1st 2025. We thank you for all your support! Find out more here
Before you can place a Power-Up on Optro and begin promoting it, you need to create an Optro Vendor account. The registration process is simple and we’ll walk you through the steps below.
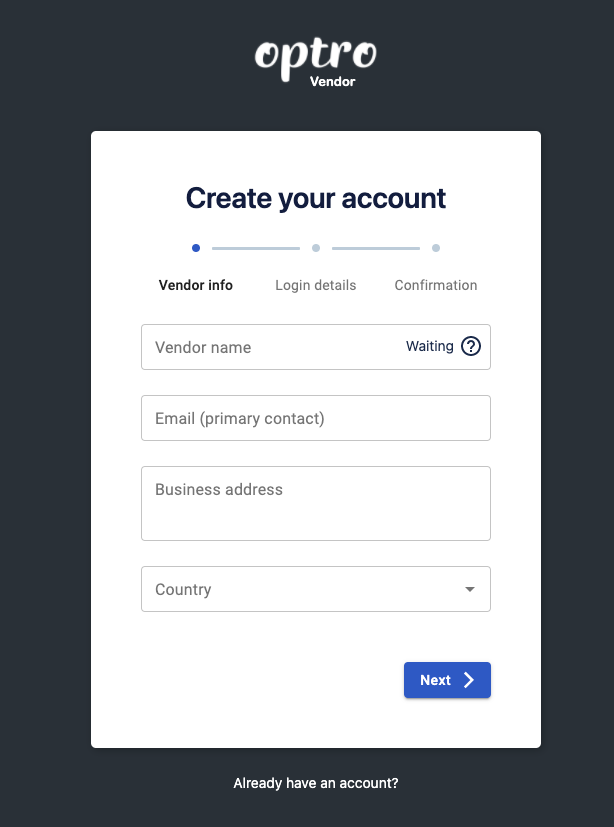
Step 1 - Vendor details
Enter the following information in the Vendor Info section:
Vendor name - this is usually the name of your company or business. Note: you can change this at a later stage if required
Email (primary contact) - the Optro team will use this email to contact you regarding your vendor account
Business address - this should be your main business address (e.g. headquarters / main office)
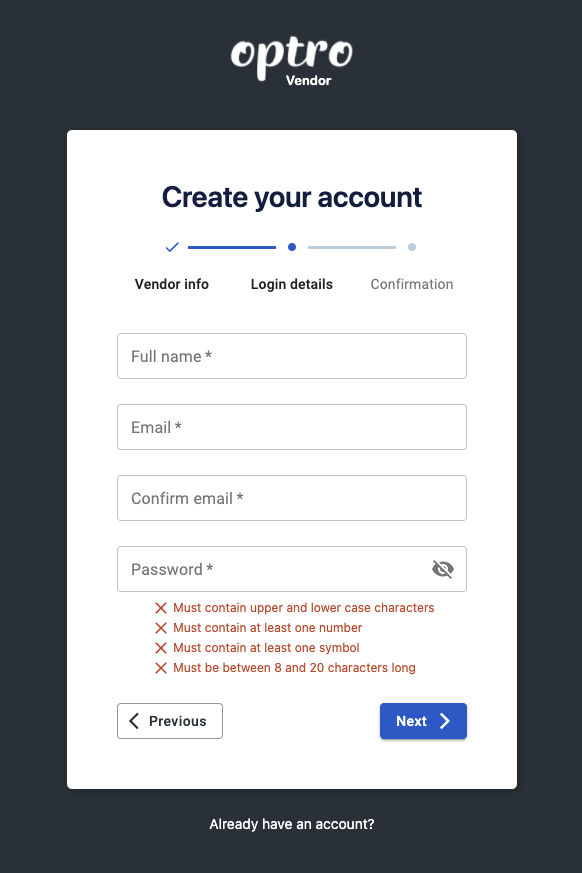
Step 2 - Optro Vendor Account Details
This information will be used to log in to Optro Vendor:
Full name - the name that will appear in your Optro Vendor account
Email - the address you will use to login to the Optro Vendor account
Password - please follow the on-screen password requirements
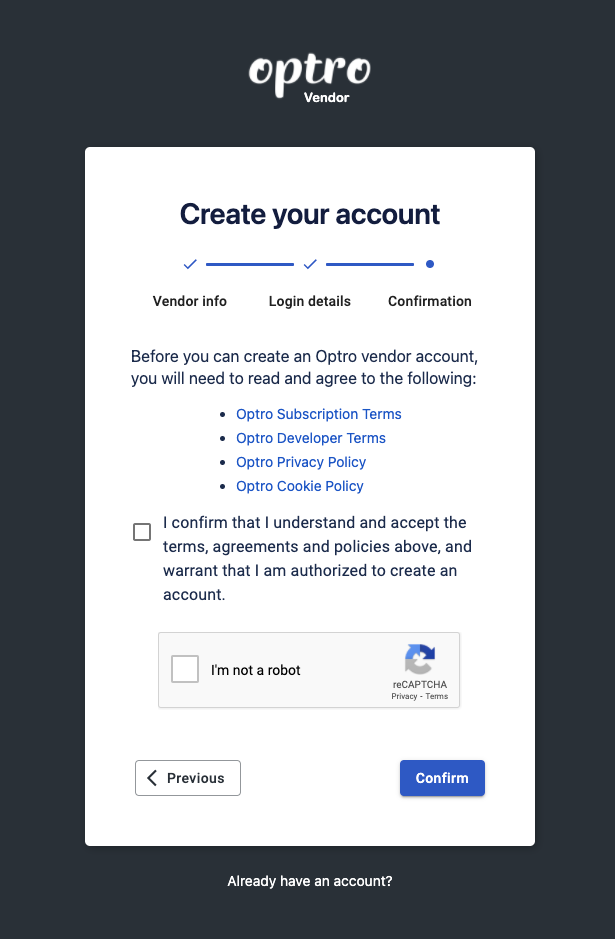
Step 3 - Confirmation of Optro Vendor Terms & Policies
Before you can create an account you need to have read and confirmed you understand the terms and policies.
Step 4 - Email verification
The final step is to verify the email address for your Optro Vendor account.

Once verified, you will be able to login to your Optro Vendor account and begin managing your Power-Ups.