-20250819-084018.svg)
The Smart Tables in Optimizer for Jira are customizable, so you can display the data needed to inform your decisions as a Jira admin.
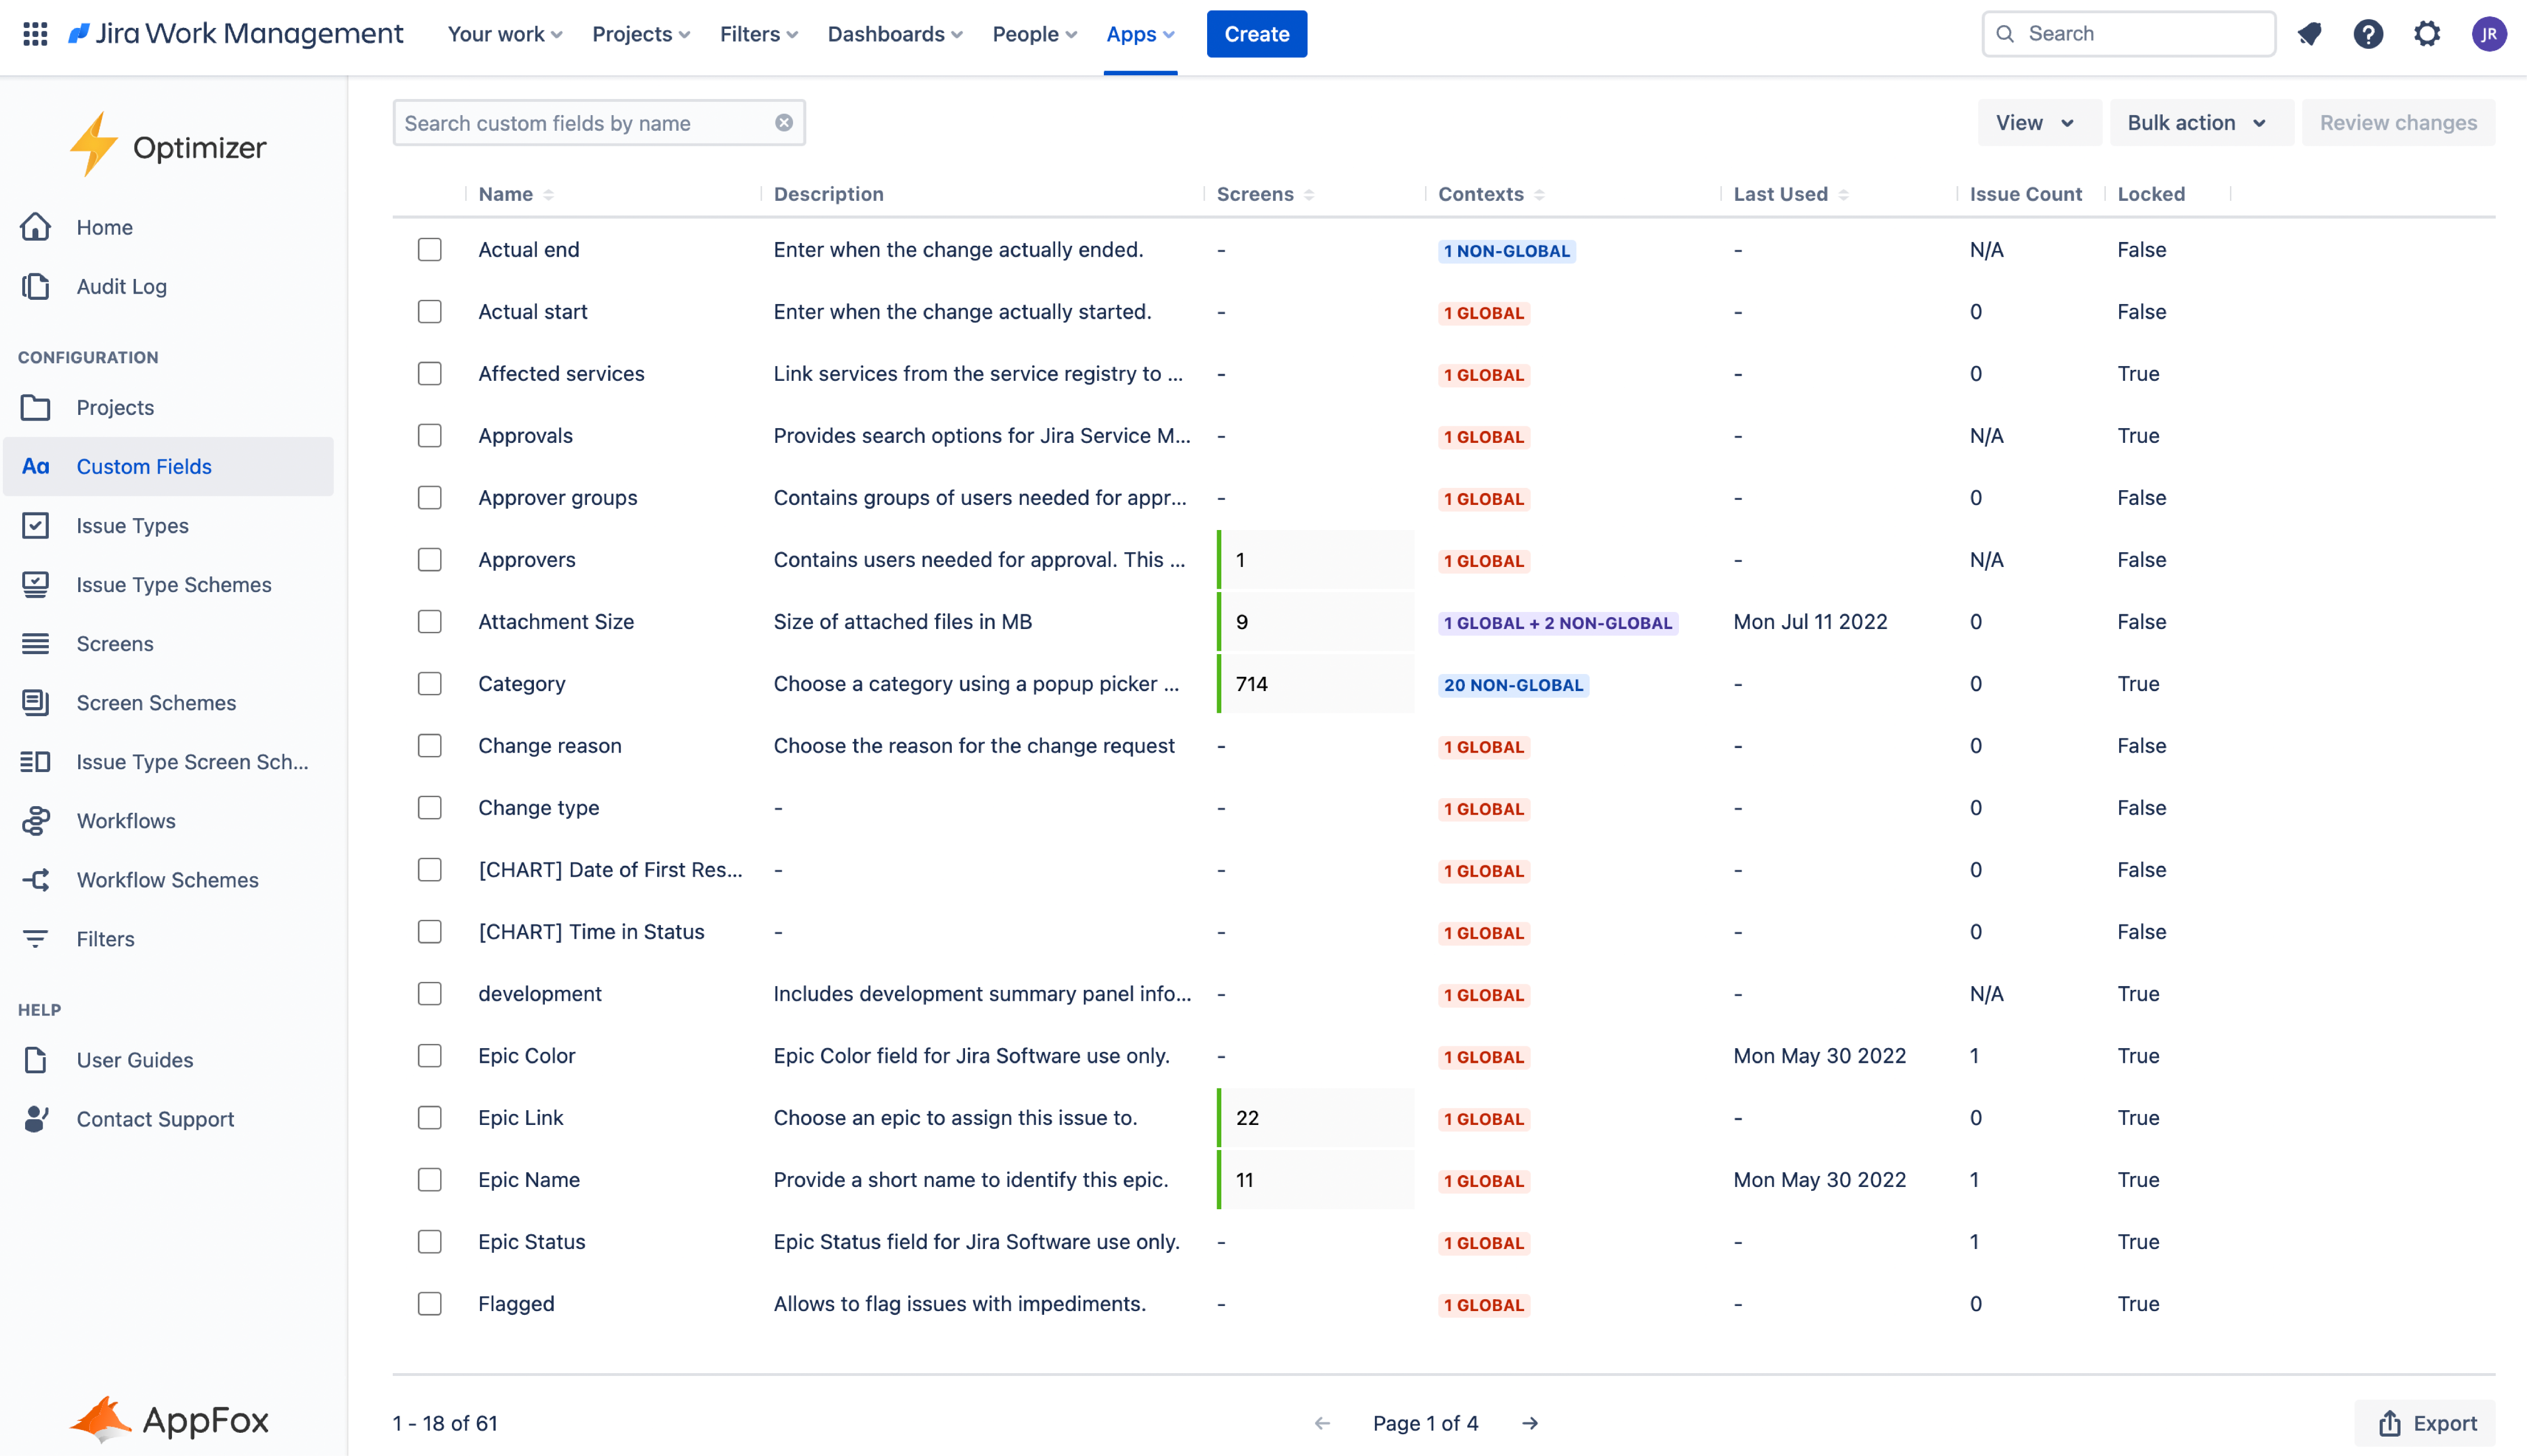
Default Smart Table View
Each Smart Table comes with a default view that has been set based on our customer research. When you first access any Smart Table, it will display a default set of columns that are pre-determined, as shown in the example below.
Adding Columns
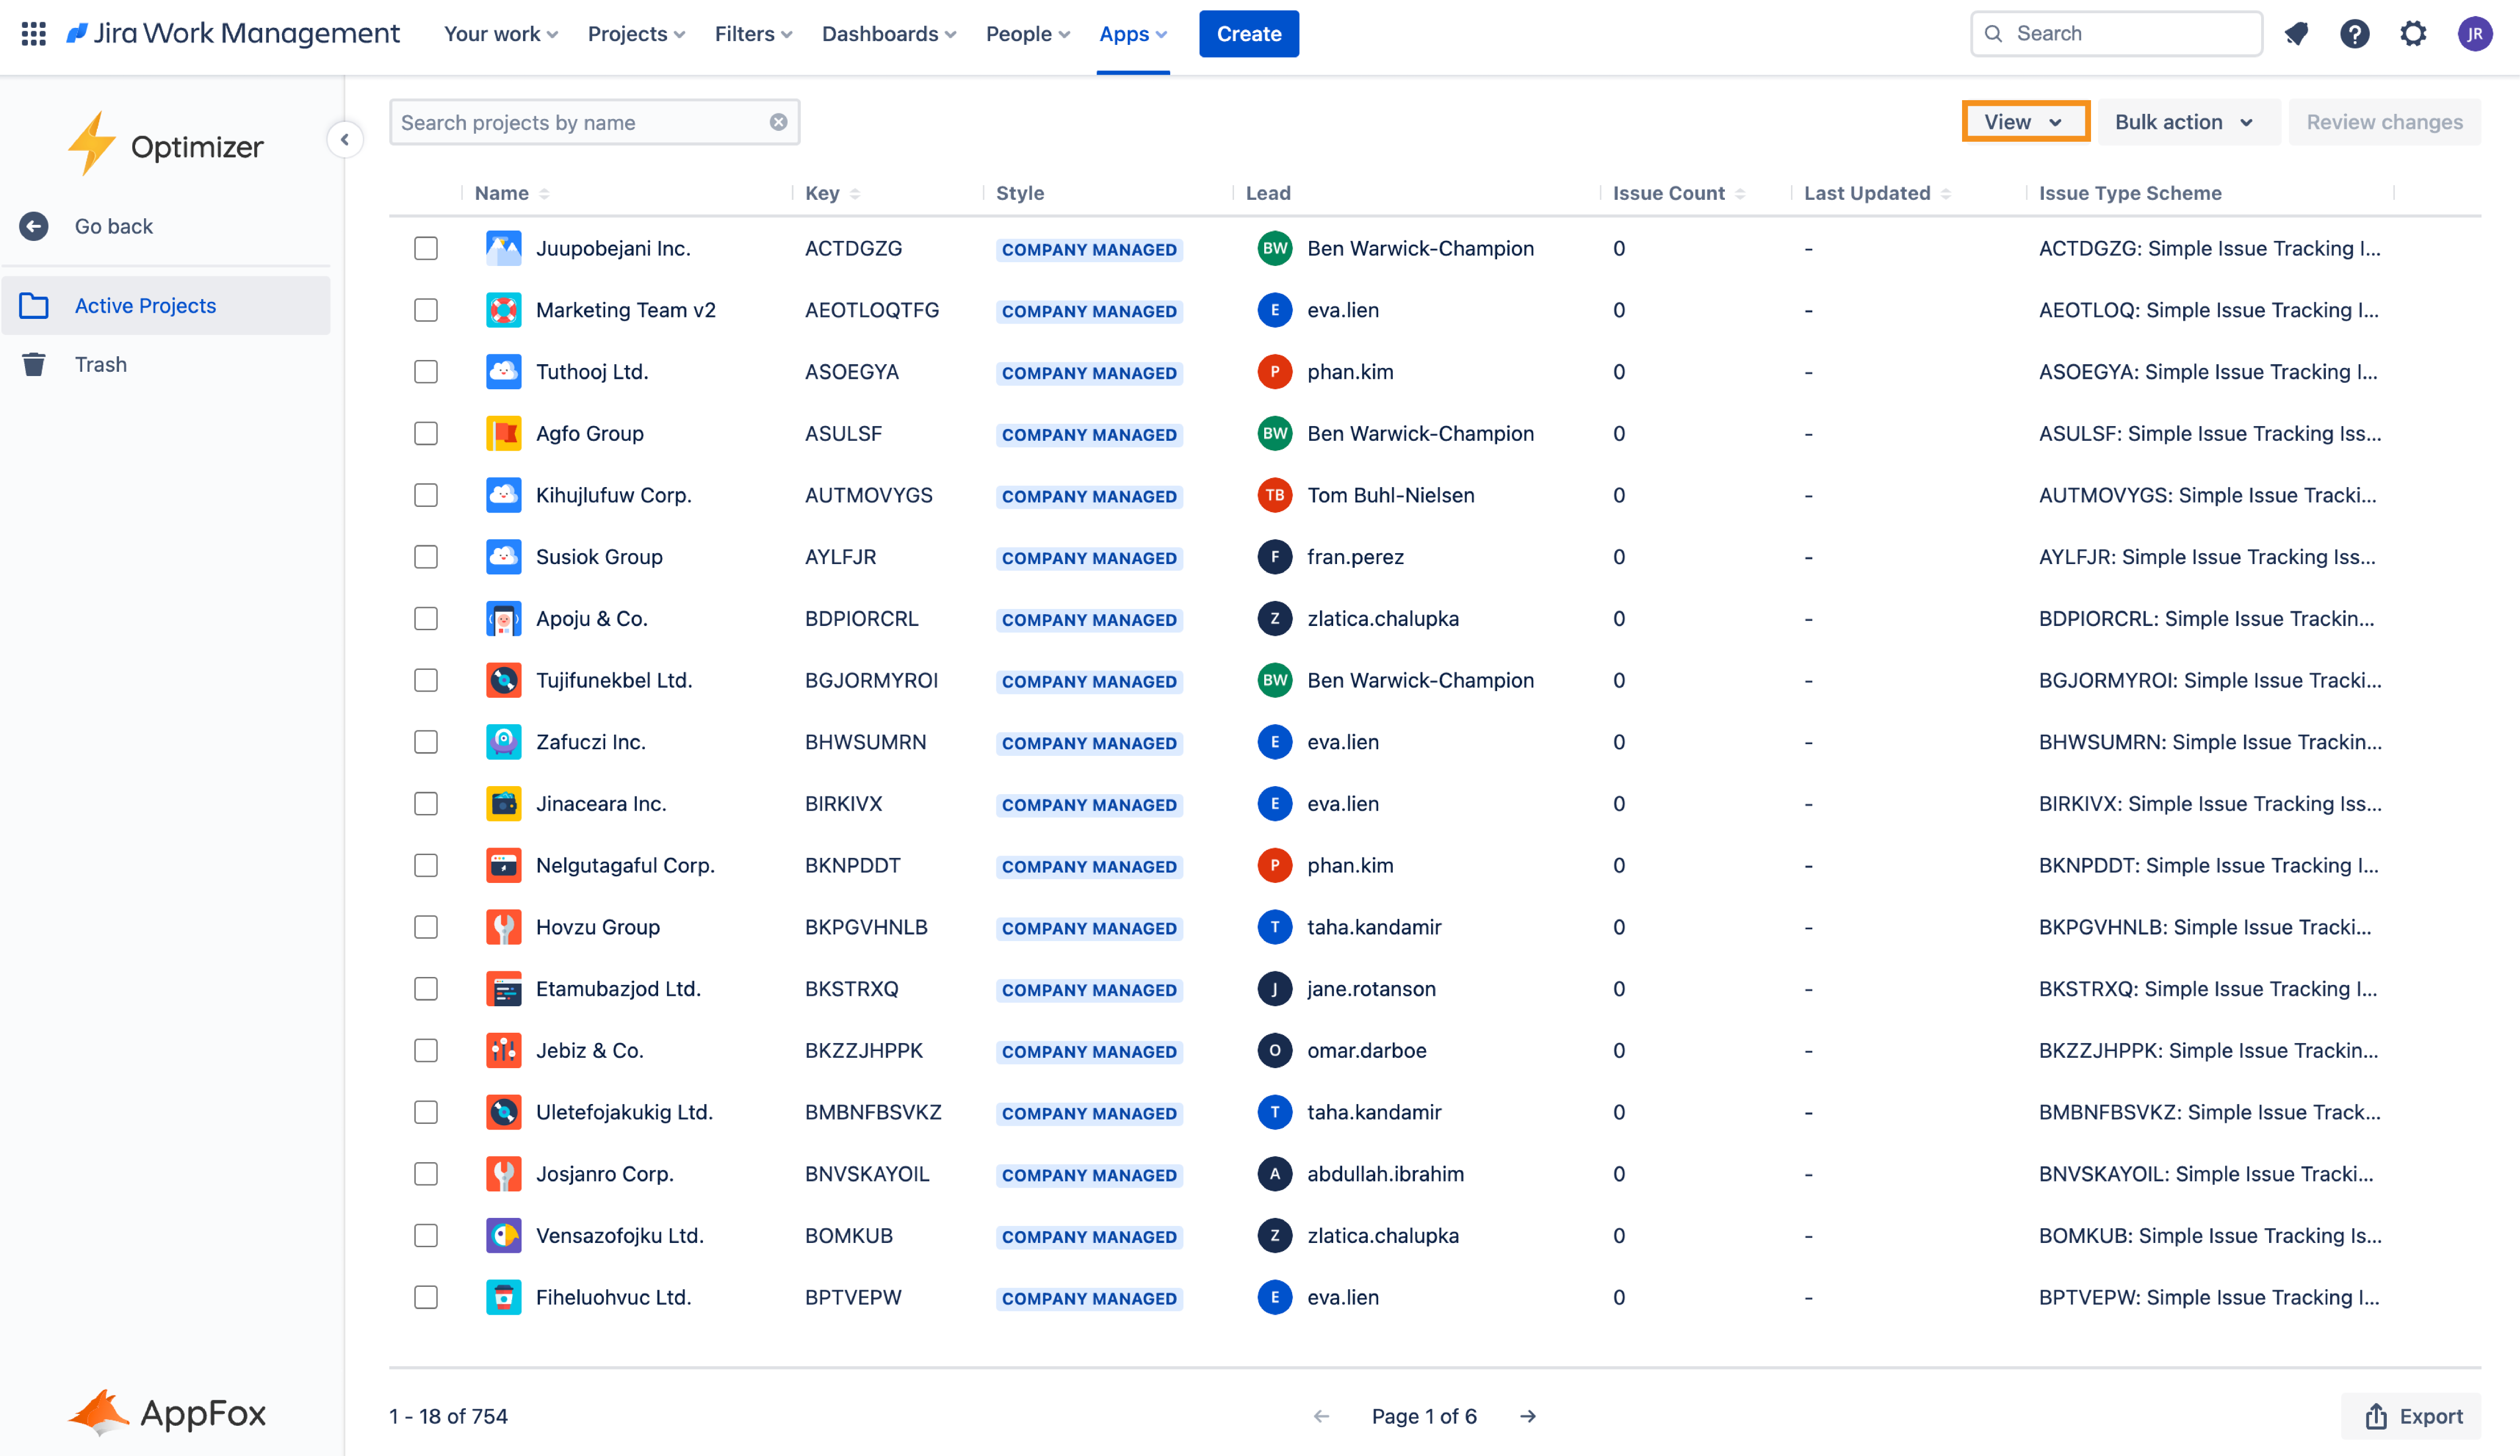
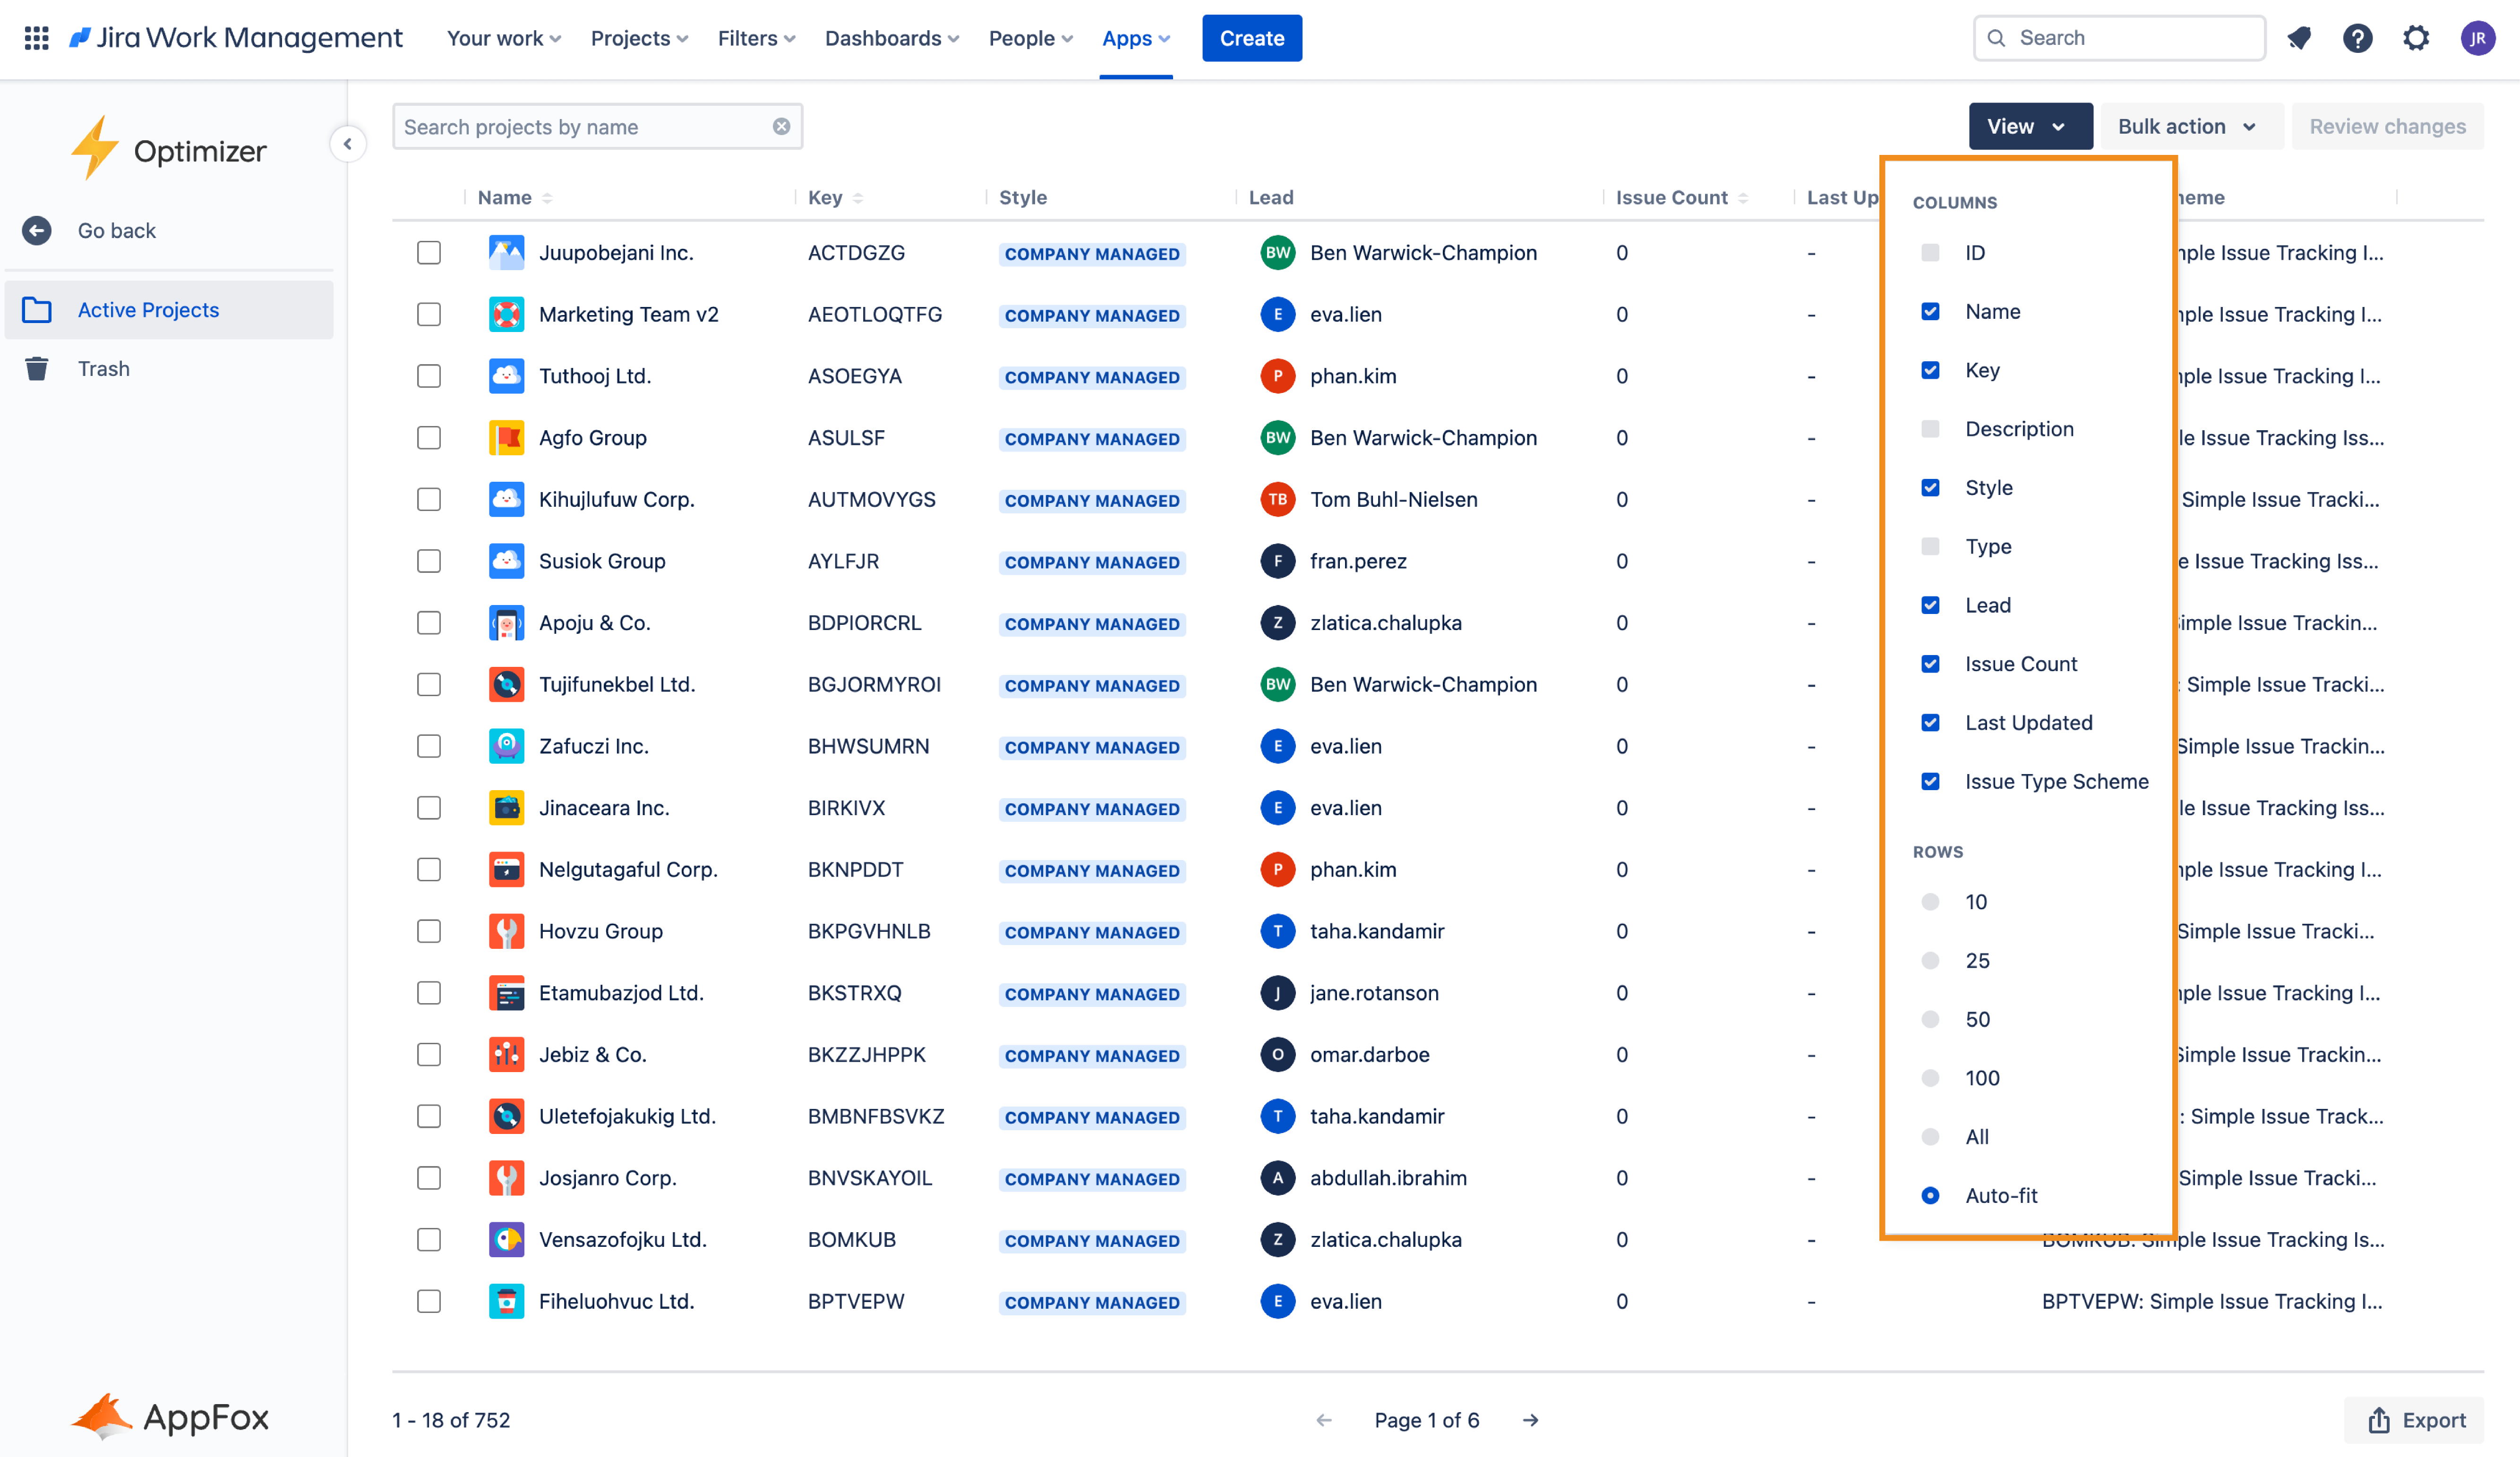
To add columns to any Smart Table, click the View button in the top right corner of the table itself, as shown in the screenshot below.
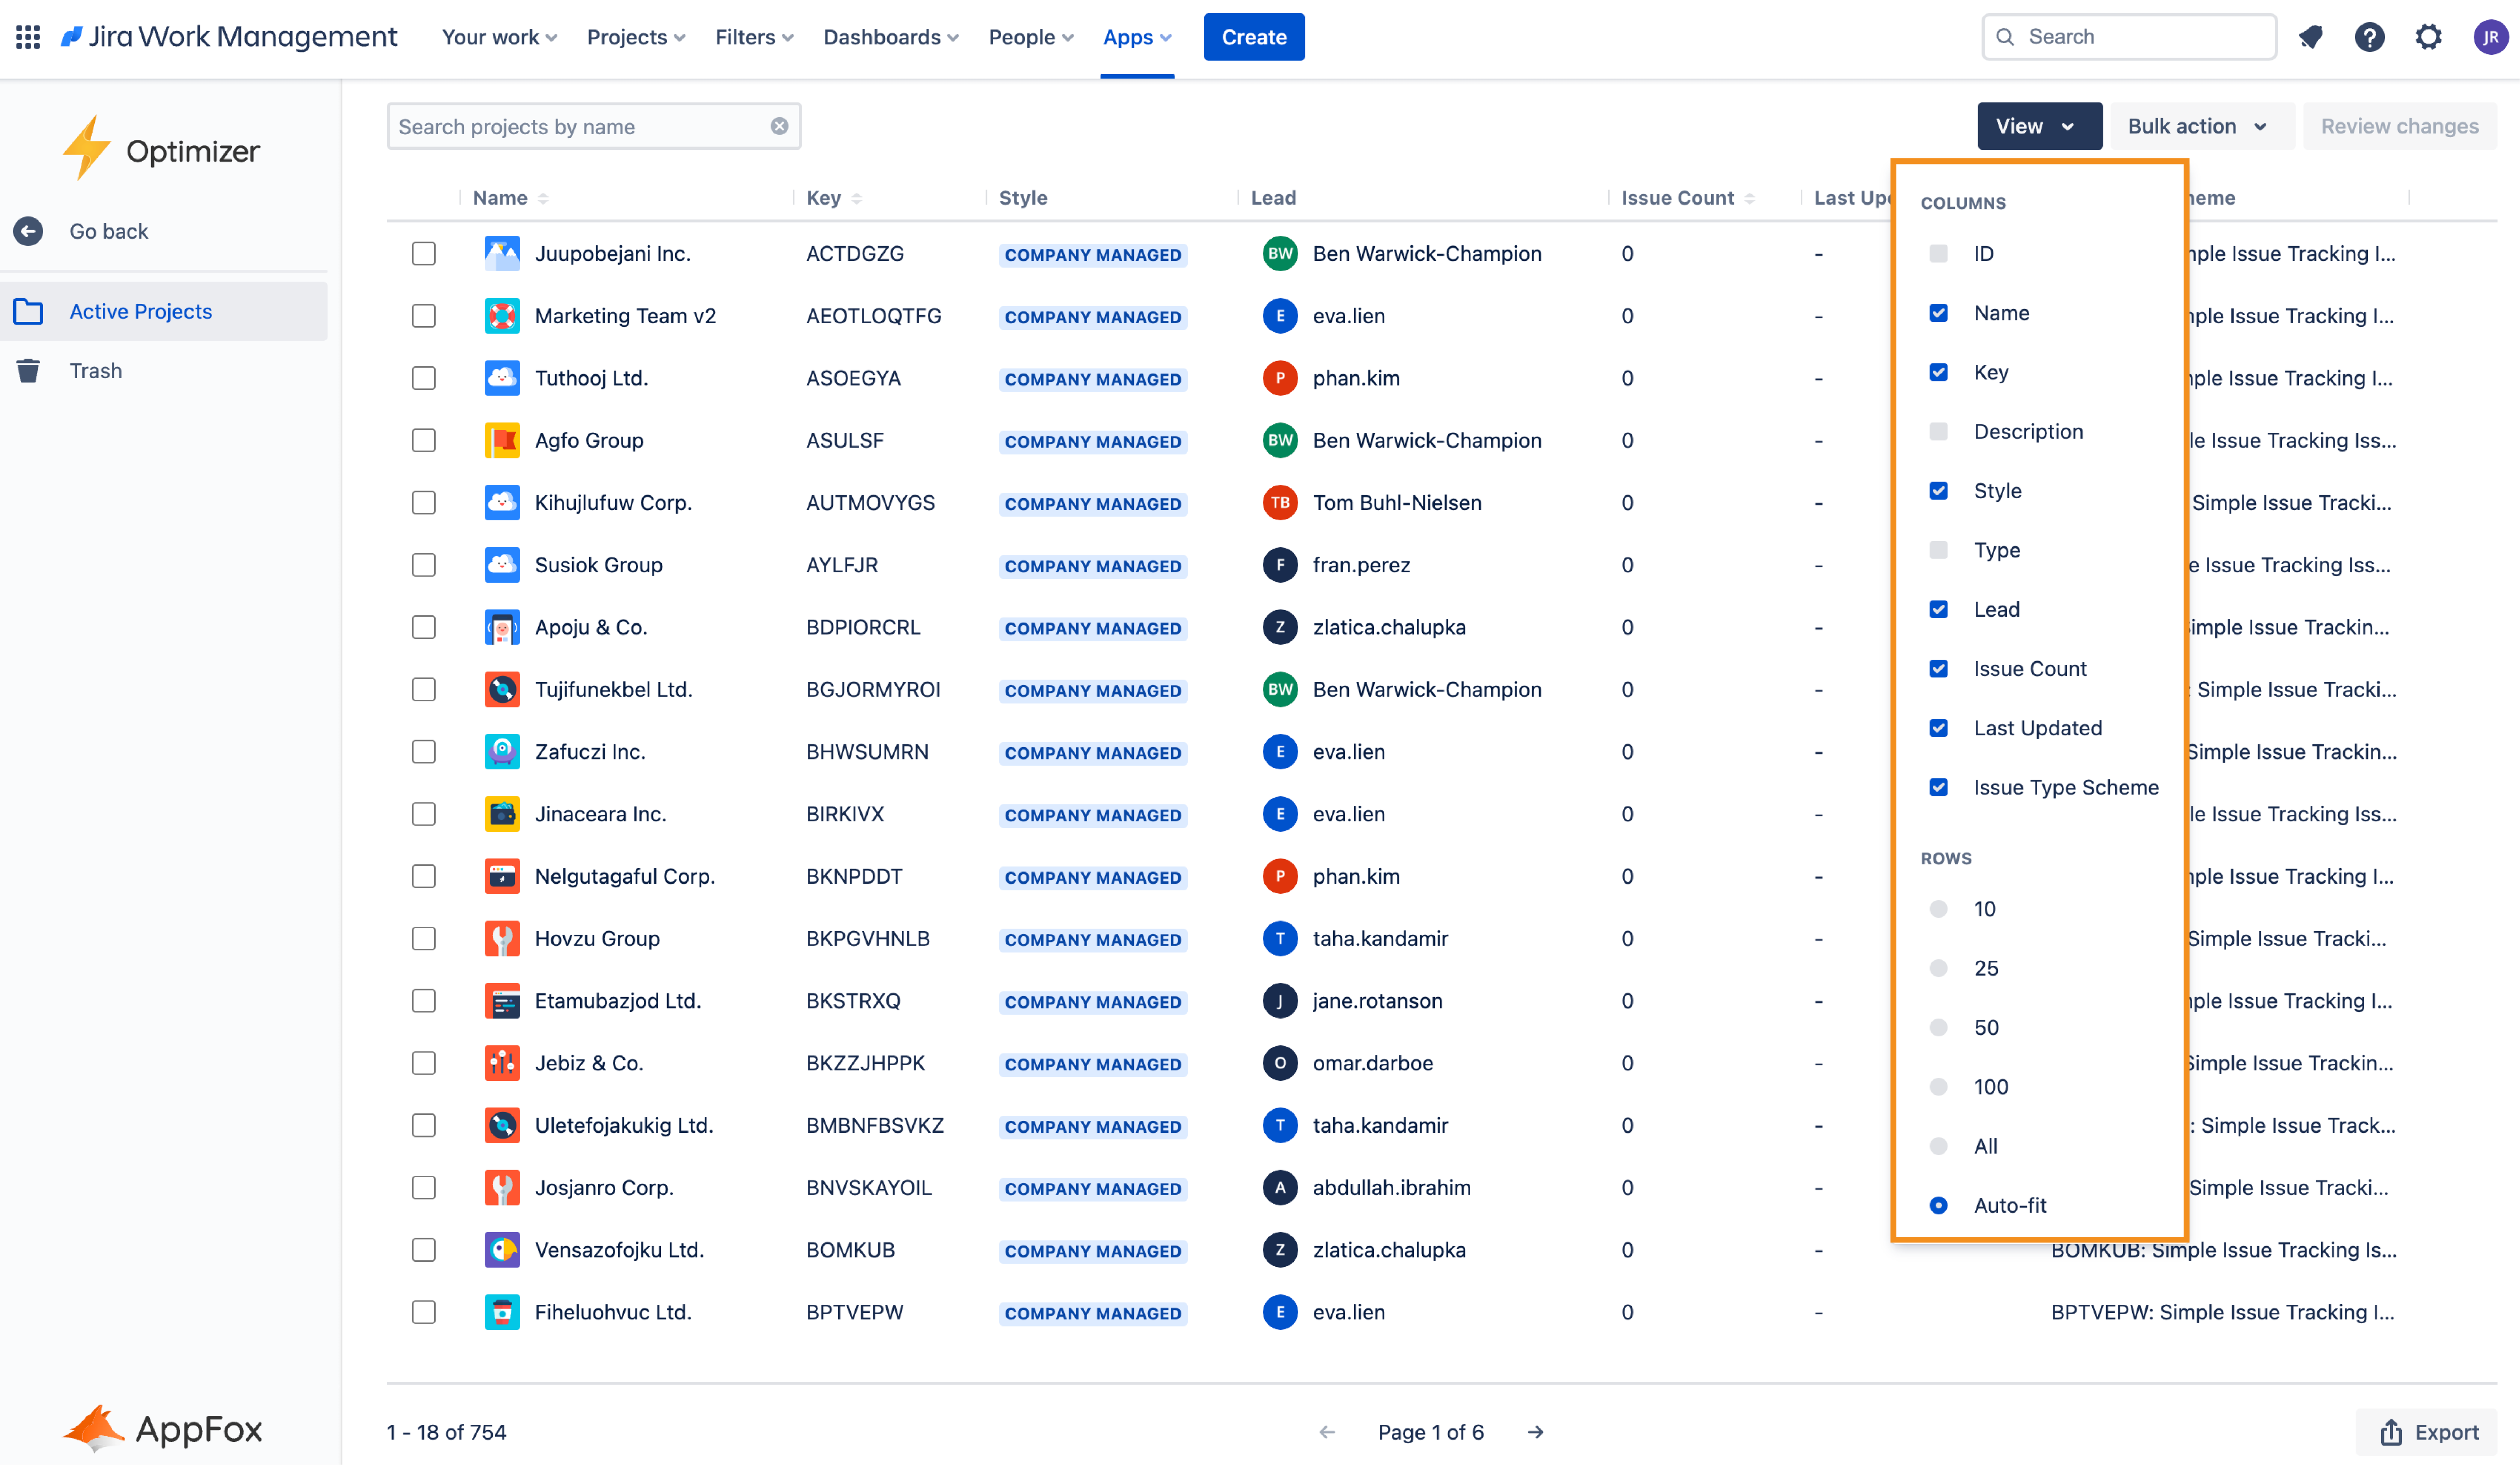
In the dropdown menu that appears, select the additional columns that you want to add to the Smart Table. Once you make selections, these will be updated real-time in the Smart Table itself.
Removing Columns
If you would like to remove any of the columns that are being displayed in the Smart Tables, you can do this in two ways.
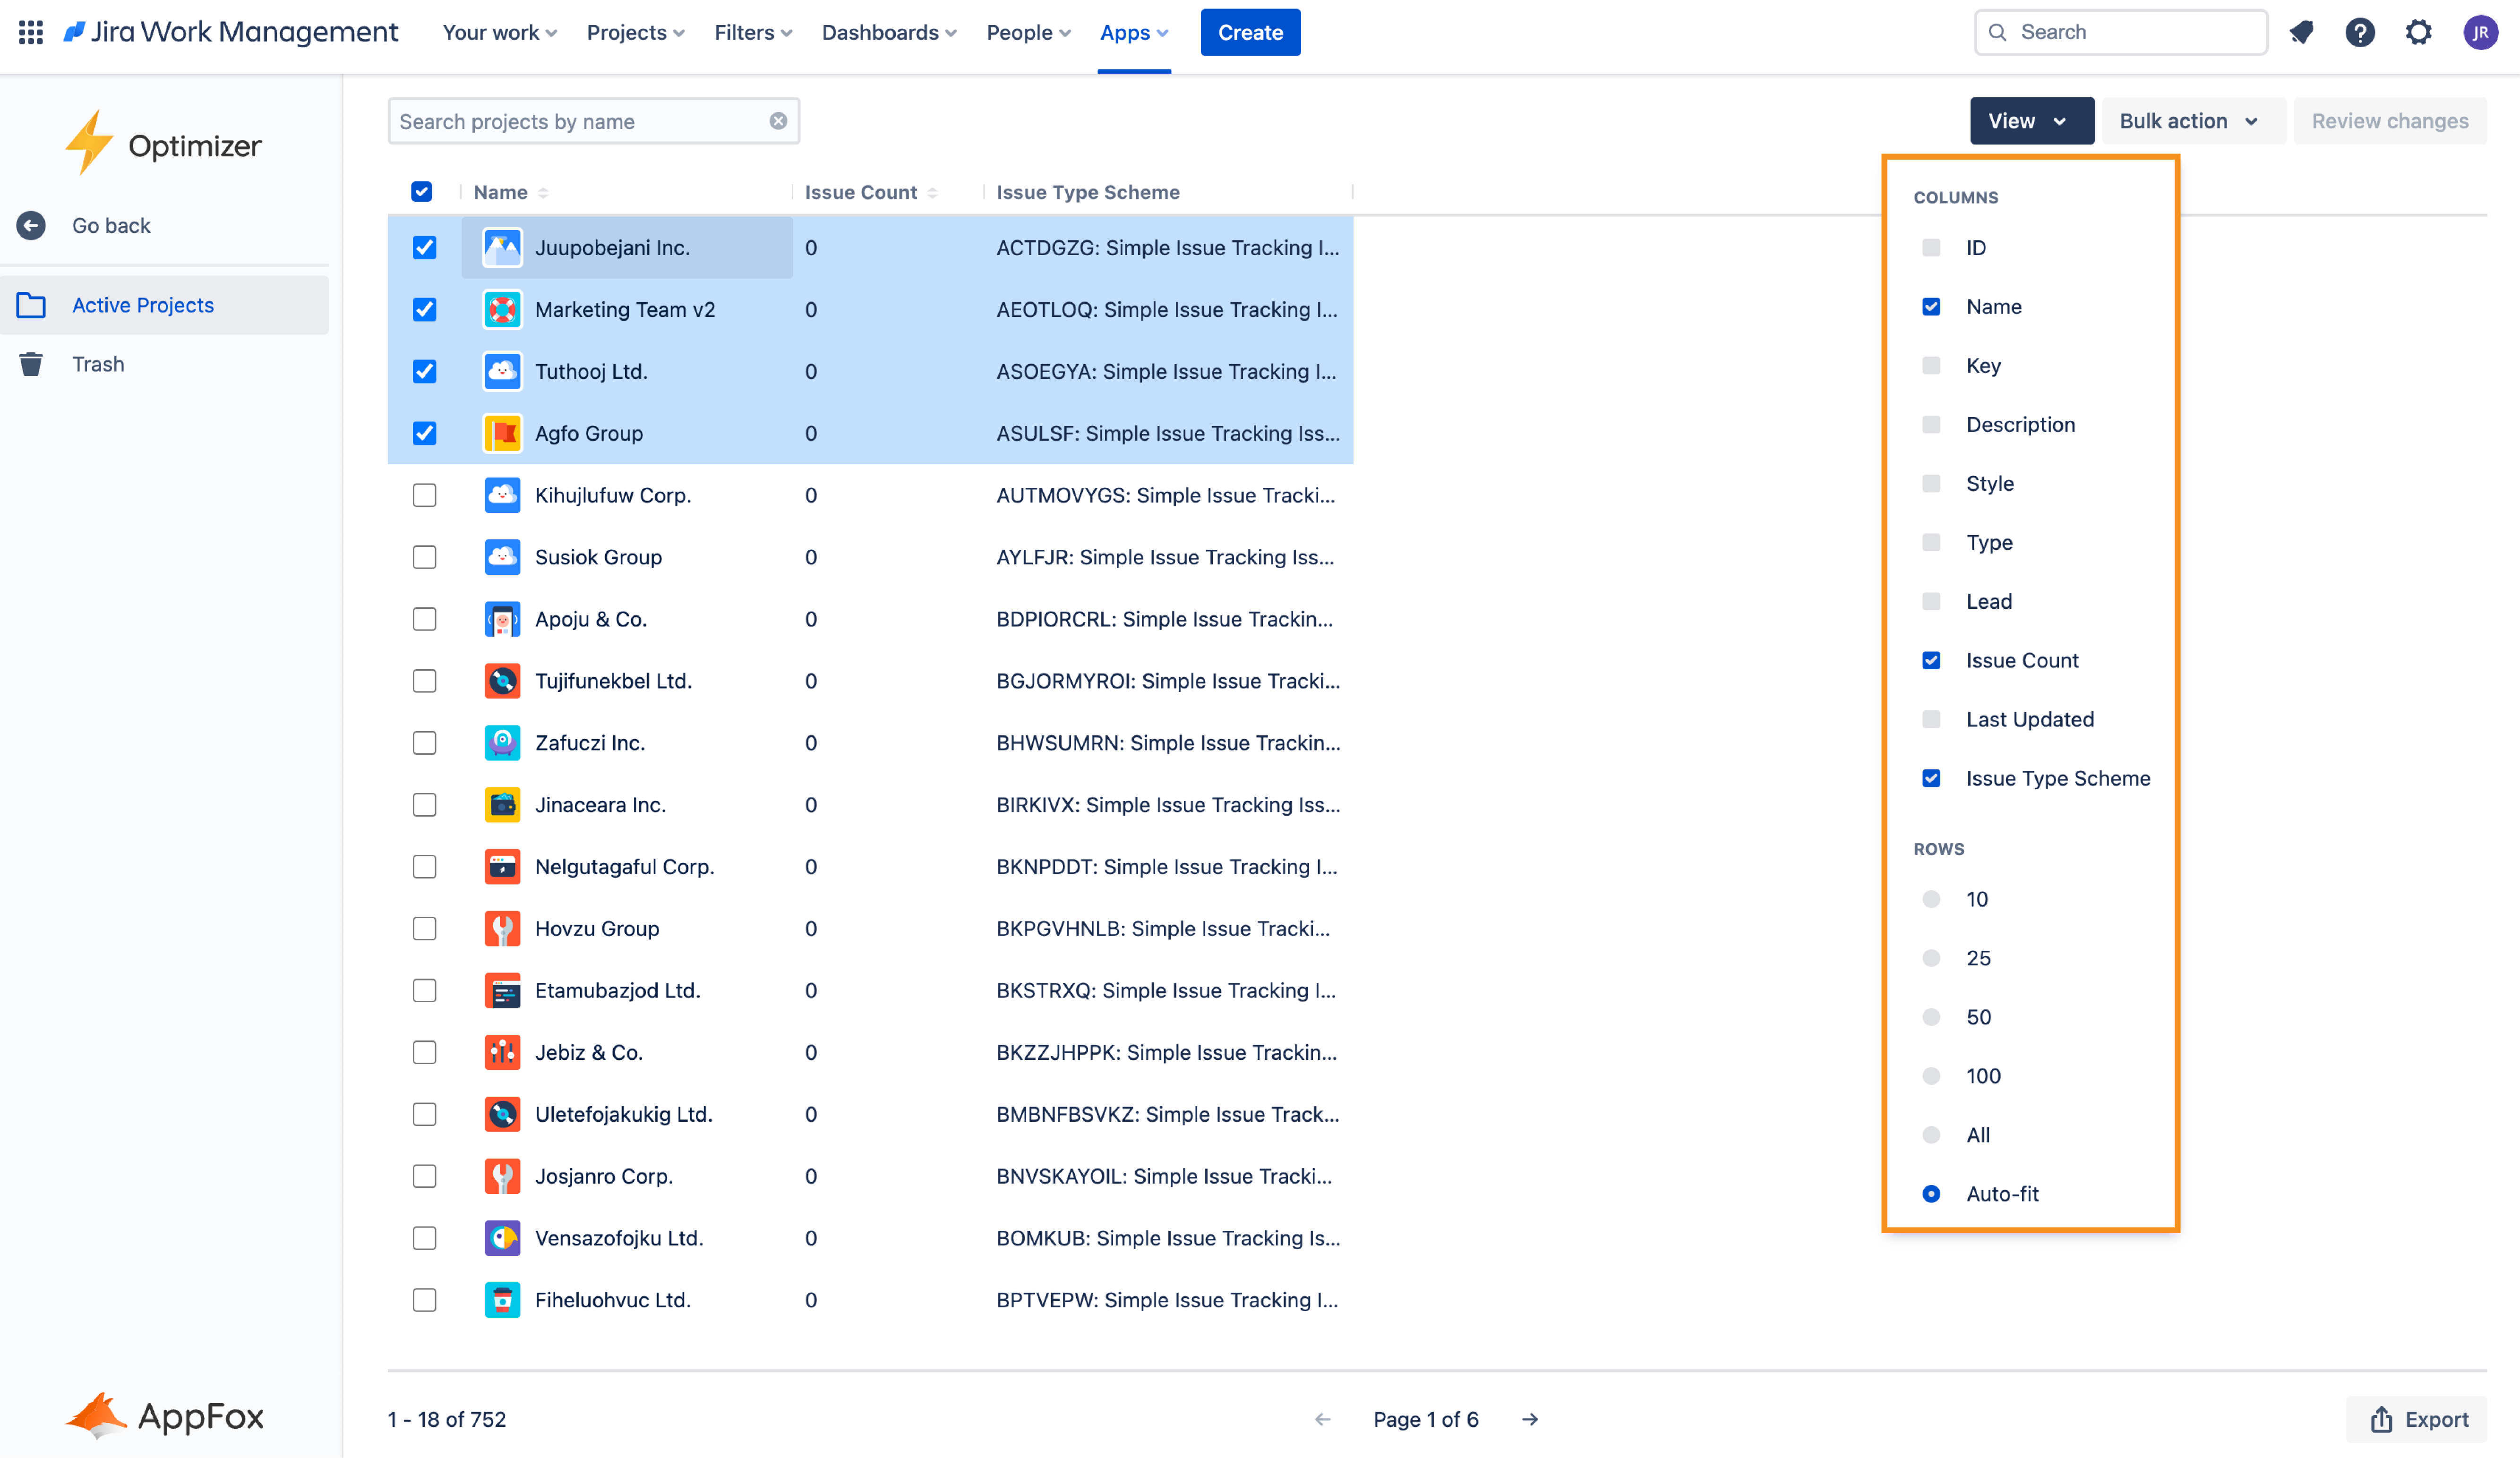
First, use the View menu and de-select the columns that you don’t want to display.
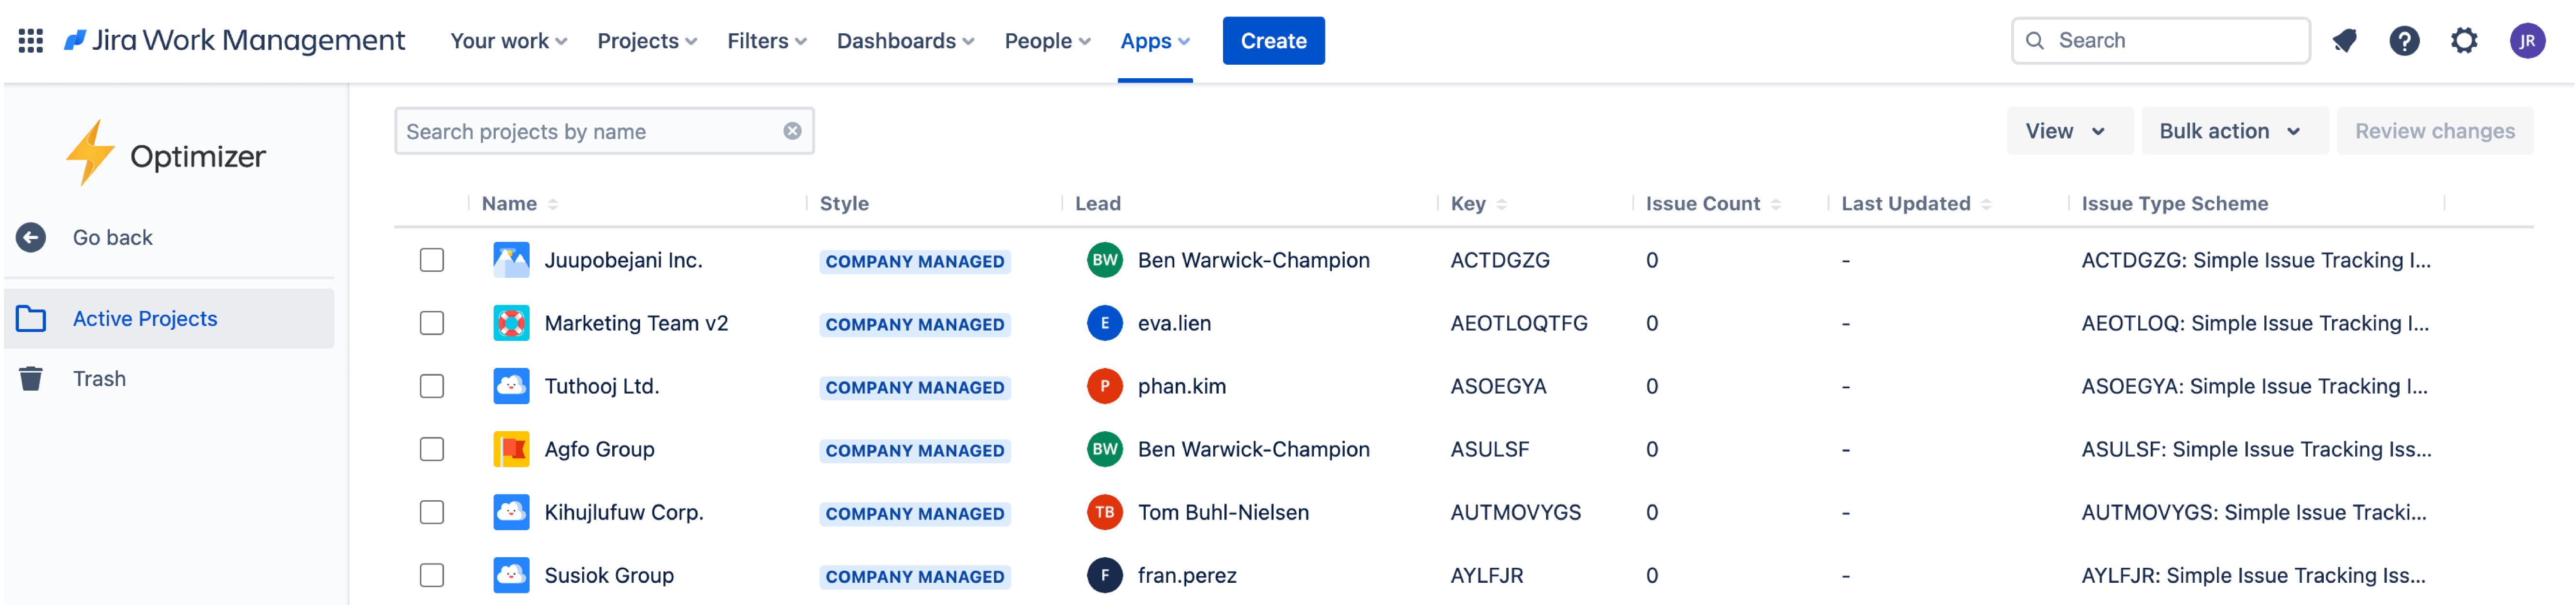
Secondly, you can drag a column out of the Smart Table, as shown in the images below, and this will remove it from being displayed.
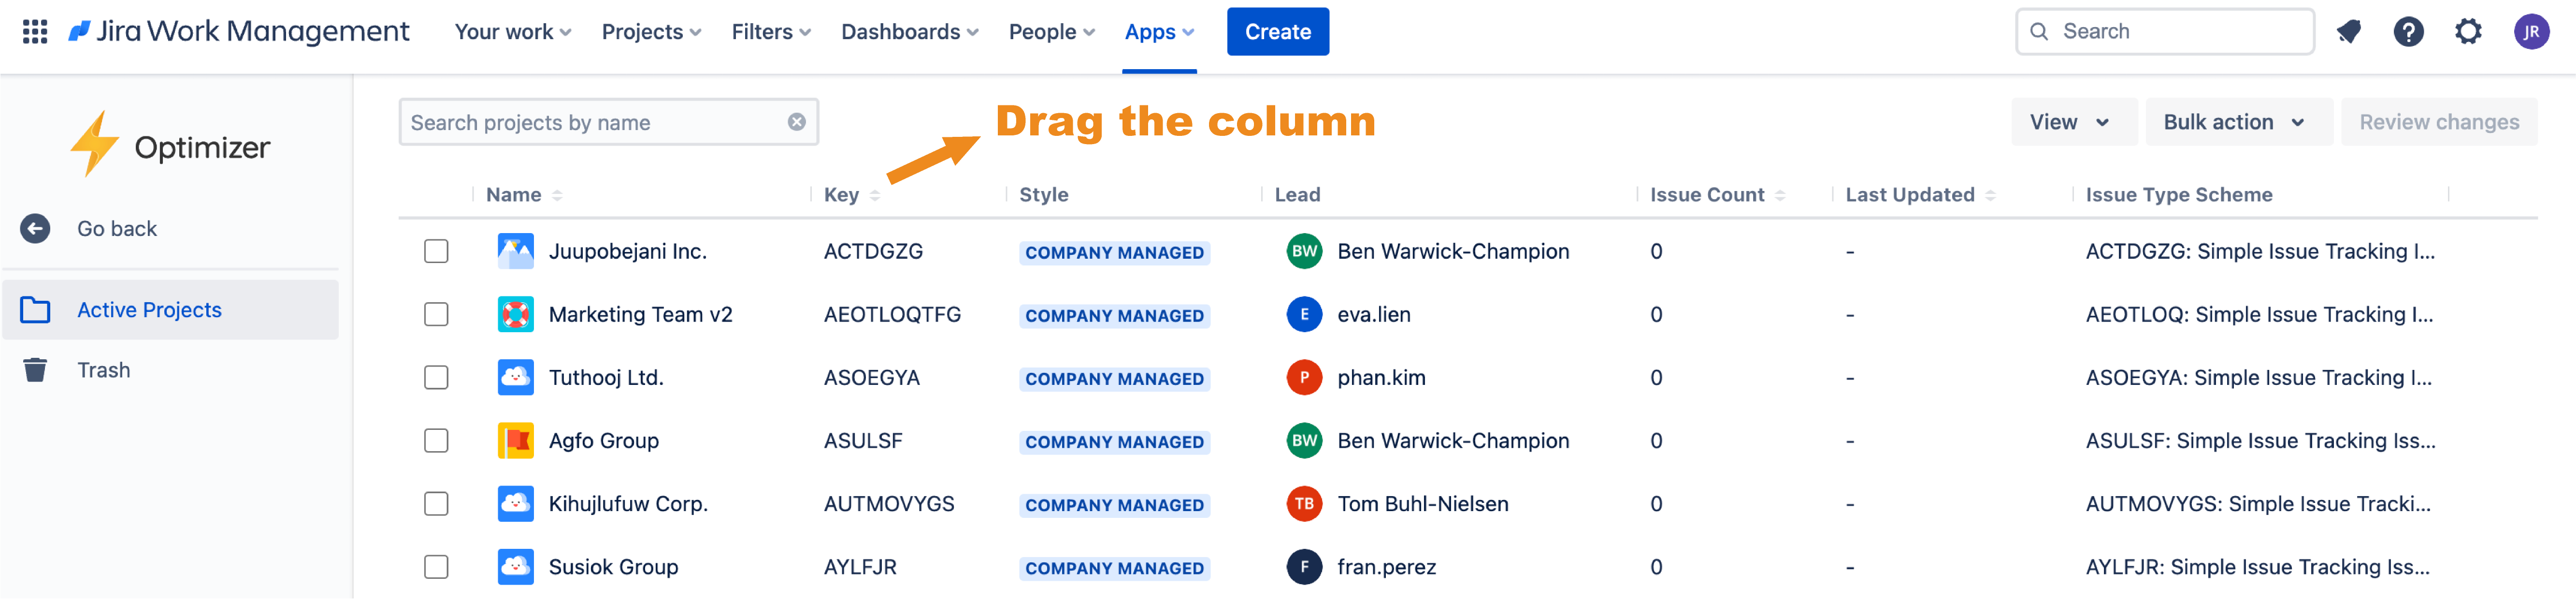
Note: if you remove any columns, these can be re-added easily using the View menu
Increasing Rows
By default, Optimizer will be set to Auto-fit which displays the number of rows appropriate for the screen size of your device.
You can easily adjust the number of rows loaded into the Smart Tables by using the options in the View menu, as shown in the image below.
Note: to ensure adequate performance and scalability, Optimizer will only load 100 rows of data at any one time. As you navigate through the paginated Smart Tables more data will be loaded as it is required.
Need support? We’re here to help 🧡
If you have any questions or would like to speak with us, please don’t hesitate to reach out to our Customer Support team.