Creating an Approval Token
The use of Approval Tokens allow users to authorize their Approvals using a form of two-factor authentication (2FA). This feature provides added security and ensures only the designated reviewer can provide an approval at a specific stage in a workflow.
This feature could be used as an electronic signature which may be required by some companies to certify or provide final sign off on a document.
Follow the steps below to create and apply an Approval Token.
Please Note: After following these steps to create the token, it will be valid for one month. This can be extended in the Admin Settings.
Prerequisites
You need to have an Authenticator app installed on your mobile device (here are some links to different apps that you can install, that we recommend).
How to begin setting up your token
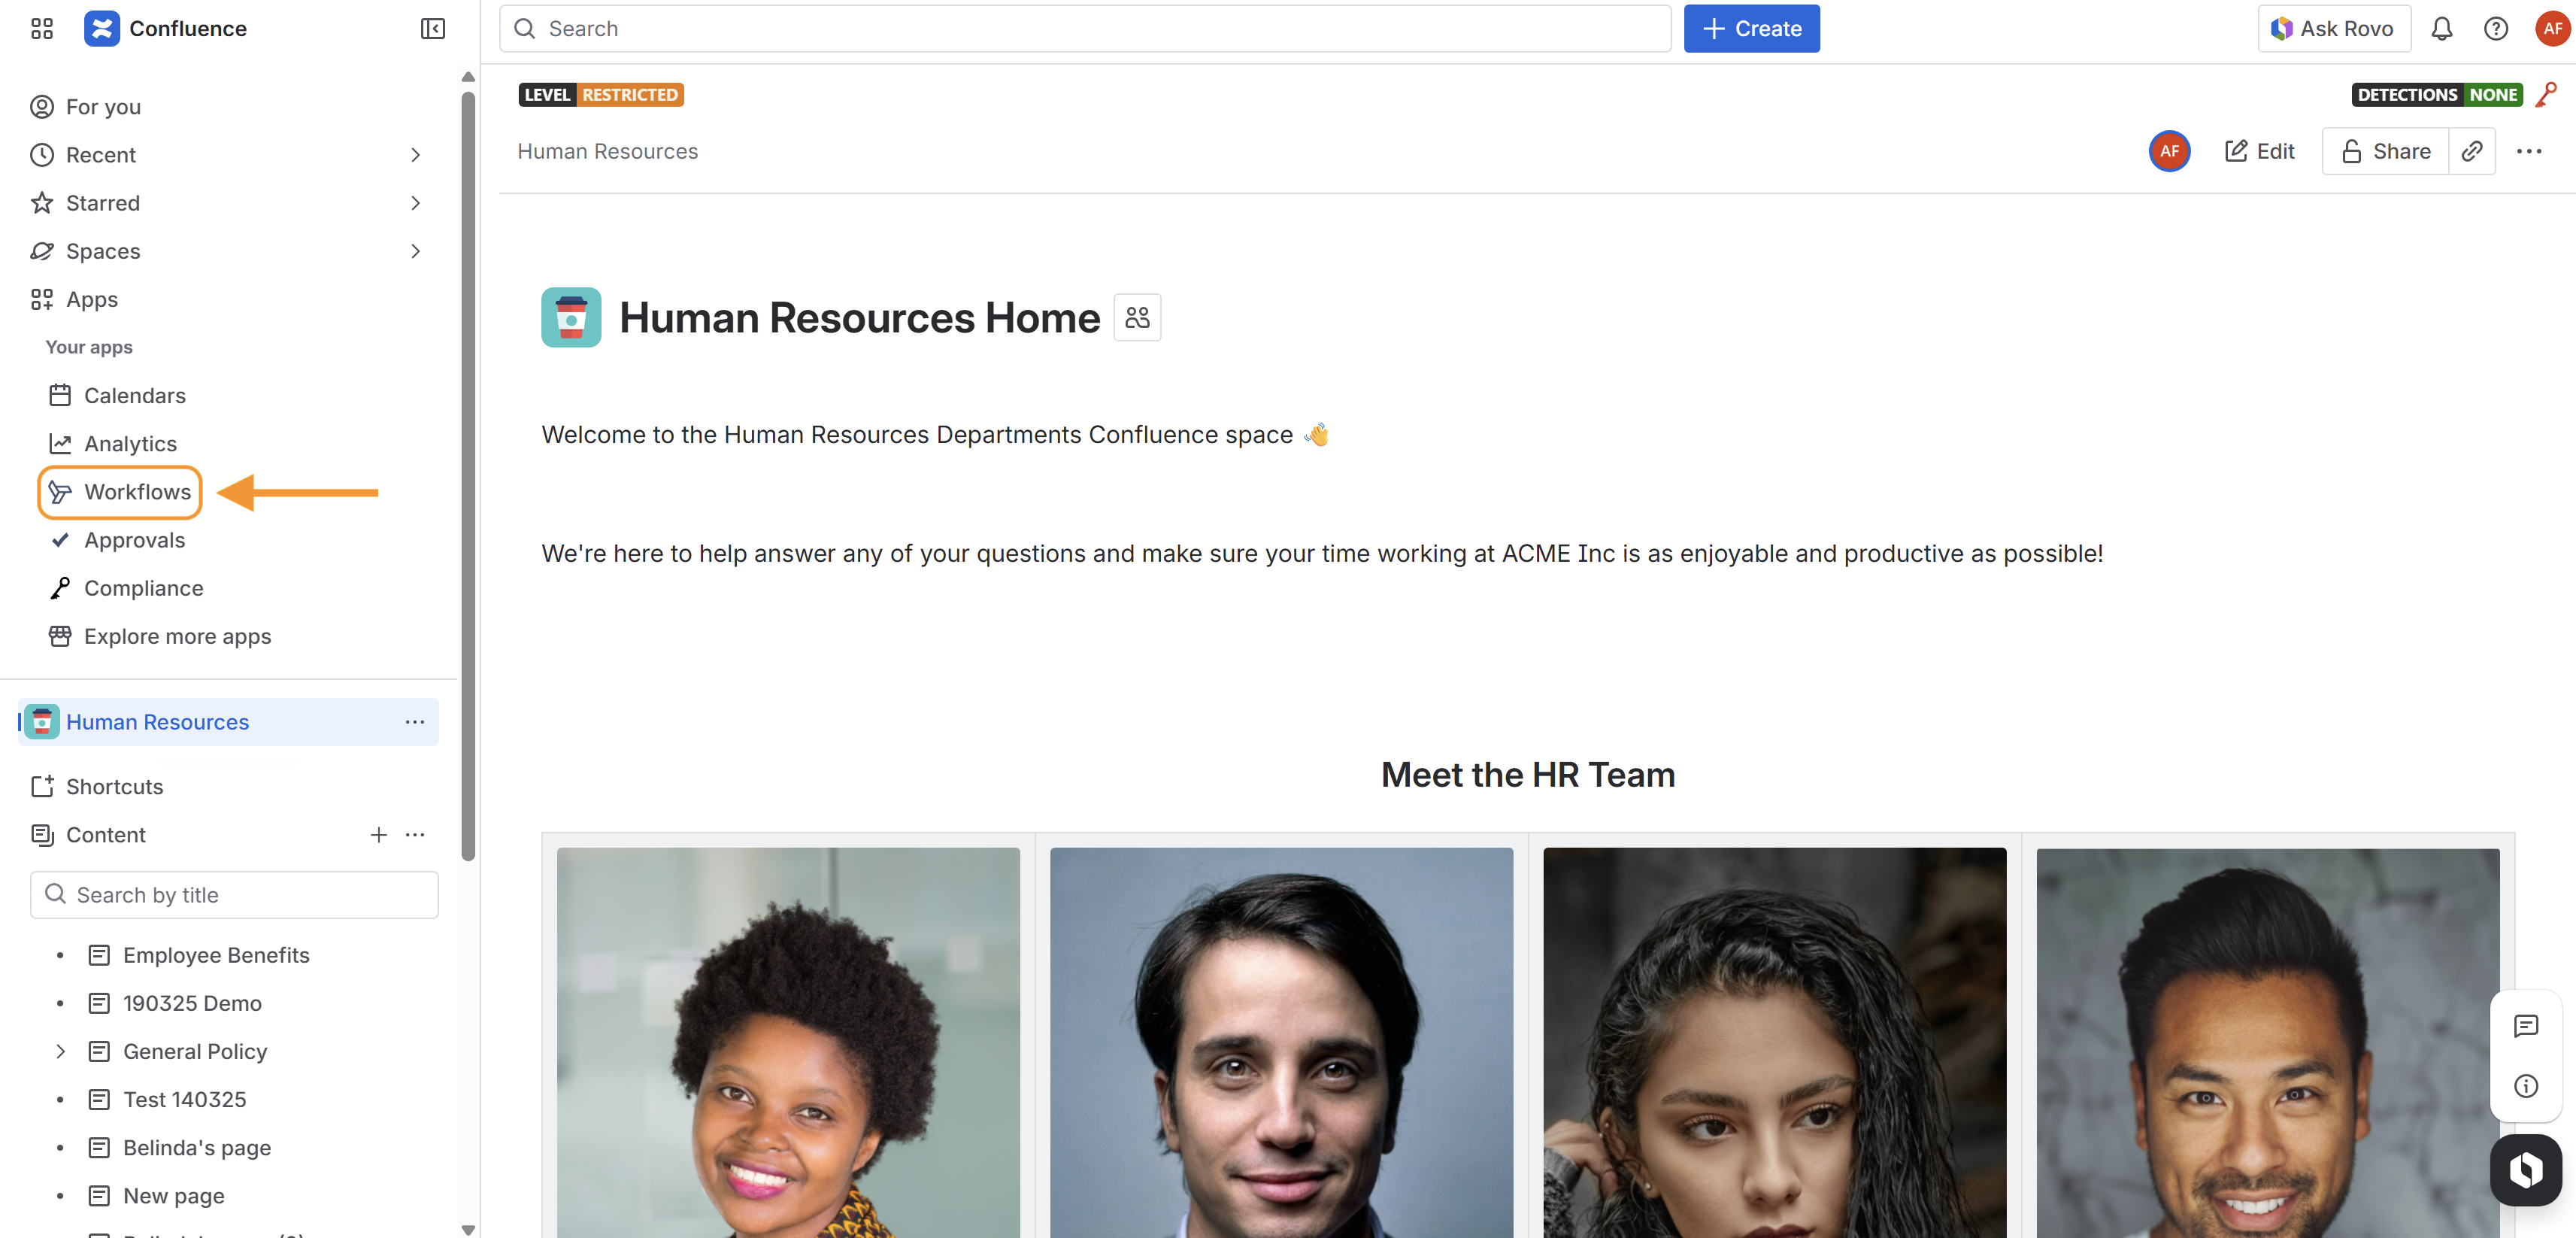
1. Navigate to the Workflows app page by clicking Apps > Workflows in the Confluence navigation sidebar.
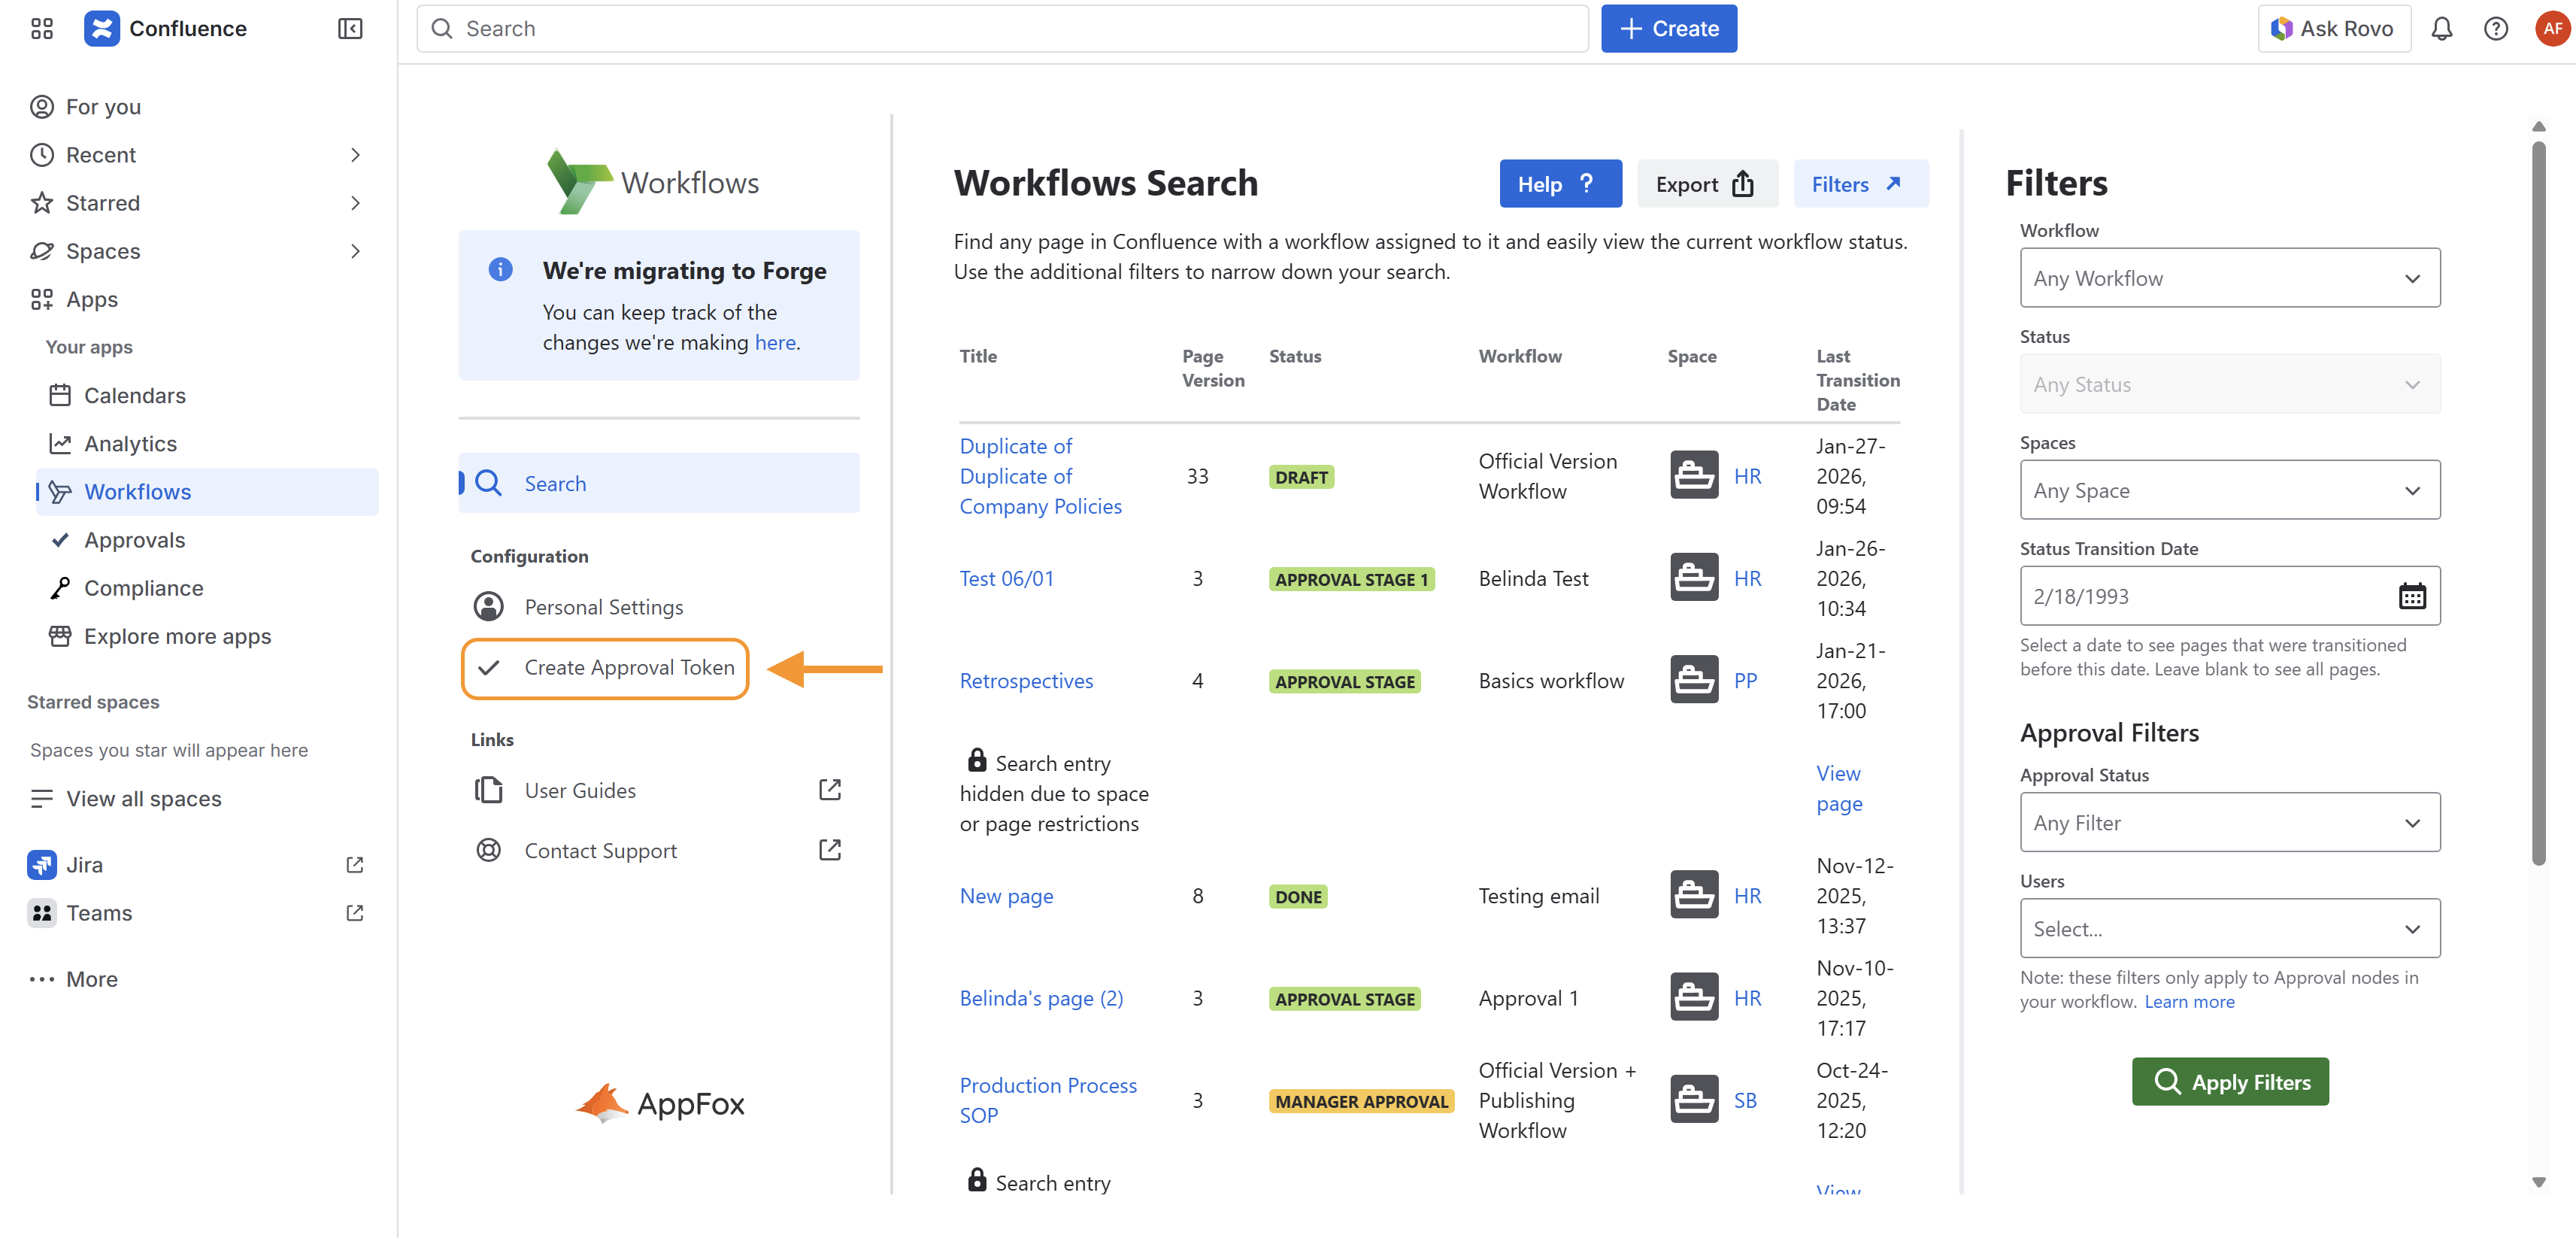
2. Click on Create Approval Token.
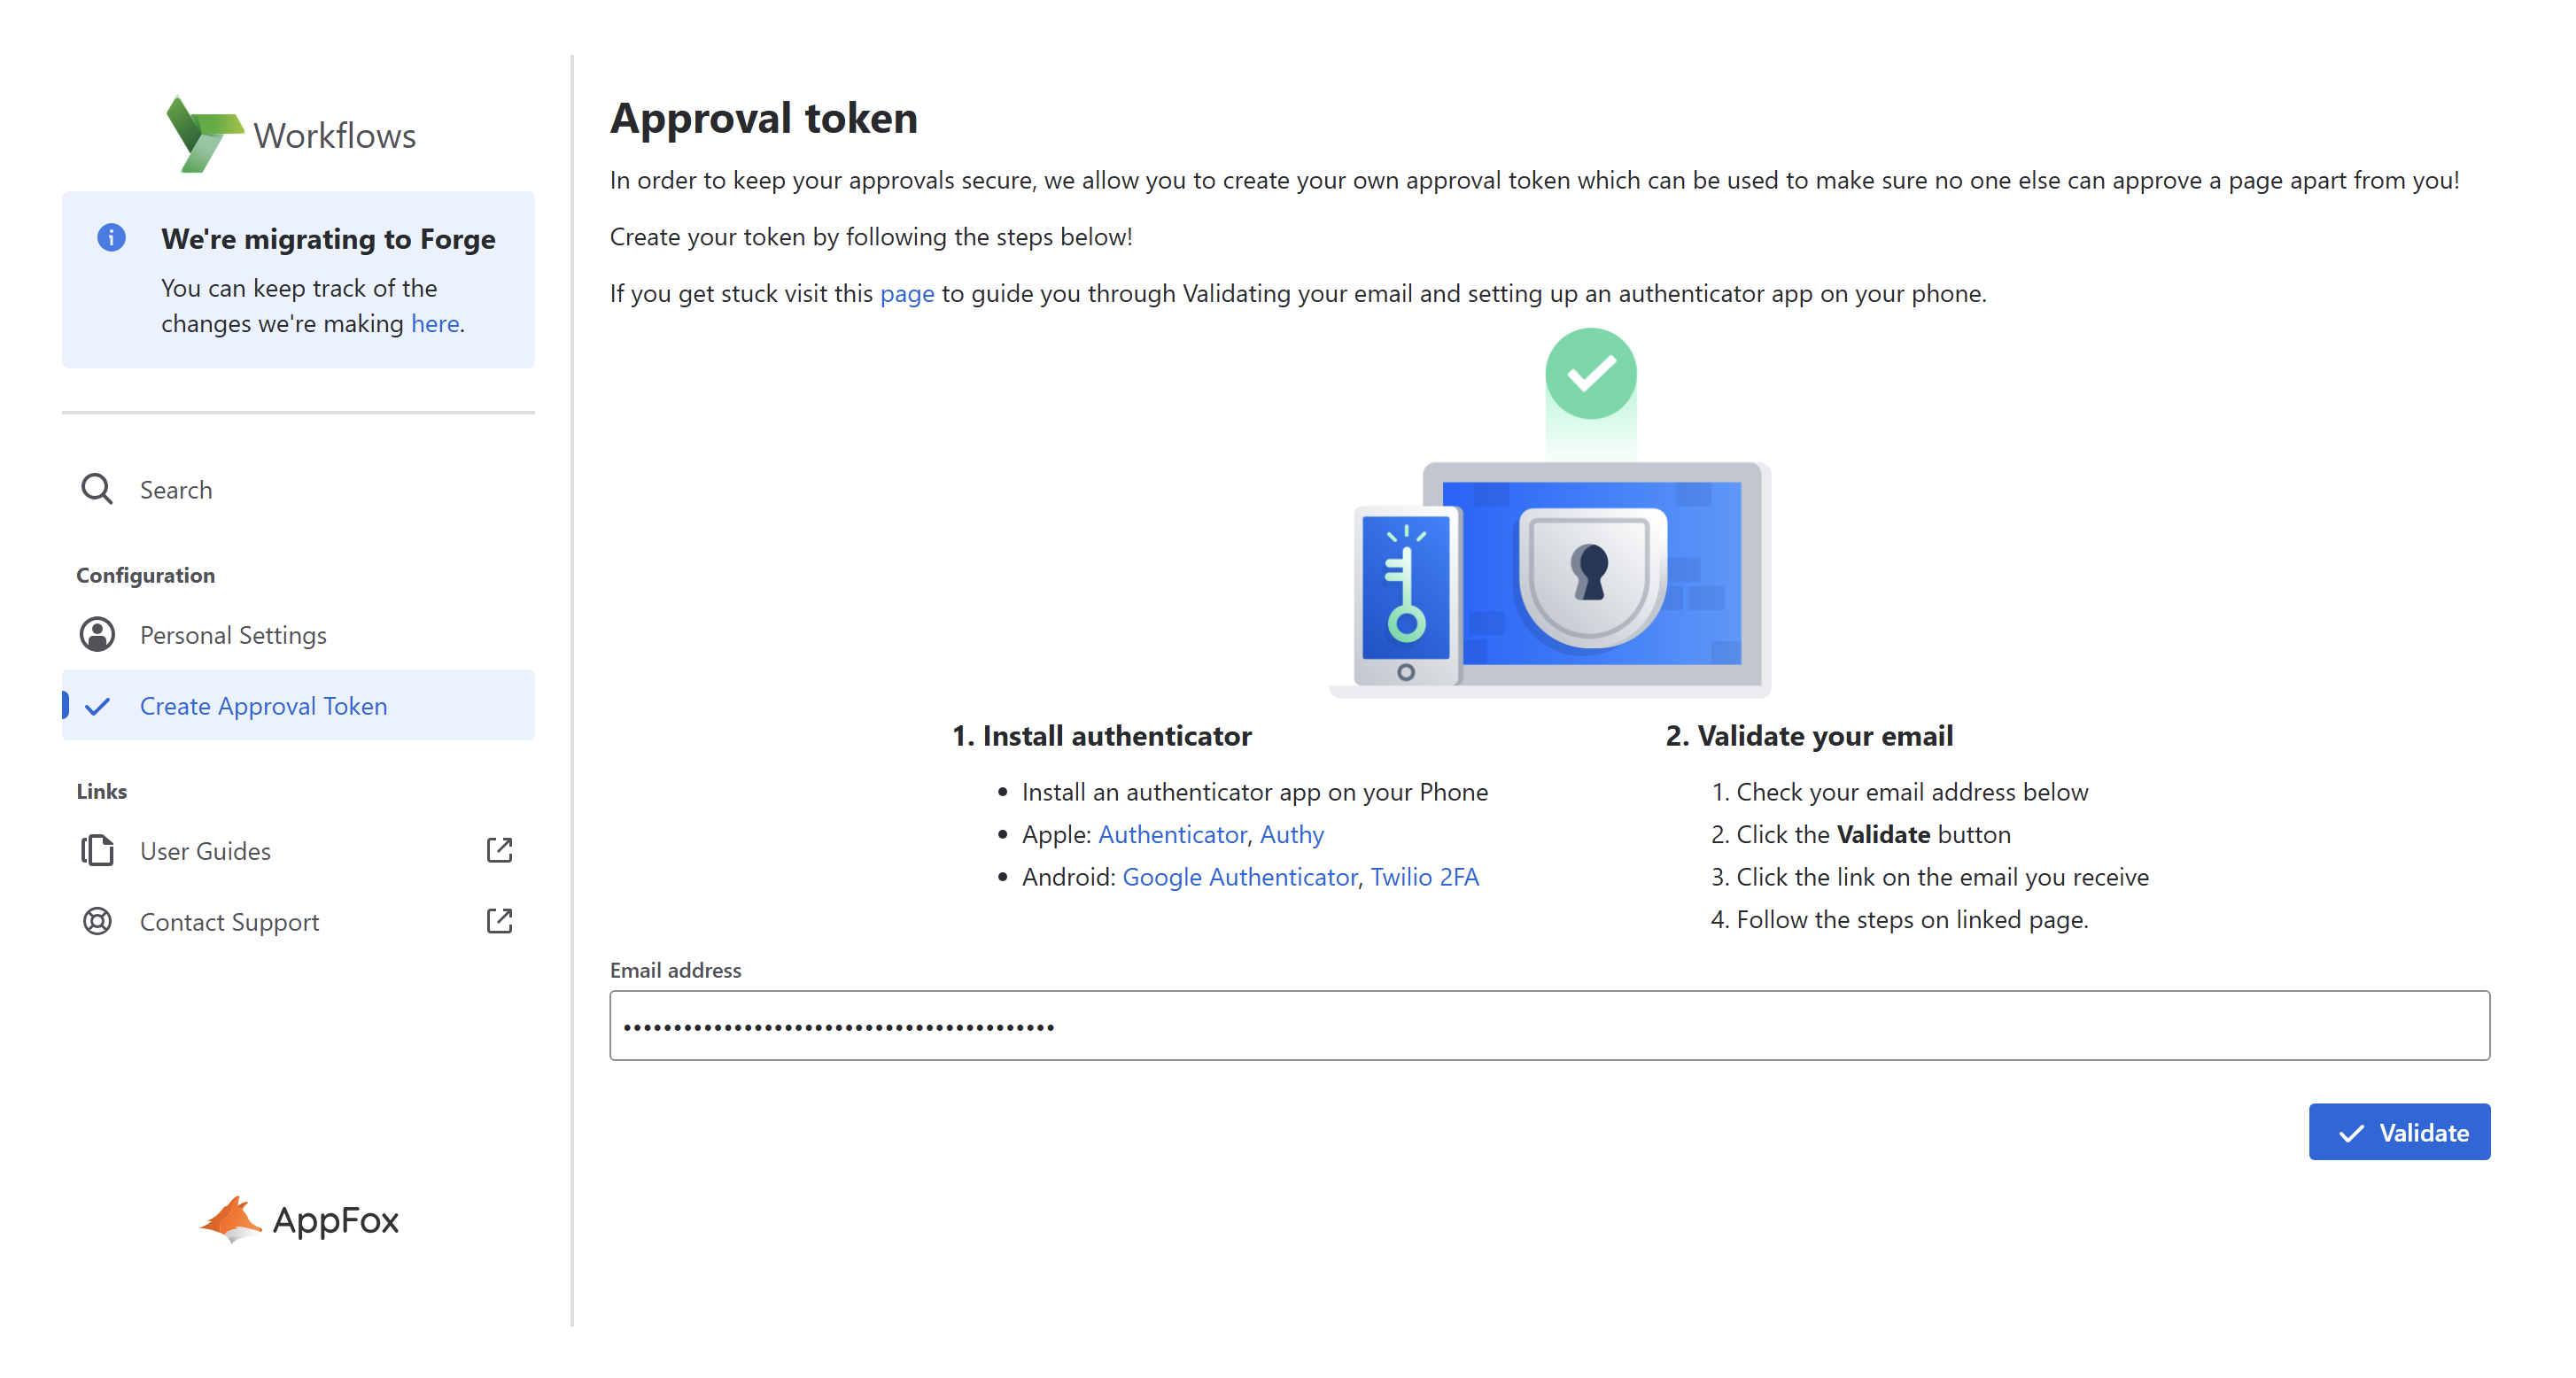
3. Once you have reached the Approval token page you will be required to check your email address and click the Validate button.
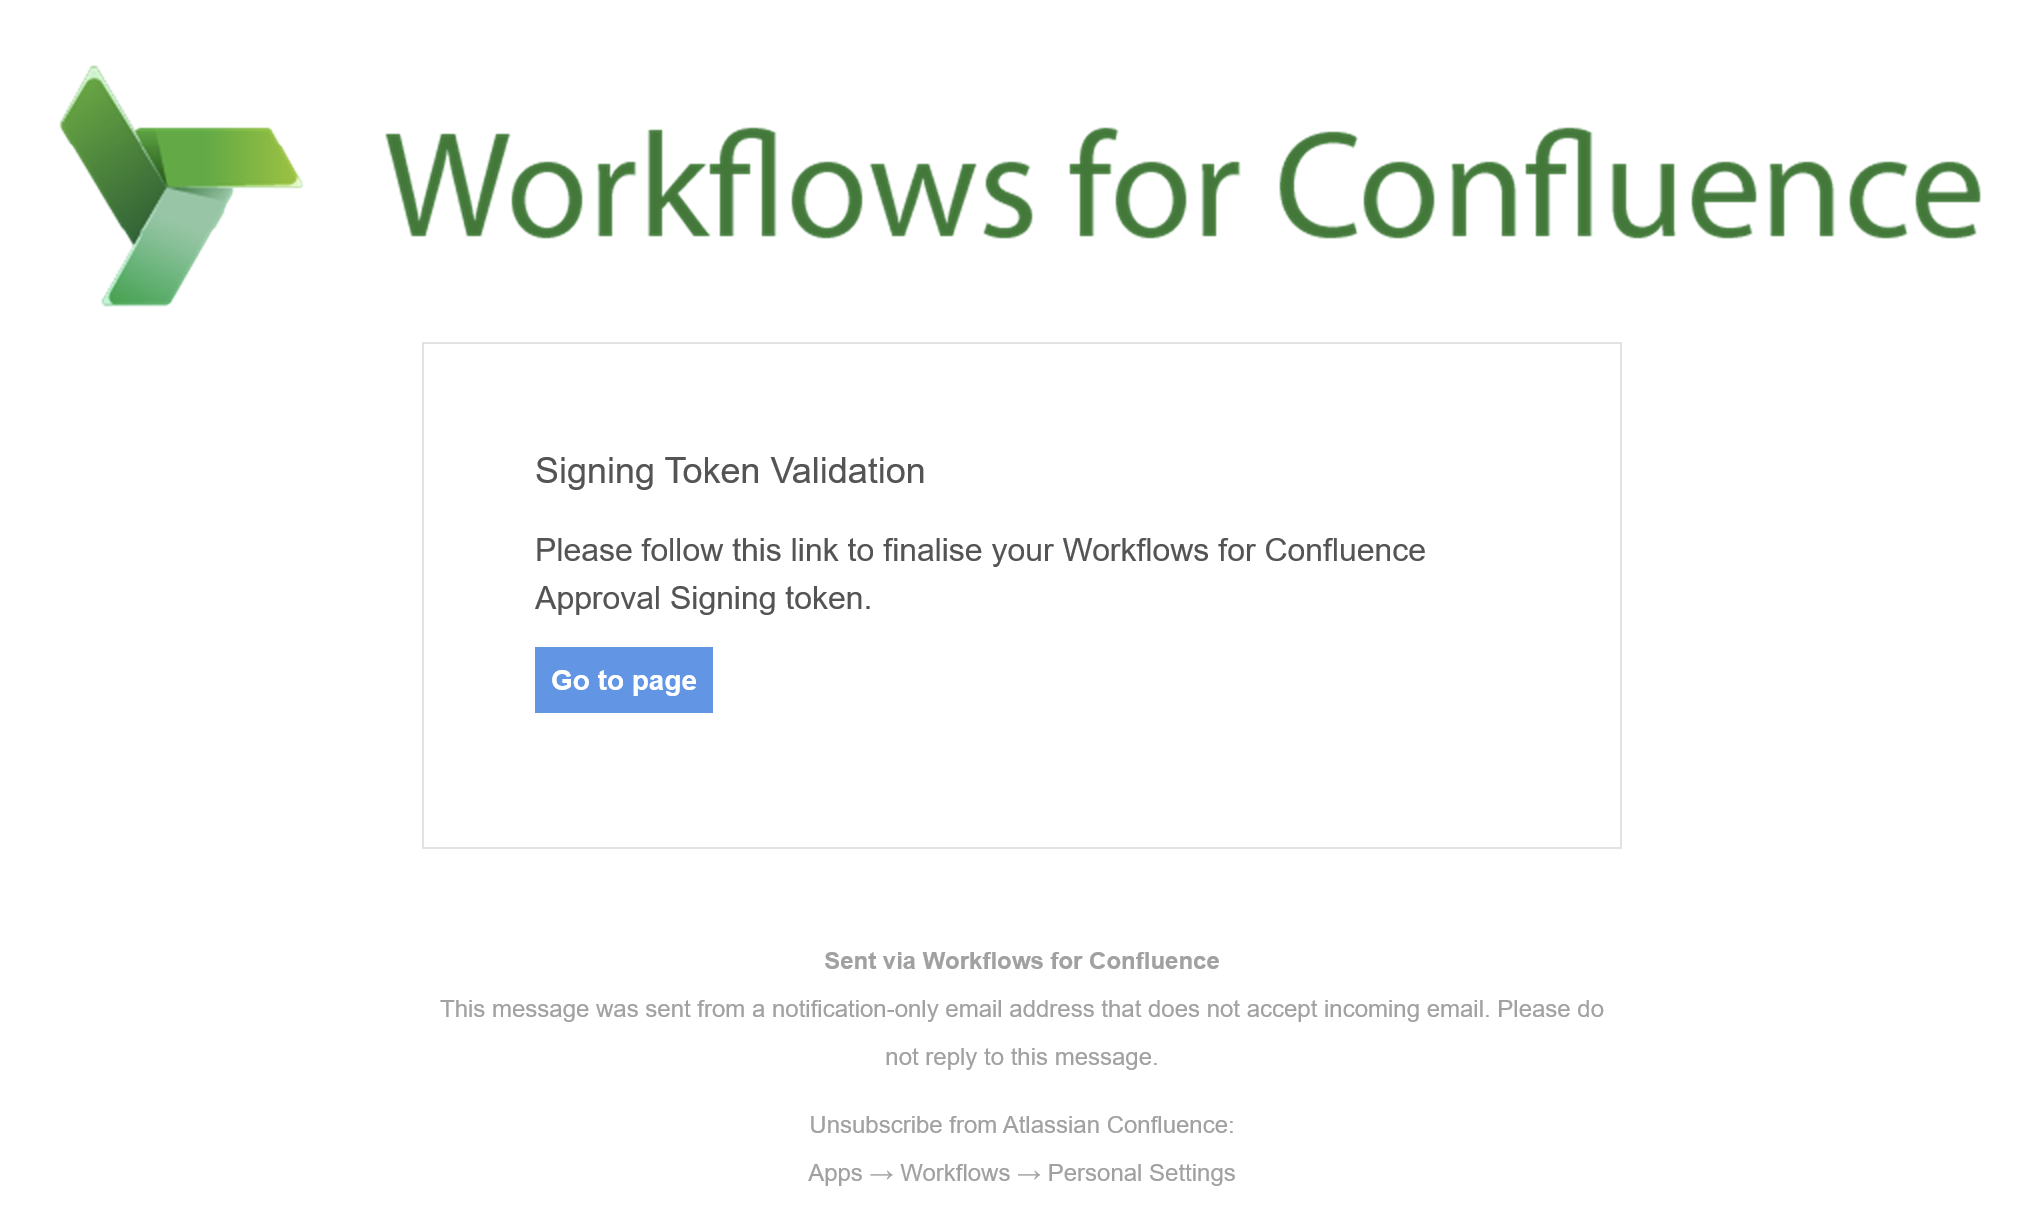
4. Once you have entered your email and clicked Validate you will receive an email containing a button which will link you back to the page to finish the next stage of the validation.
5. After following the link you will be presented with a QR code and field to input your Token.
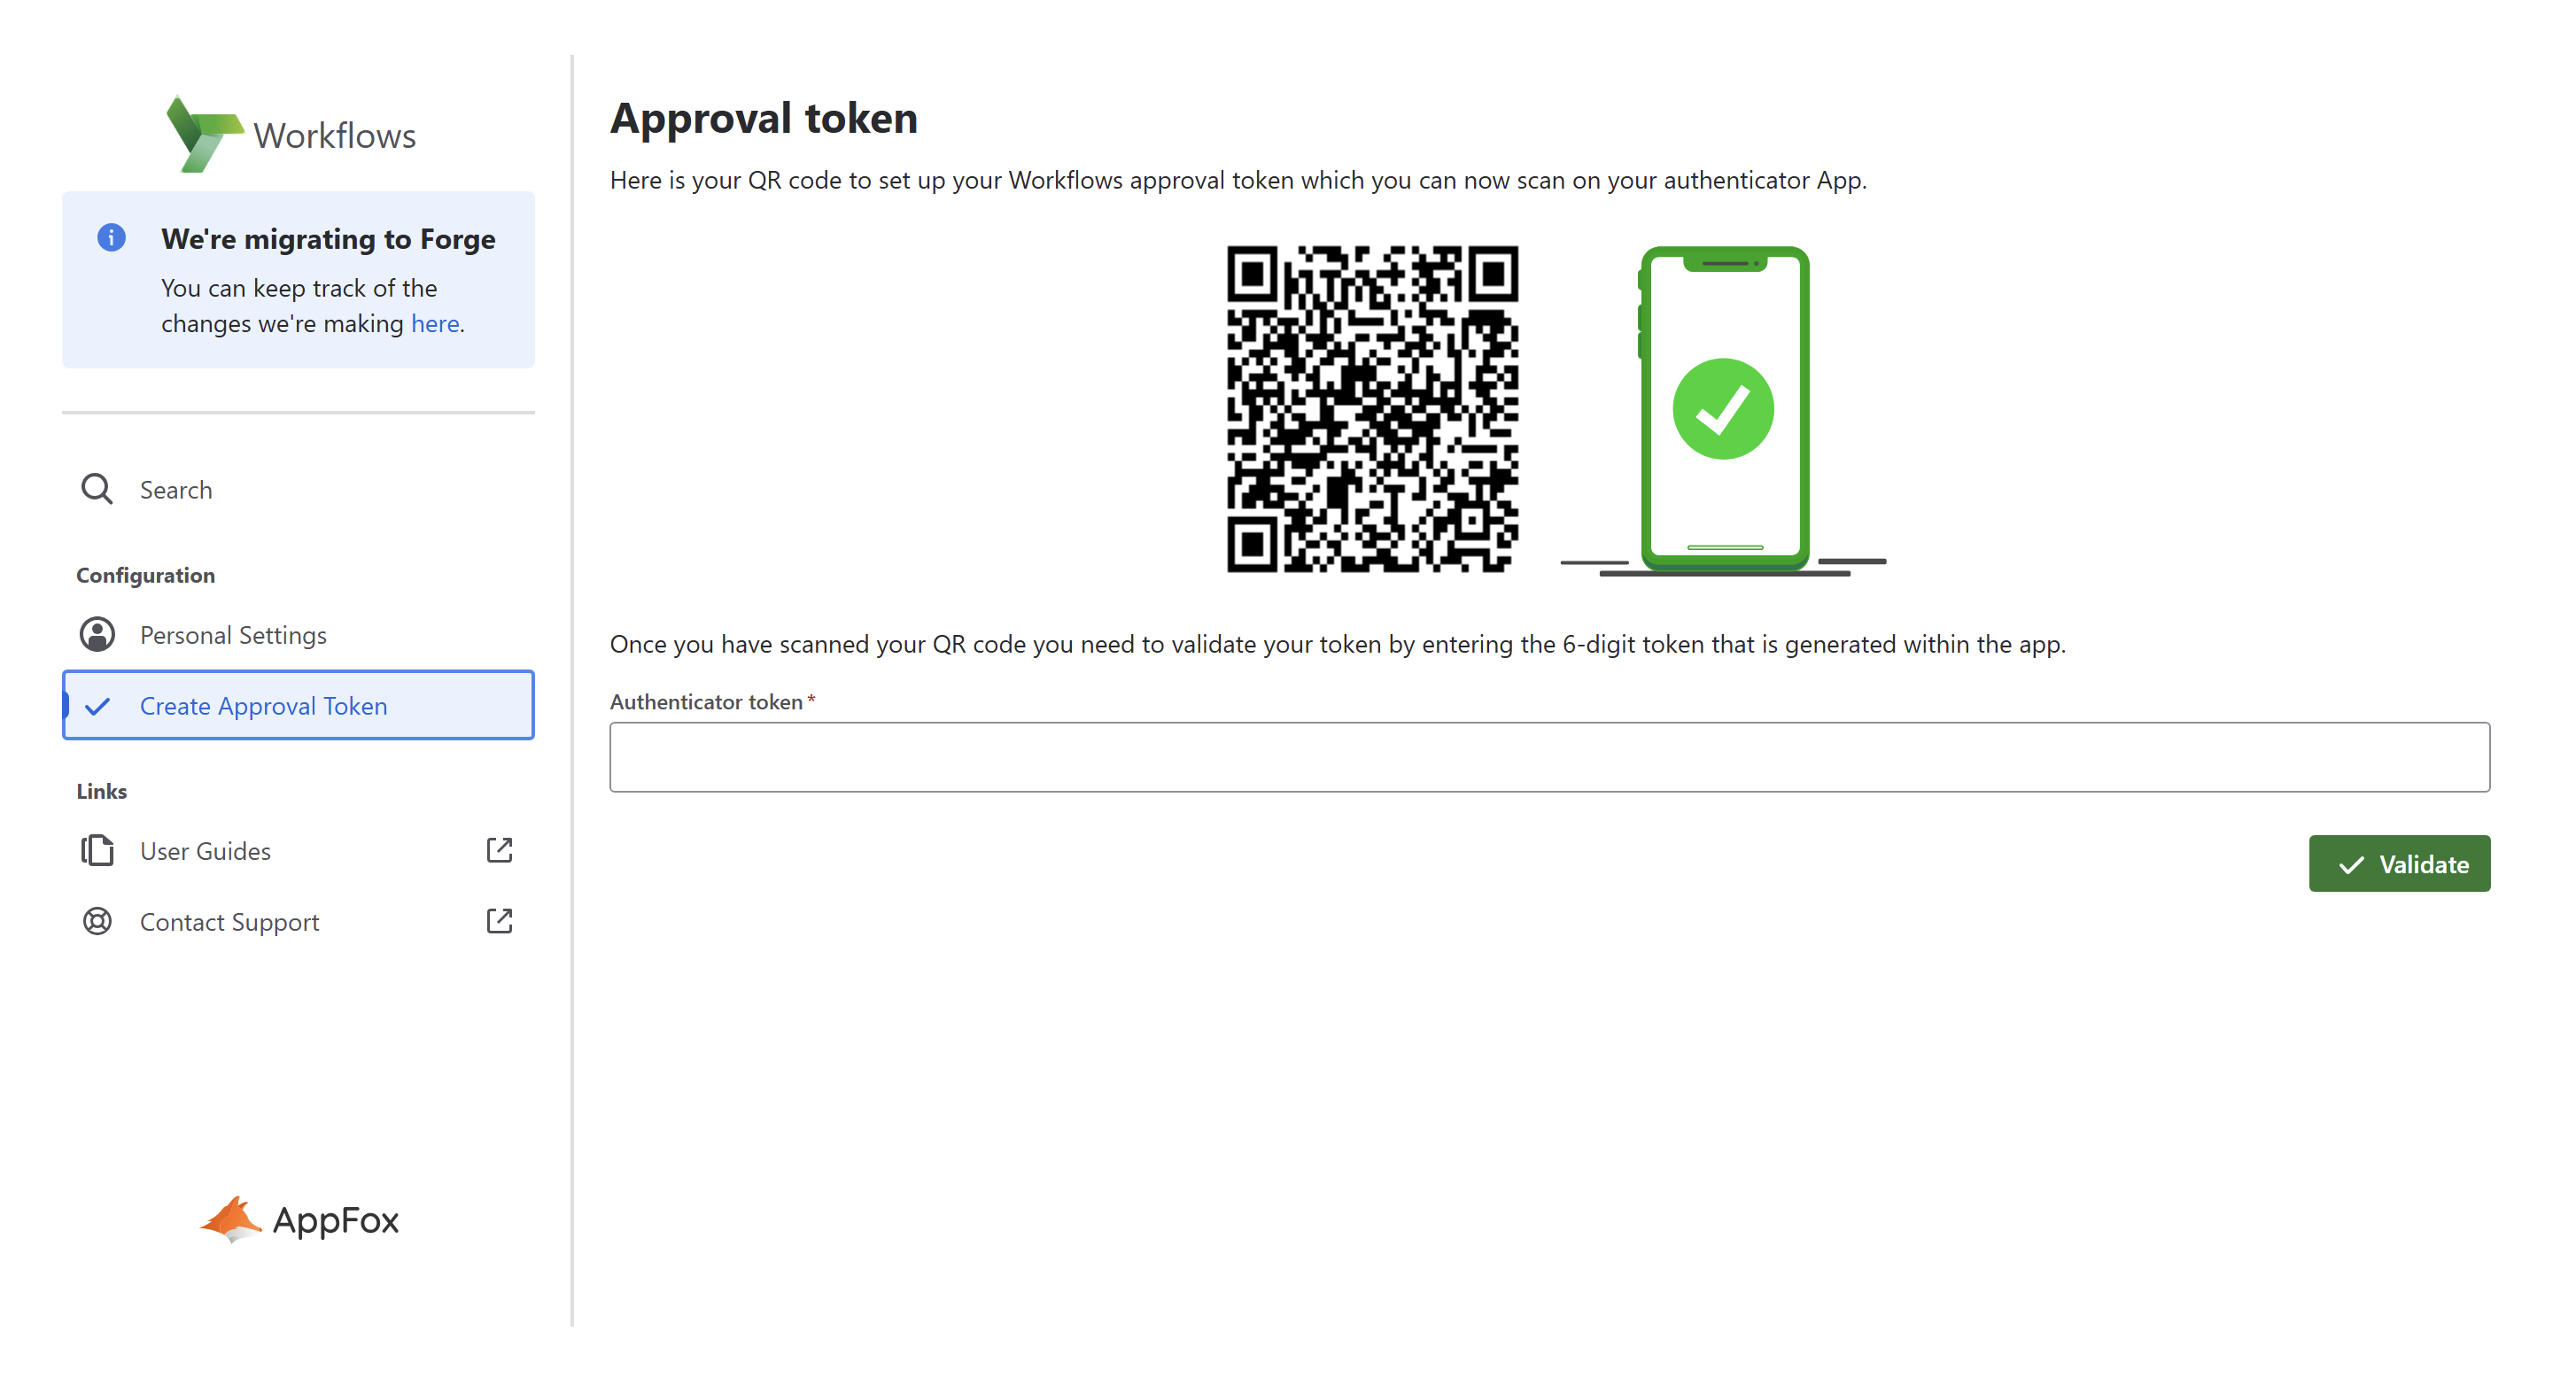
6. Using your Authenticator app on your phone, select the option to add a New Authentication by scanning a QR code.
7. Scan the QR code on the app.
8. Give the code a name i.e. Workflows for Confluence Approval Token.
9. You will now have a 6-digit code that refreshes every 30 seconds on your screen.
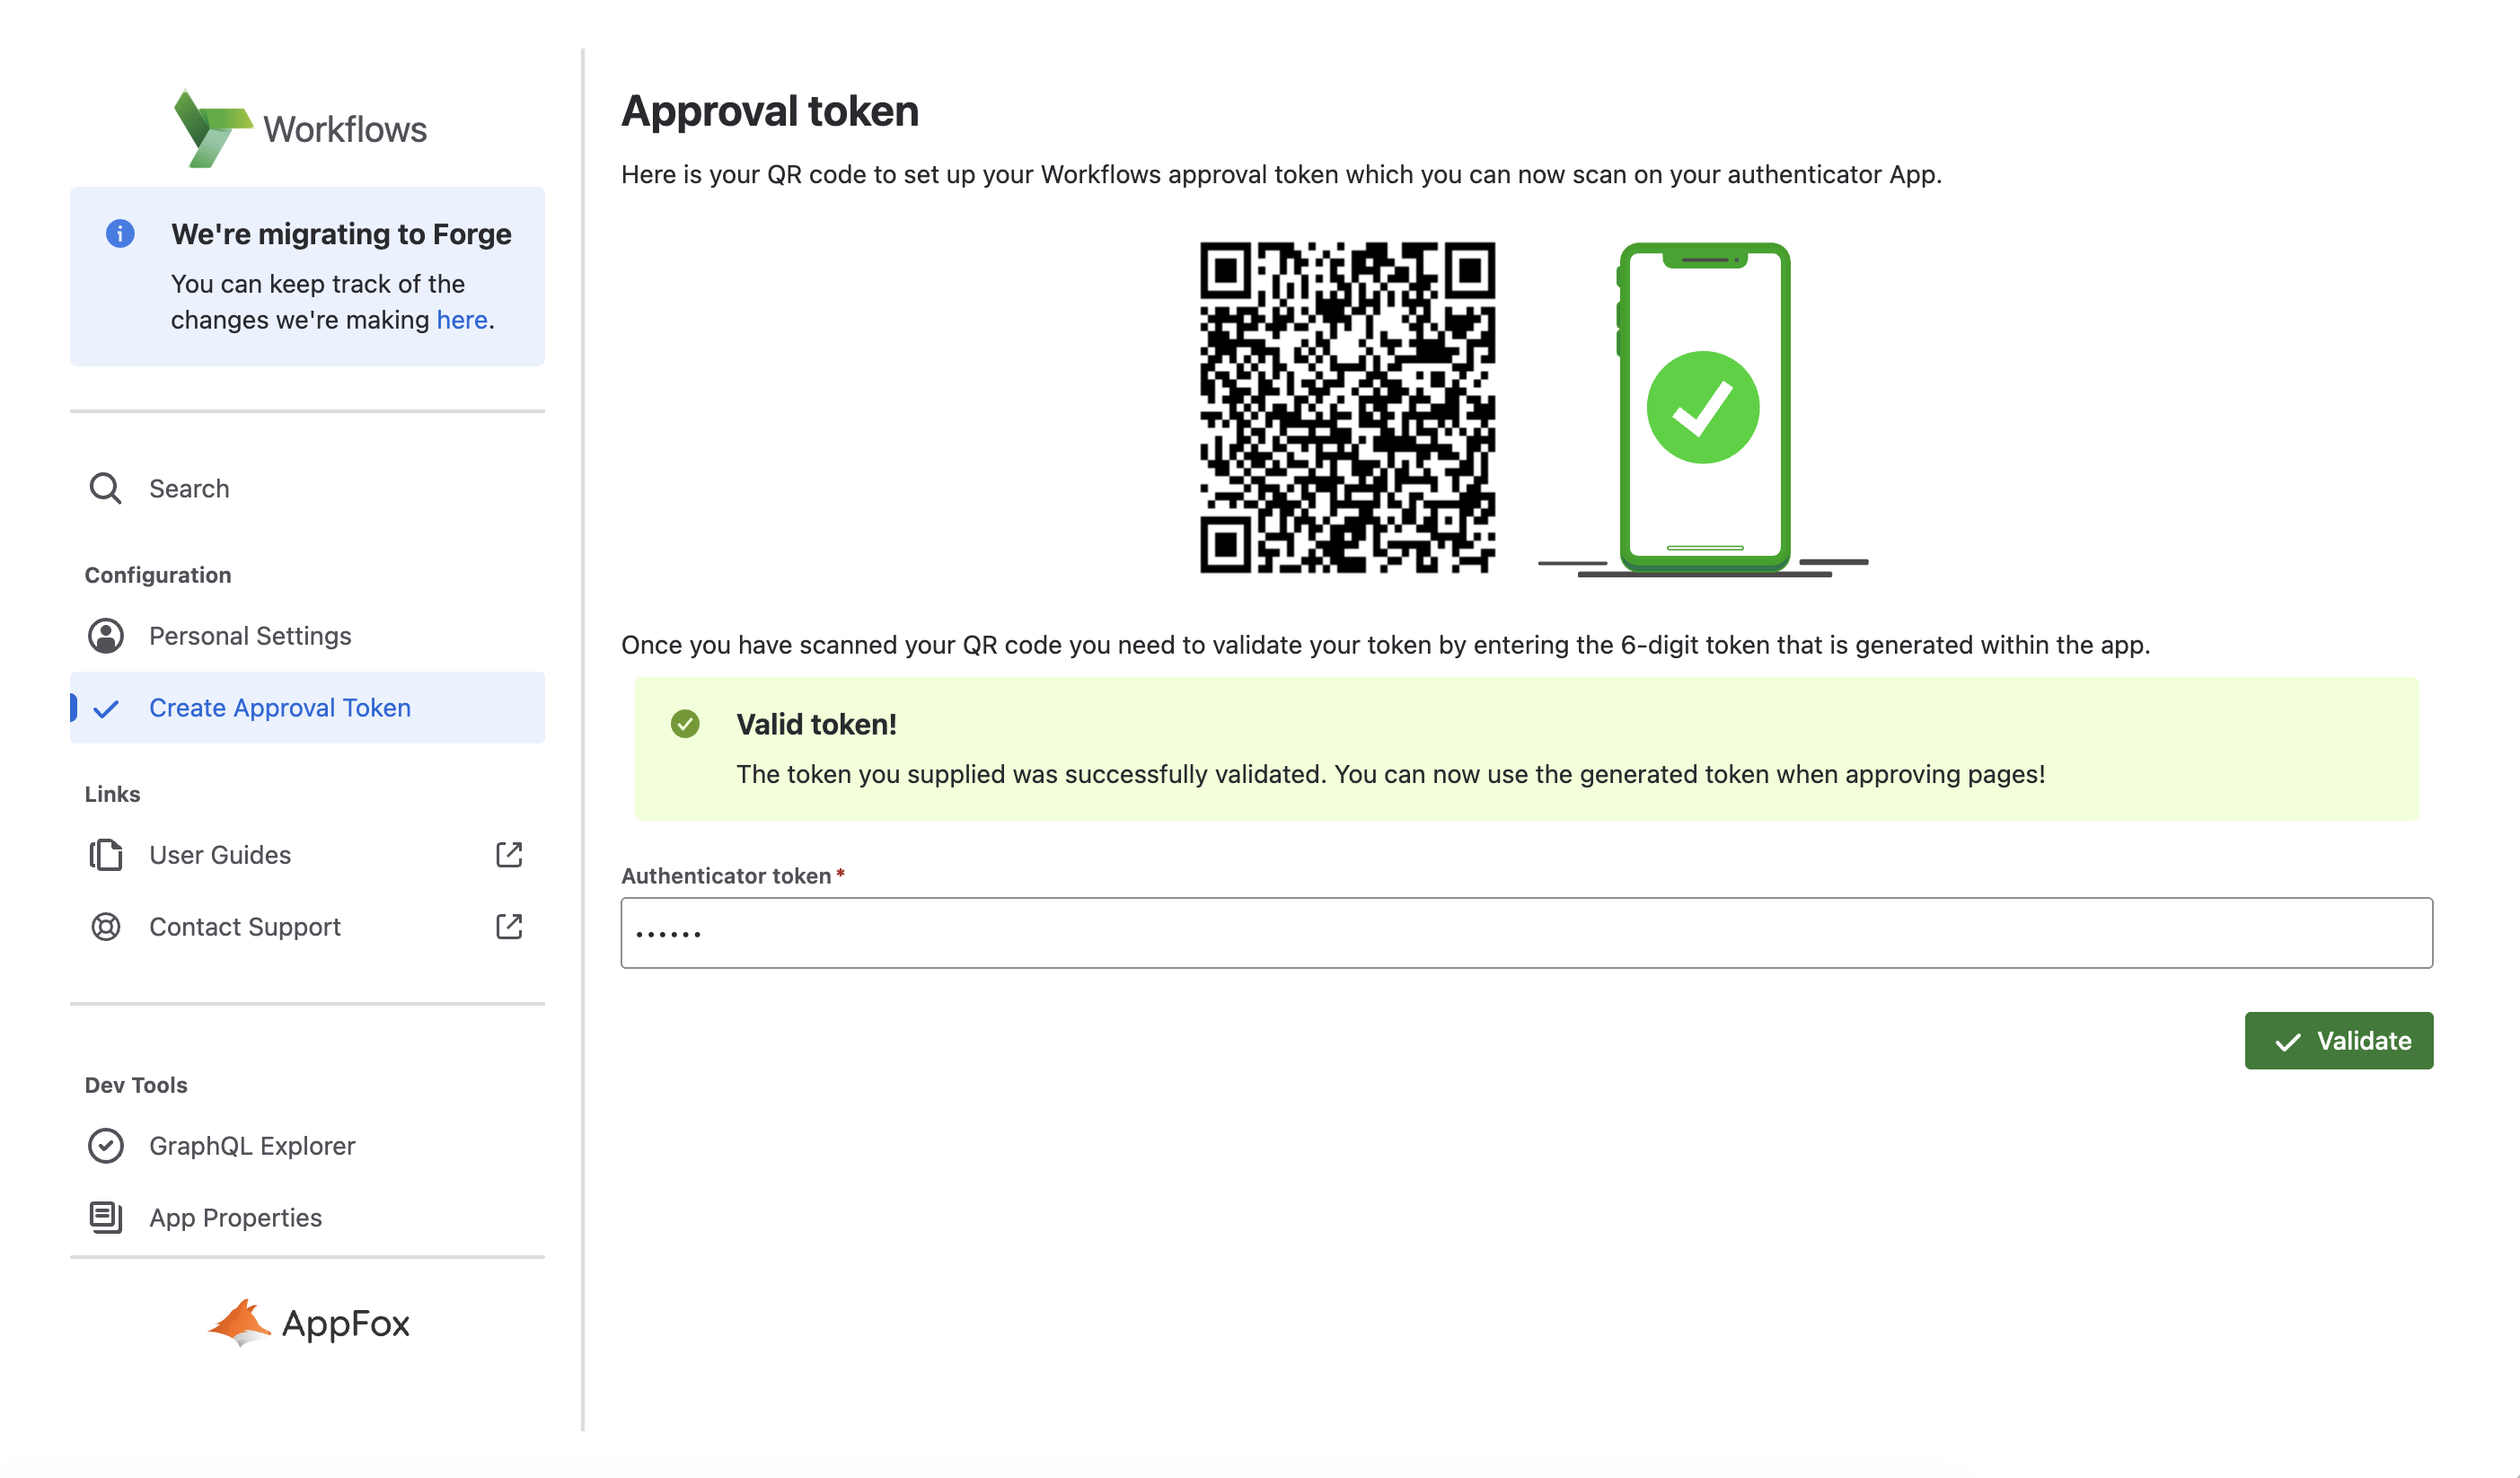
10. Enter the code into the Authenticator Token field and click Validate.
11. If your Token is valid then you will be greeted with a message to let you know your Approval Token is now successfully set up!
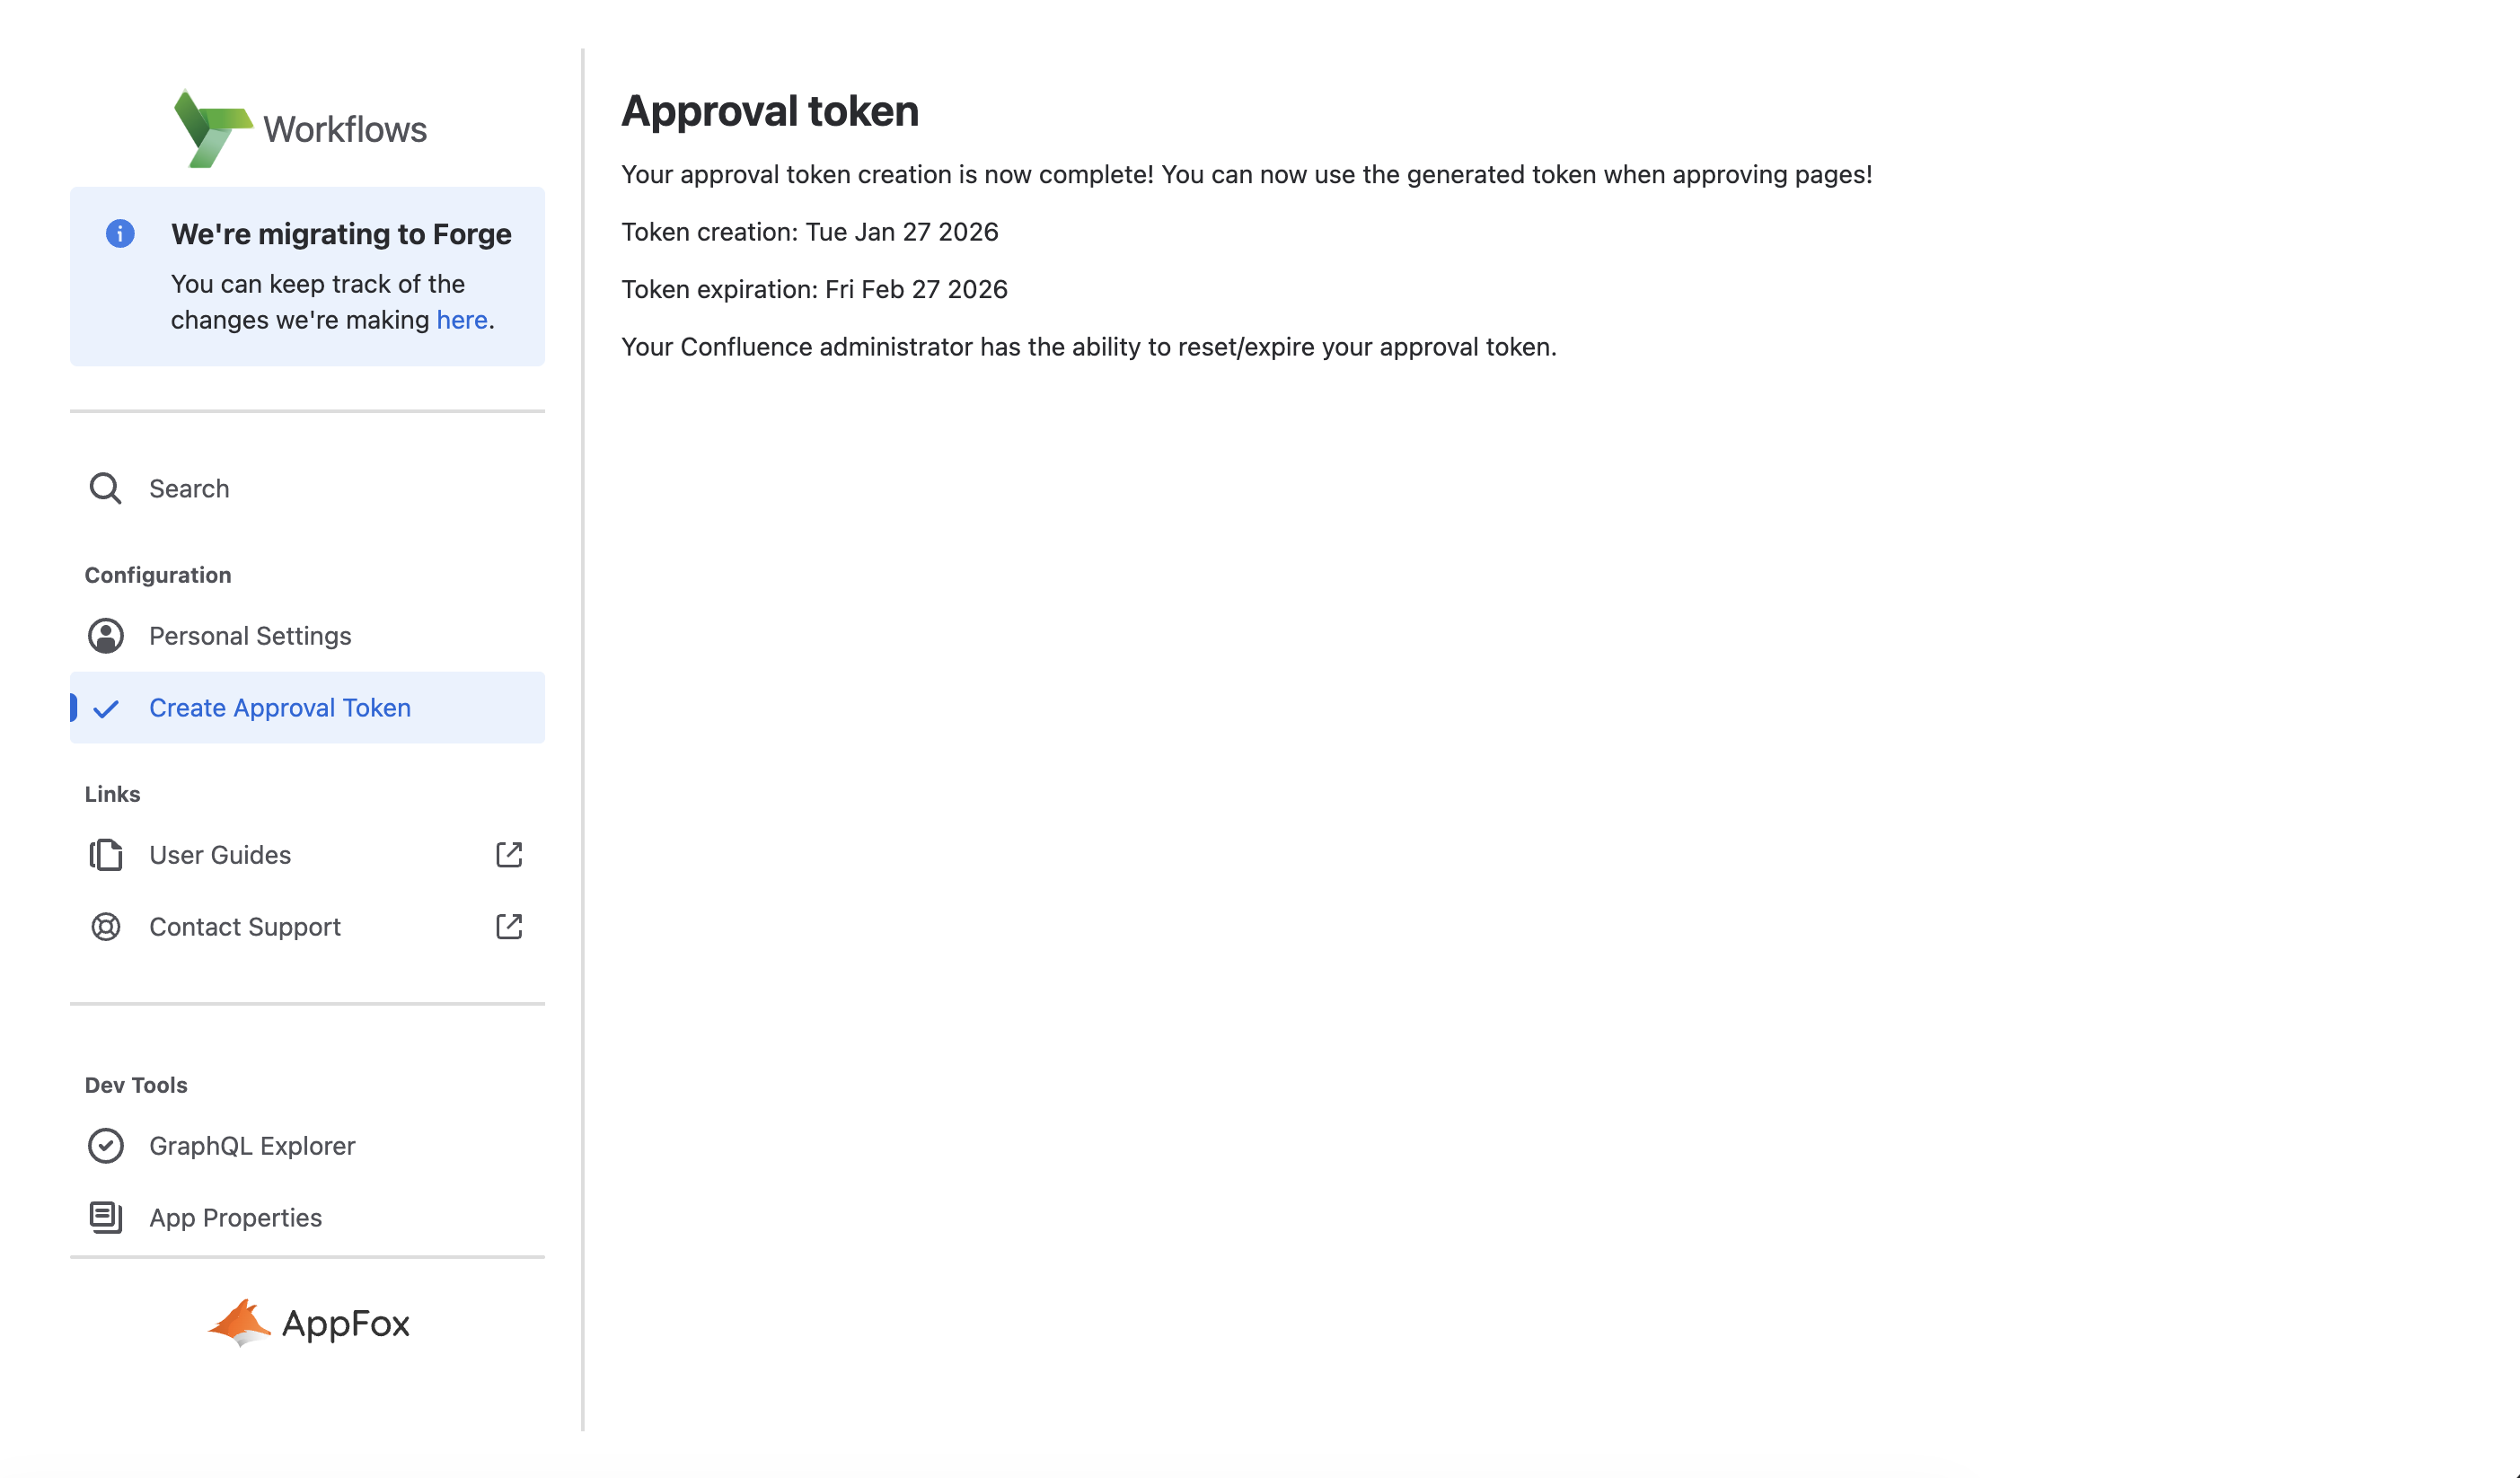
12. Now every time you visit the Create an Approval Token page you will be greeted with a similar screen:
Need support? We’re here to help 🧡
If you have any questions or would like to speak with us about Workflows, please don’t hesitate to reach out to our Customer Support team.
.svg)
