-20250819-084018.svg)
Managing multiple approvals on a daily basis can be a daunting task for teams, especially monitoring the status through different communication tools. While it is manageable when approving a single round of approval, it can become overwhelming when dealing with a multi-stage approval process.
For instance, imagine you are a member of a design team that is tasked with revamping a website for a client. As part of this job, there are various tasks that need to be completed and reviewed by team members. It would be helpful to have a centralized location where you can easily monitor the progress of each task. This would save you time that would otherwise be spent chasing team members for updates through lengthy email chains.
With Approval for monday.com, you can easily monitor all the items that have been sent for review directly from your monday.com board. In this guide, we will show you how to add approvals status and approvers columns to your main monday.com board.
Adding approval columns
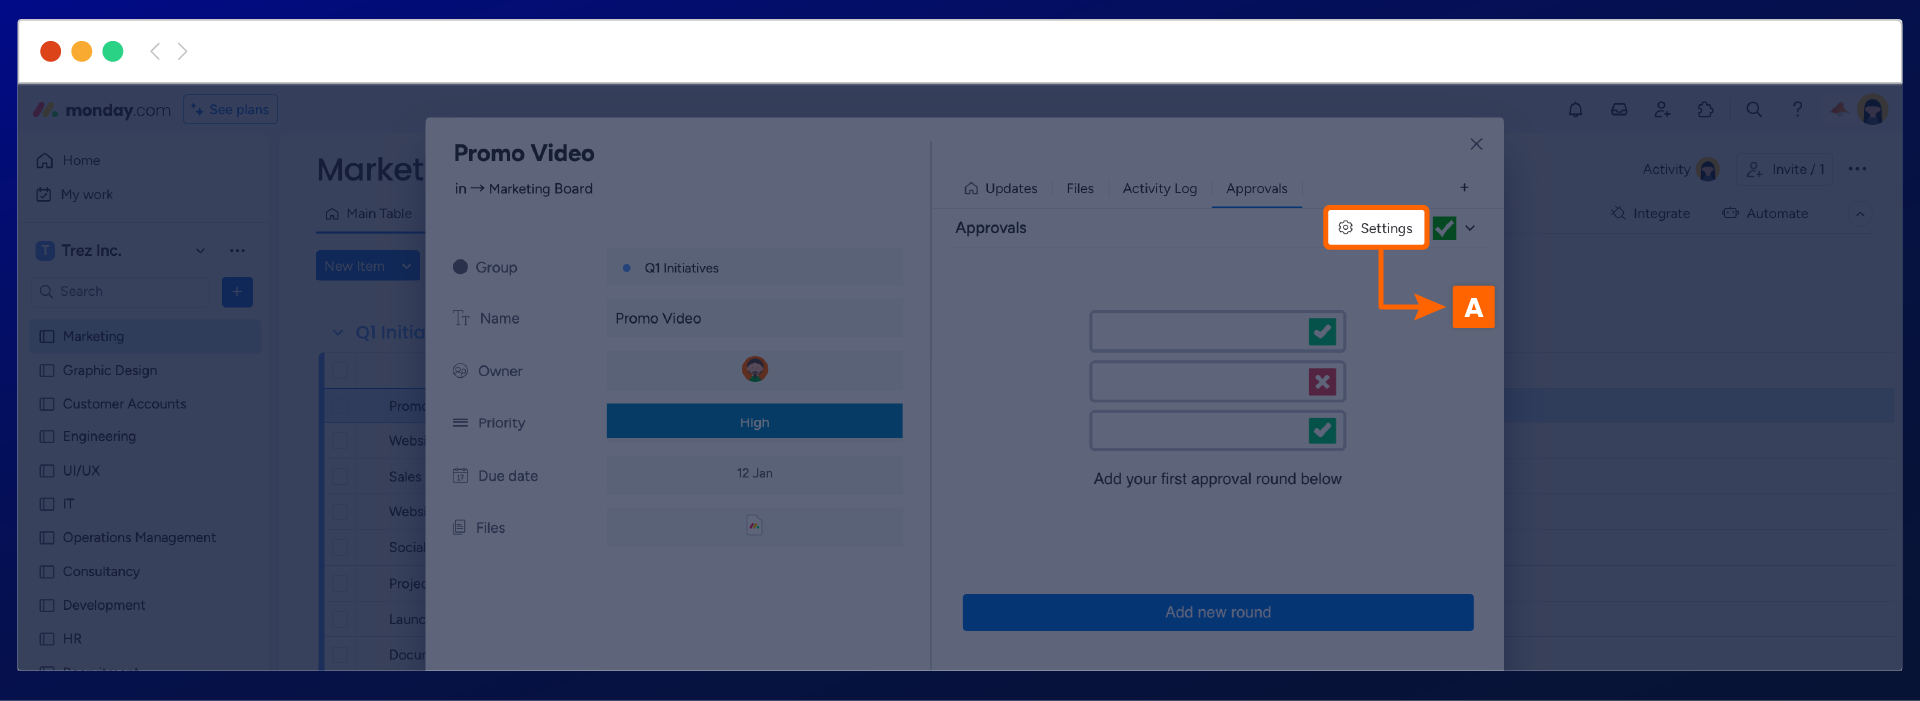
To add approval columns, navigate to the approval settings (A) within any item.
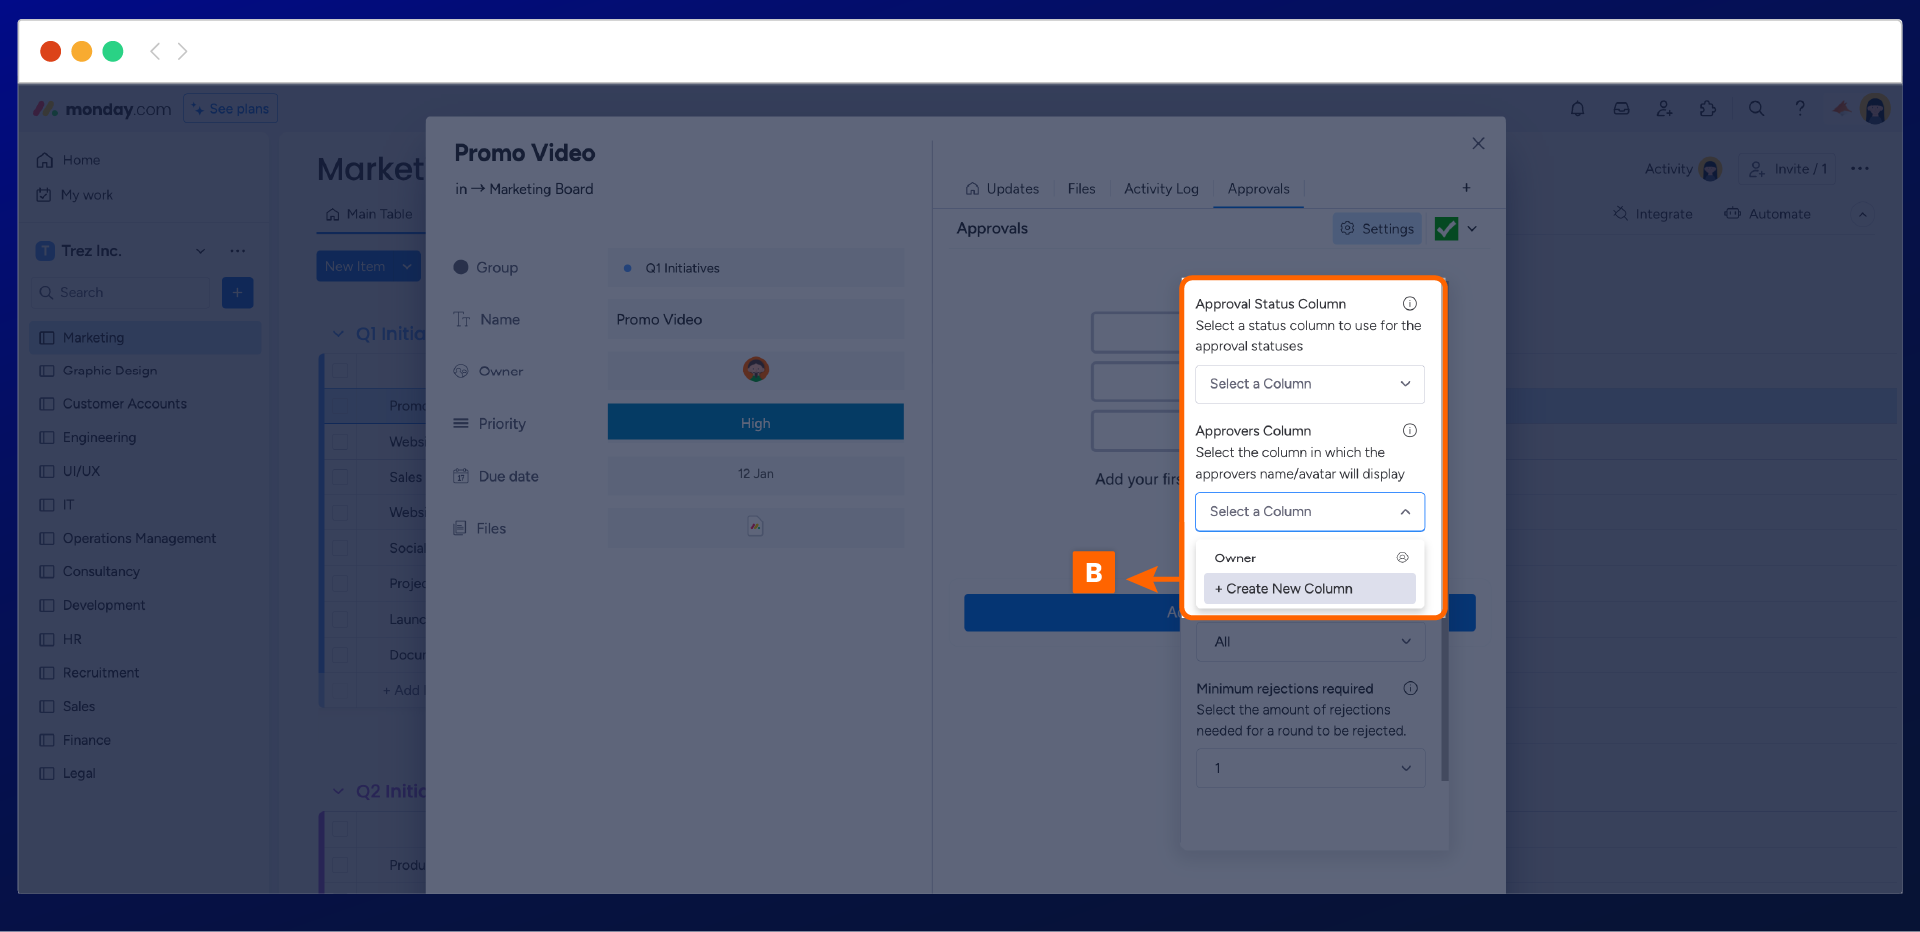
The approval settings will open, we recommend you create new columns for the approval status and the approvers column (B) within the settings list.
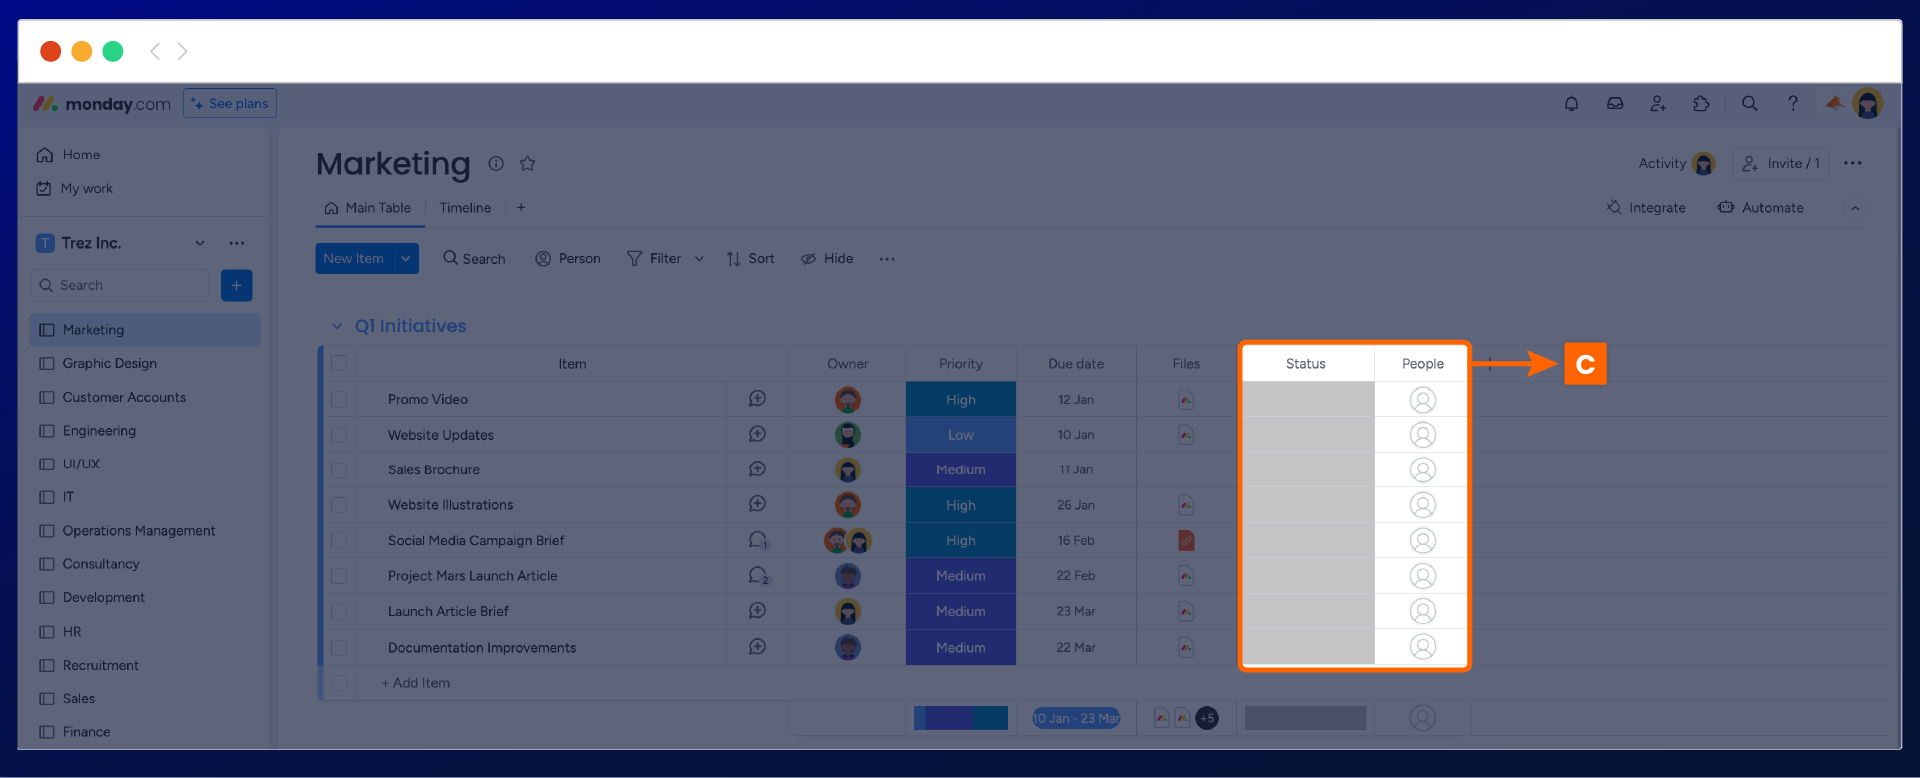
Once you have selected ‘create new column’ the approval status and approver columns will be added to your main monday.com board (C).
Customize the approval columns
Rename the column title
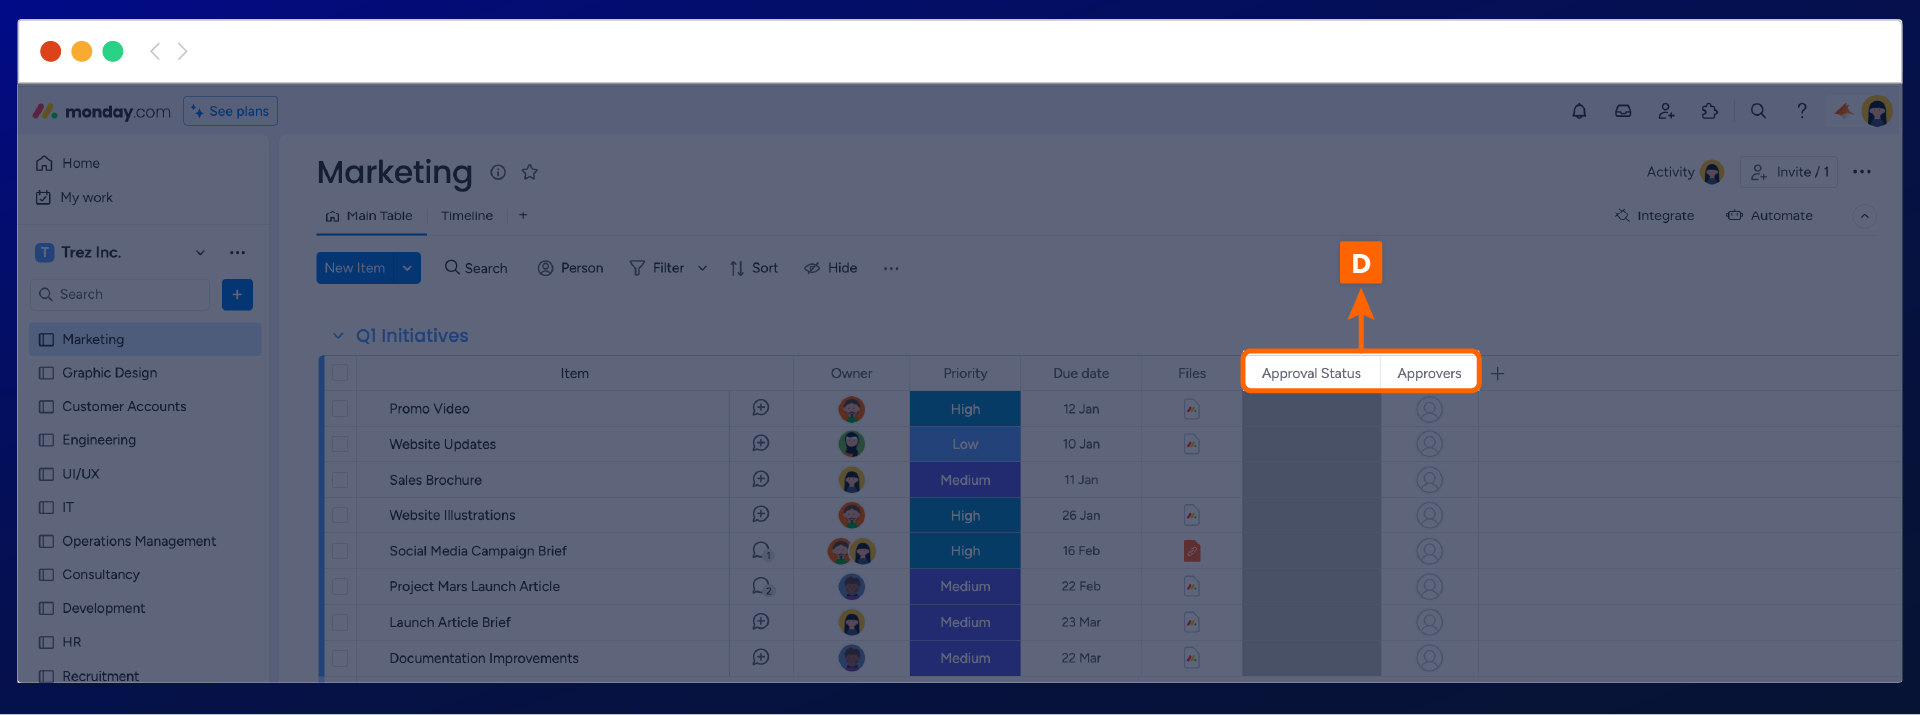
Once the approval columns have been added, you can go ahead and rename the title of the columns.
Start by clicking on the column title and rename the text to ‘approval status’ and ‘approvers’ (D).
Rename the status labels
Now that you have renamed the column titles, the next step is to customize the status labels as this will align with the approvals workflow.
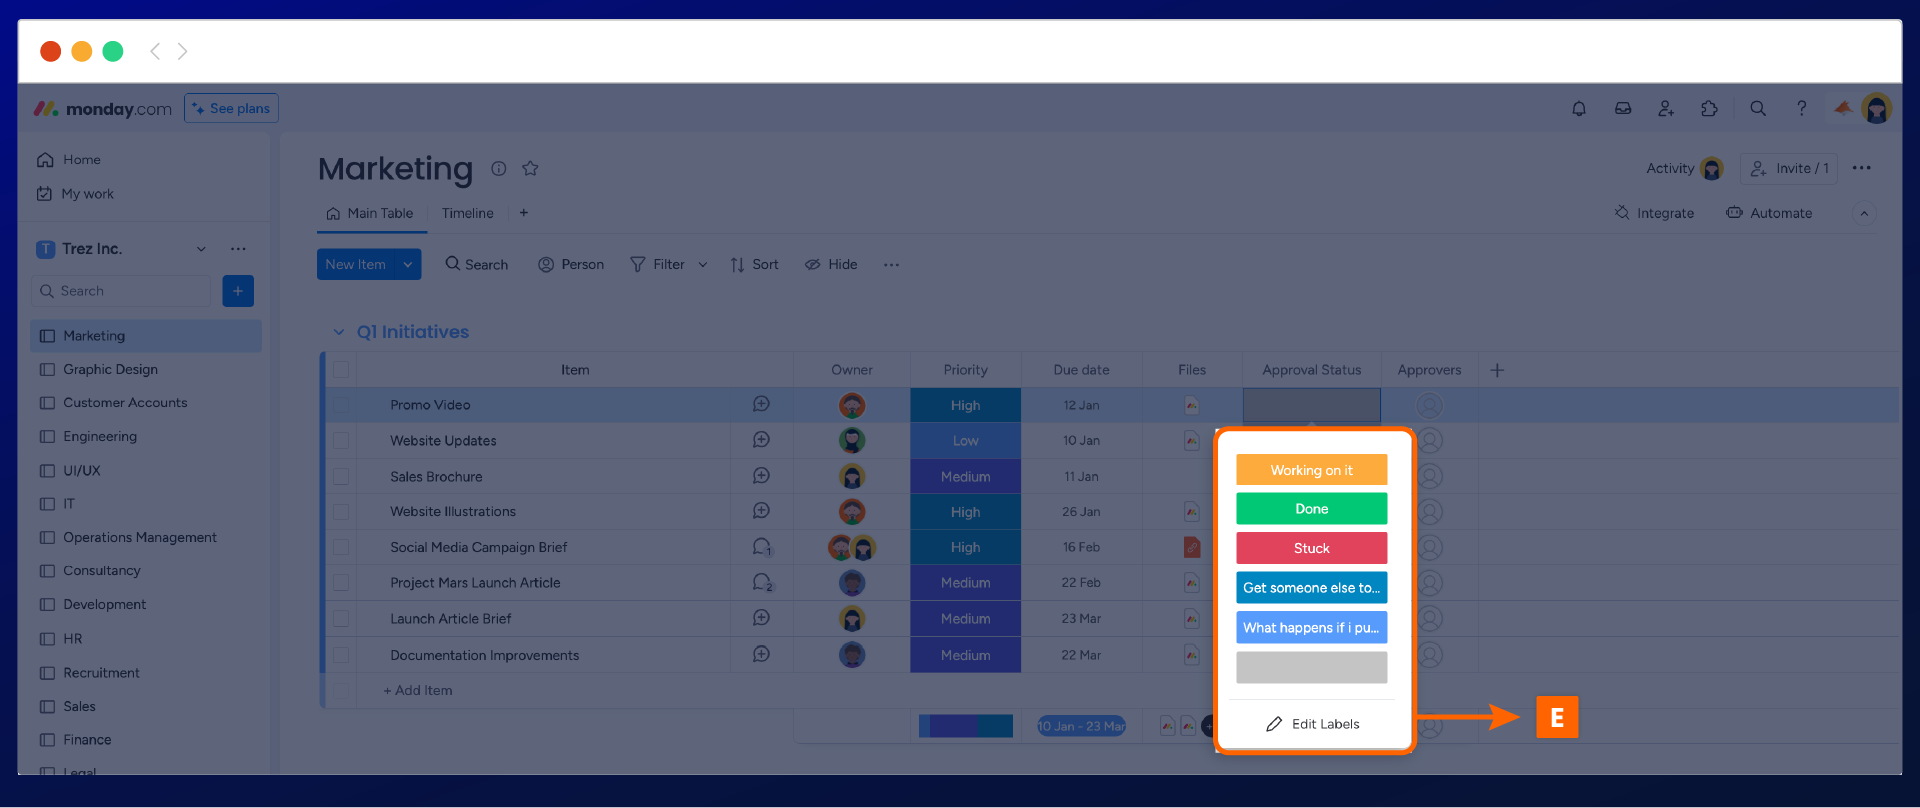
The first step will be to click on any one of the grey statuses on the approval status column. This will open the list of the default labels. Guide to the pen icon (E), to rename the labels.
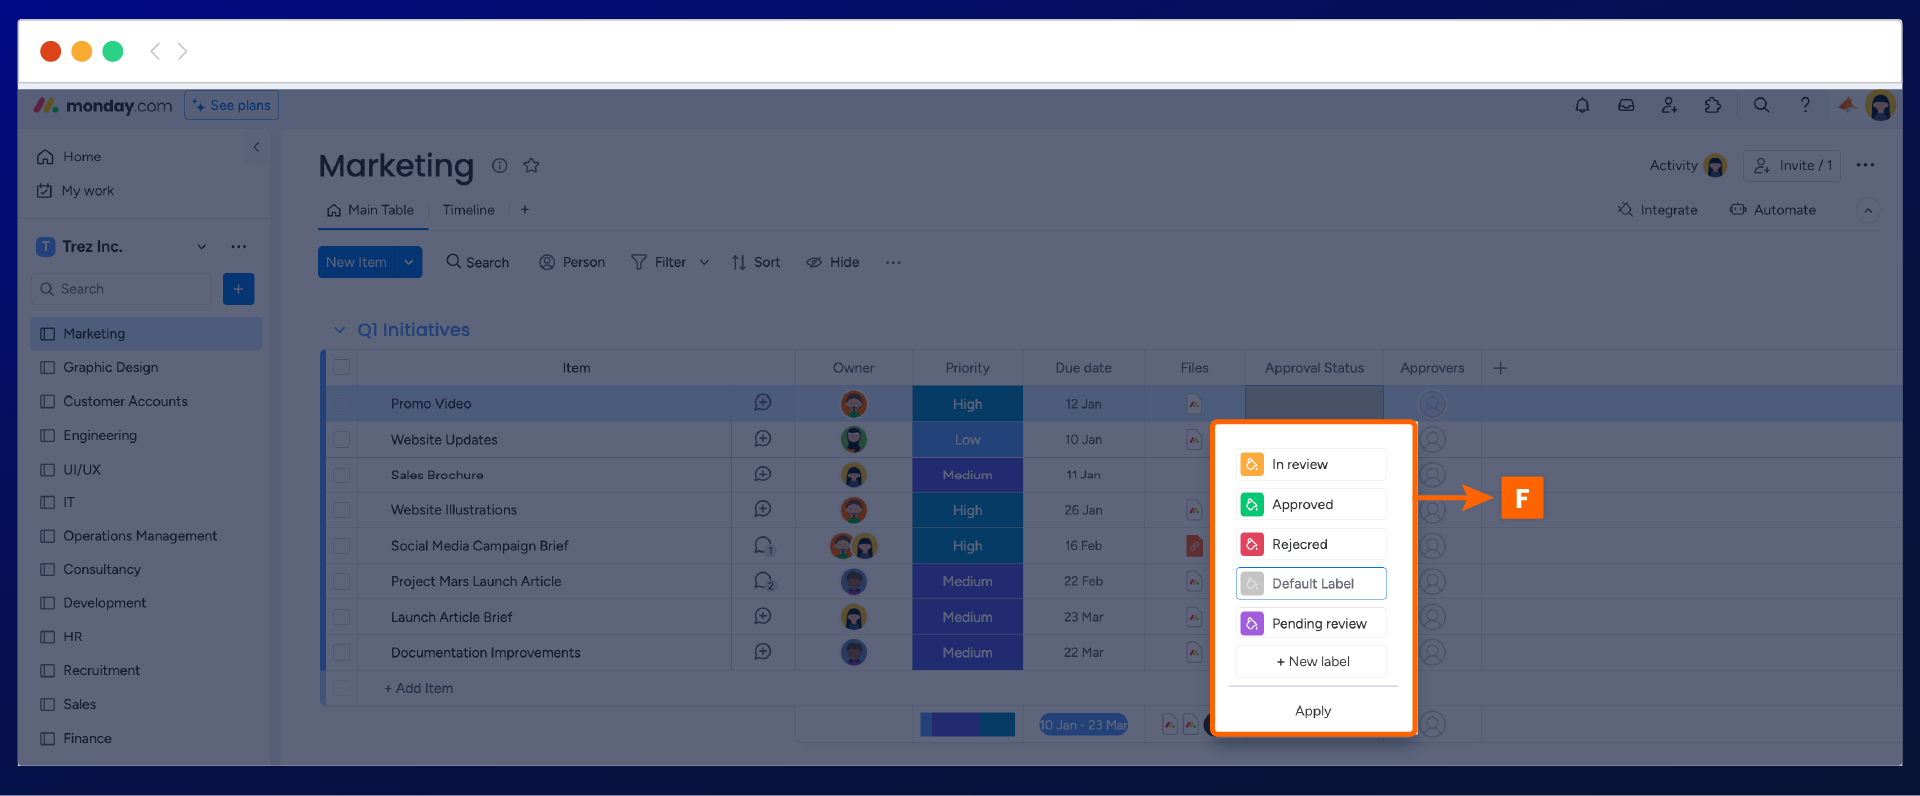
The display window will open, where you can start to rename the status label text. We recommend renaming the labels to ‘in review', ‘pending review', ‘approved',and ‘rejected.' Once done, click apply (F) to update the labels.
Monitor approval progress
Now that your approval columns (G) have been added and the status labels have been renamed. You can now easily monitor all approvals that have been added to any item straight from your main board.

Need support? We’re here to help 🧡
If you have any questions or would like to speak with us about Approval for monday.com, please don’t hesitate to contact our Support team.